Tips To Expand Your Flower Beds For A Bigger & Better Garden
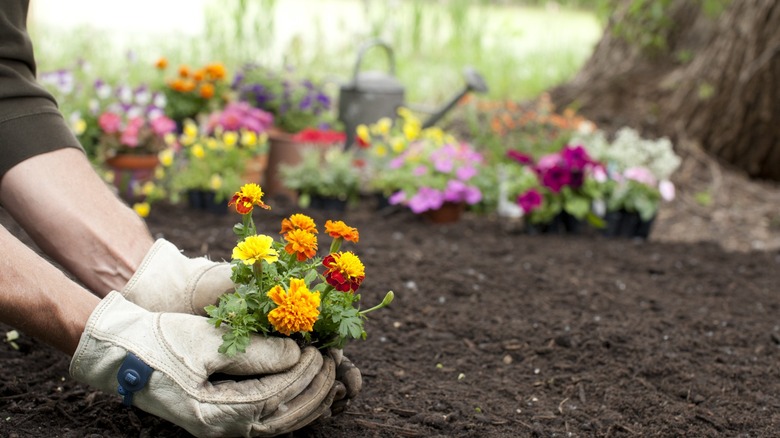
Flower beds aren't just pretty; they boost our moods and bring your outdoor space to life, which is probably why so many people love having them in their gardens. Beyond sprucing up the space, flower beds come with a bunch of perks: They prevent erosion, stop puddles from forming, and even clean the air. If you've got a flower bed and are thinking about making it bigger or just want to give it a revamp, it's definitely a project worth diving into. Like all landscaping projects, touching your flower bed can seem daunting, but if you need a little push to get started, you might want to check out this quick 1-minute flower bed makeover by jbuslawn for some instant inspiration.
Of course, the complete transformation of a flower bed takes more than a minute! But watching a quick video like jbuslawn's can give you a solid overview of what's involved in expanding a flower bed. Ready to get started on expanding your stunning flower garden? Here's what you'll need: a shovel, a step edger, and something to mark out the new boundaries, like string or spray paint. Don't forget the mulch and the new flowers you want to plant. You might also consider edging your garden bed with stones or metal for a cleaner look. Once you've gathered all your tools, you're all set.
How to easily expand your flower garden
Before you start expanding your flower garden, it's a good idea to tidy up your existing bed. Clear out any weeds, rocks, and decomposing leaves. If your perennials have grown too close and clumped together, divide and transplant them to the new area. Then, rake the soil and enrich it with two to three layers of compost. Begin the expansion by marking out the new borders of your flower garden with a string, then trace them with spray paint for precision. Next, use a step edger to define this line clearly. Use a step edger to clearly define these lines. For a natural border without edging, dig slightly deeper around the edge and create a 45-degree angle to stop grass from growing in your flower beds. Doing this also keeps the mulch in place and makes the area easier to maintain.
Remove the grass along the expansion. If you want to reuse the grass, you can use a pro plugger to transplant your healthy grass plugs to other areas in your garden, like what The Lawn Whisperer did. Take the plants and flowers for your new bed and arrange them in their desired spots. Once you're happy with the layout, transplant them into the expanded area. Don't forget to mix in some compost and manure to give the plants a nutritious boost. Top off your new flower bed with a layer of mulch to help retain moisture and keep weeds at bay.
Expand your flower beds without digging
The most rigorous step in expanding your flower bed is the digging part, since you want to remove any grass and weeds to make your bed a clean slate before planting your chosen plants and flowers. If the digging part discourages you from starting your flower bed expansion project, why not try the no-digging method? The process is relatively similar. Outline the expansion and dig through the border.
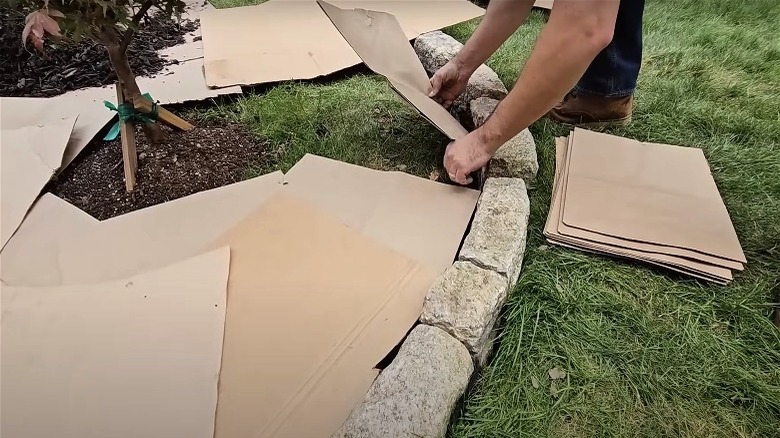
Instead of digging out all the grass, get a lawn mower and cut your grass as low as possible, similar to what Gardening with Mama Bird did. Cover the rest of the area thoroughly with cardboard; this will act as a weed barrier. However, these typically have gaps. Hooked and Rooted recommends using pallet cardboards, typically sandwiched between water cases in large retailers. You can also use paper grocery bags, especially around corners. Soak the cardboard in water. Layer it with one to two inches of compost before topping it off with 3-inch-thick mulch. Water it again to help with the decomposing process. While some recommend planting immediately on the compost, others suggest waiting until the grass dies off. Until then, continue watering the area to help degrade the cardboard underneath.