How To Transplant Hostas In Spring Like A Gardening Pro
Hostas are the workhorse plants in landscaping, and for good reason. They're versatile, can help fix a myriad of design problems, and are so easy to grow that even someone with a black thumb can handle them. Hostas tolerate shade and are perfect for planting underneath roof lines, trees, or shadowy backyards. Because of their inexpensive price, this low-maintenance perennial can make your garden look fuller on a budget. They also grow very quickly and can fill gaps in your landscaping. And due to their penchant for proliferating, they're also effortless to split and plant in other areas of your yard. However, there is an art to transplanting hostas. You don't want to just dig them up and plop them in a new patch of dirt at any time of the year.
First, you need to prepare the area to ensure it is rich with nutrients and drains well so the transplanted plant can thrive after the shock of moving. Then, you need to remove the plant without damaging its roots. Doing so can weaken or even kill the plant, so knowing how to dig it out is crucial. Lastly, certain times of the year are better for transplanting, increasing the plant's chances for rooting. Here is a closer look at how to transplant hostas during spring.
How to transplant hostas
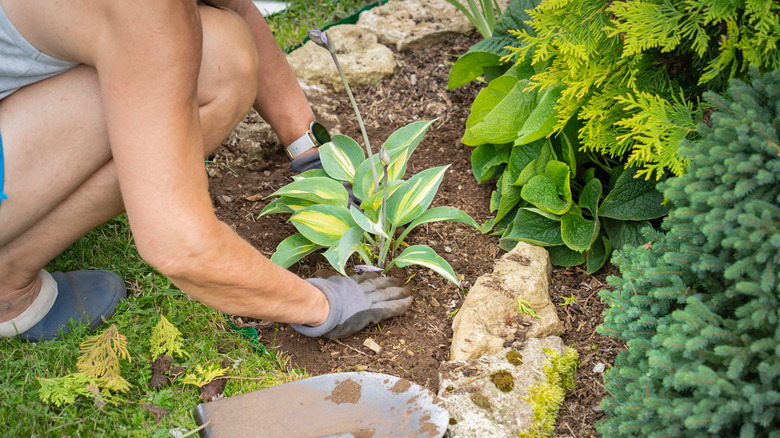
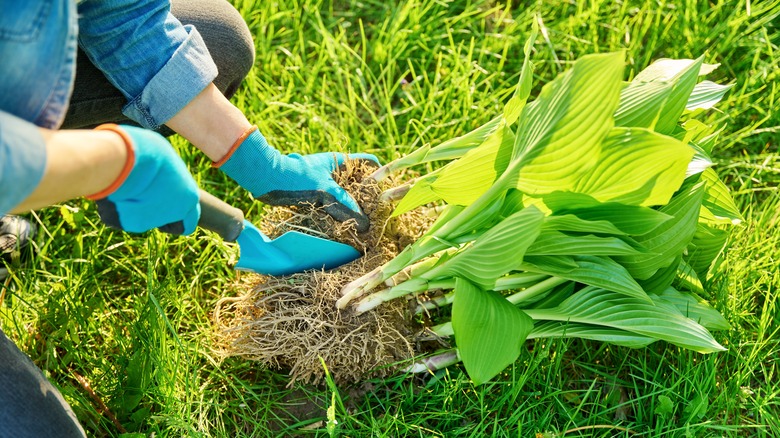
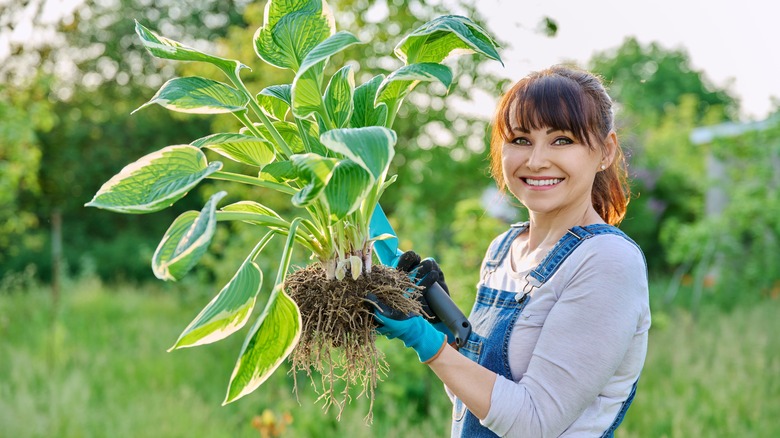
Before you start, find a spot where hostas will thrive. Though there are hostas that are tolerant to the sun, they prefer shaded areas that still receive a little direct light each day. The best place is one with dappled or filtered sun. They also need well-draining soil to avoid root rot, so ensure you're not planting them in an area prone to puddles or water runoff. They also need rich soil, so you may need to amend the ground with fertilizer. Once you have it ready, take a shovel and dig out the plant. If transplanting a mature hosta, pierce the soil a couple of inches past where the leaves end. That should give you enough padding so you don't cut into any roots.
Established hostas five years or older might have roots around a foot and a half long, so prepare to dig deep. If you're transplanting the hosta in an effort to divide it, try to avoid the main plant and instead remove the smaller shoots around it. You want to keep the roots moist while replanting, so soak them in a bucket for at least five minutes before putting them back in the ground. Dig a hole that is 1 ½ times wider than the hosta but a tad shallower than the root ball. Once planted, thoroughly water the plant to minimize its shock. Water plants regularly after transplanting.
Best time to transplant hostas
So when should you plant hostas for a lush, green garden? The best time to transplant them is either in spring after they awaken from dormancy or, alternatively, in late summer or early fall when their blooming period is over. If you choose to do so during the spring, wait until the second half of the season. Specifically, wait until the plant's new leaves have unfurled, which signals they are finishing up their first growing cycle. This means they are growing a new set of roots to provide nutrients to the new leaves, which will help them establish themselves better in the ground. It's safe to transplant them during this season since the plant will have plenty of time to recover, root into the ground, and release new growth.
However, if you prefer to invest less maintenance into your hostas, you might consider transplanting or dividing them closer to early autumn instead. That's because you will have to water them much less during this time. They are on their way to dormancy and need less water. But that's not the only benefit of replanting them at the end of the growing season. The weather is starting to get milder at this time, which will mean less stress and shock on the hosta's roots. The garden also has less competition as other plants and flowers are starting to die back, making it easier for the roots to soak up nutrients.


