DIY The Perfect Self-Watering Planter For Your Garden In A Few Easy Steps
Self-watering planters are a godsend to those who may not always have the time to care for their plants. Whether you're away on vacation, or simply don't have time to regularly garden, the system ensures that thirsty plants are watered when life gets in the way. The containers typically have two chambers, one for the roots and one for water storage. The plants then self-irrigate via the capillary effect where roots draw water from the reservoir almost like a sponge.
Luckily, it's not that hard to replicate the effect and its benefit with a simple DIY project. The internet provides dozens of tutorials to make your own self-watering container, but as long as you understand the process, you may find that you already have what you need on hand. To make a simple self-irrigation pot, gather the following materials: a plastic storage tote, 5 bricks, a one-foot PVC pipe, a drill, a saw or a plastic razor cutter, a pair of scissors, a rubber band, a zip tie, and one yard of burlap. After assembling the planter, you will fill the tote with a growing medium and plants.
Making a self-irrigation planter with one pot
Typically, a self-watering system with a reservoir consists of two containers placing a smaller pot into a larger holder. But, one TikTok video shows an ingenious method using only one container. To create a double chamber, the TikToker uses the lid as a divider between the water reservoir at the bottom and the planter container at the top. They do this by creating two sections in the container by placing the five bricks or large stones at the bottom of the tote. This step is essential because without adequate support, the lid will fall in (as seen in this video posted by Short Season Garden) and the system will fail.
The TikToker then sized and cut the lid so that it fit inside the plastic container, and left a gap for the PVC watering pipe to stand vertically. The next step involves drilling multiple holes in the lid so that water can pass freely through the openings. Make sure that there are enough holes spread across the surface of the lid so that the roots can draw sufficient water from the reservoir. While you're in drilling mode, don't forget to place a drainage hole one inch above the lid. This overflow hole will ensure that the growing medium won't flood and excess water can quickly exit the system if needed. A system with a built-in fail-safe? It sounds like an all-round solution for busy gardeners.
Install a watering point
Now that two distinct chambers in the plastic tote have been created, a watering point needs to be installed. Place the PVC pipe in the corner where the lid has already been cut to accommodate it. The pipe may not be sturdy enough and you can solve the issue by drilling two additional holes on either side of the pipe. Eventually, you will thread the zip tie through the holes, securing the pipe to withstand watering without toppling over. Youtuber Simple Practical Beautiful also recommends putting a filter, such as screen mesh or landscaping cloth at the bottom of the PVC pipe to prevent soil from entering the watering system. The filter also provides some protection against mosquitoes who may want to lay their eggs in stagnant water.
By using the PVC pipe as the watering point, you would fill the bottom reservoir with water. As the plants absorb the water they require through the drilled holes, they require little maintenance from you. It would also be astute to make any adjustments now. Perhaps you need to drill more holes in the lid, or maybe the overflow hole needs to be made bigger. The system is essentially complete, however a few finishing touches remain.
Why we add cloth to the self-irrigating planter
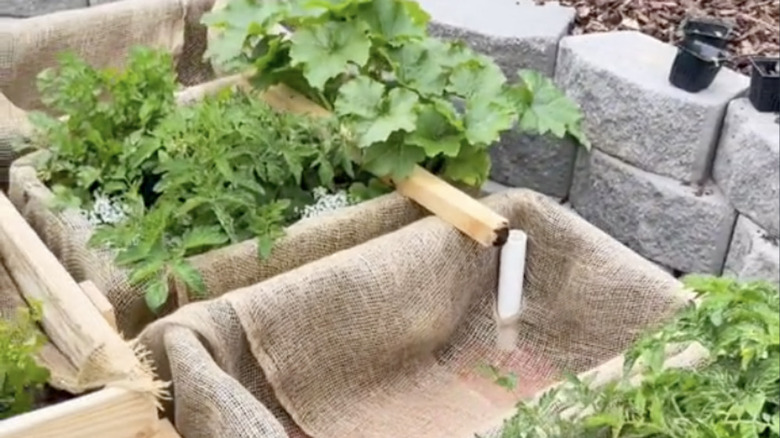
Complete the self-watering planter by lining the planter with sackcloth. Not only does it give the tote a rustic finish, but more importantly, the burlap minimizes soil falling through the holes and into the water reservoir. Clogged holes and a muddy reservoir could cause the plant to struggle for an adequate water supply. Another problem that could arise from debris in the holes is that the plant may develop root rot because of poor drainage.
Using the scissors, cut a hole in the burlap for the PVC pipe. Push the pipe through the cloth. You may secure it with a rubber band to prevent it from shifting in place after the growing medium and plants are placed on top of it. Now that the watering point is complete, fasten the zip tie around the pipe so that it is stable in the corner of the container. The system is now complete and the planter is ready for the growing medium and plants.
Now that you realize how easy it is to turn a storage tote into a planter, it's pretty simple to turn any container into a self-watering system. All you need to do is create two chambers by placing a lid or a divider between the water reservoir and the growing medium. Vases, clay pots, and even a water bowl can all be used as a self-irrigation pot.
Choose your growing medium and plants carefully
After creating the self-watering planter, it may be useful to remember that soil is not your only option for your pot. In fact, the University of Maryland recommends not using garden soil for container gardening, and that top soil should only compose up to 10% of the growing medium mix. The density of garden soil restricts water and air movement, which would create a difficult environment for the plant to thrive in. The university suggests using a half-and-half soilless and compost mix, a 100% compost mix, or using a 100% soilless mixture. These alternatives not only retain nutrients and water, but they drain well and are typically pest and disease-free.
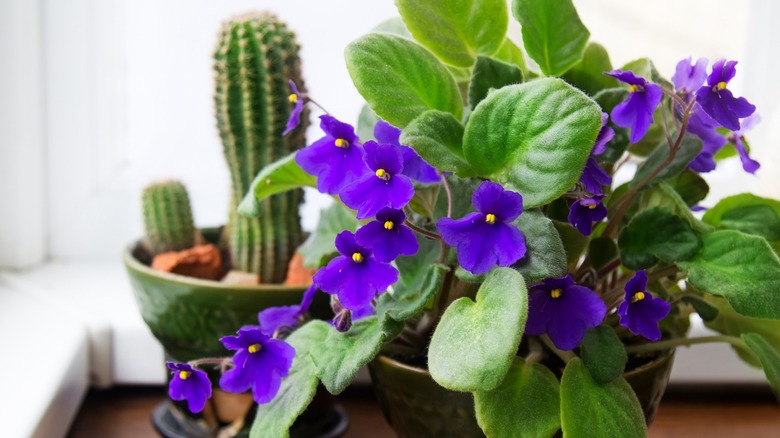
Some plants thrive in self-watering planters more than others. Tammy Huynh of Gardening Australia gives a few tips about choosing plants for these pots. She says, "Perfect plants for self-watering pots include ferns and African violets that prefer water well away from their leaves. However, they will need a good soak every now and again to clear the excess mineral and fertilizer build-up." The expert then shares that some plants are not a good fit for self-irrigating containers, adding, "Avoid using plants that like to dry out between waterings such as succulents, dracaenas, and anthuriums."
