Reuse Seashells To DIY A Stunning Soap Dish For Your Coastal Bathroom
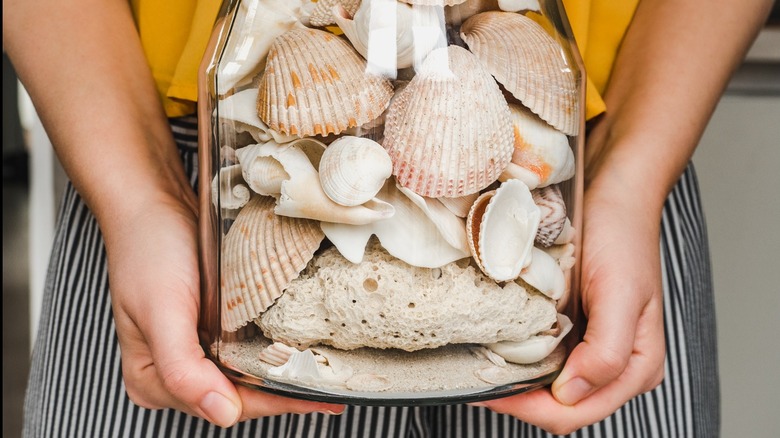
If you and your family love collecting seashells, you might find yourself with an overabundance of them. With this DIY, you can put those shells to good use and bring a beachy vibe to your bathroom at the same time by creating a gorgeous dish to hold your bar of soap. Seashells have the perfect rounded shape for holding your soap without getting any residue on your bathroom sink or counter, and they shouldn't take up too much space. For this project, you will need one larger shell for every dish you want to make.
If you'd like, you can make a more unique soap dish with an interesting aesthetic by attaching a small or medium seashell to a bigger one. This project is extremely customizable, as you could sand down the inside of your shell to bring out its natural hues and make it smooth, or choose to color the inside of your shell with resin for a different look. With just a few seashells from your beach trips, you can enhance your bathroom's coastal decor.
DIYing a soap dish with seashells
For those that want a really easy option that looks as natural as possible, you might consider simply setting the seashell out as it is; however, there are several ways to spice up your DIY soap dish. If you are reusing seashells that have a rough texture or have pieces flaking off, it's probably best to sand the interior. This way, the shell will still look similar to how it did naturally, but it will be a more usable and easier-to-clean dish. This could be done with a Dremel and a sanding bit, or possibly with sandpaper. Once the inside of the shell has an even texture, wash it off to remove any residue and coat it with a finishing spray, like the Krylon crystal clear acrylic spray ($9 at Hobby Lobby).
If you want to use another seashell as a small stand for your soap dish, simply attach it with an epoxy glue that dries clear, such as the Gorilla epoxy for $8 at Home Depot. Before starting, wash your two seashells to allow the adhesive to stick better. Glue the backs of the seashells together so that their insides are both facing out. Lay the dish down with the small shell on the bottom and place bunched-up paper around it. This should hold your seashells in the proper position until the epoxy dries.
Making a stunning seashell soap dish with colorful resin
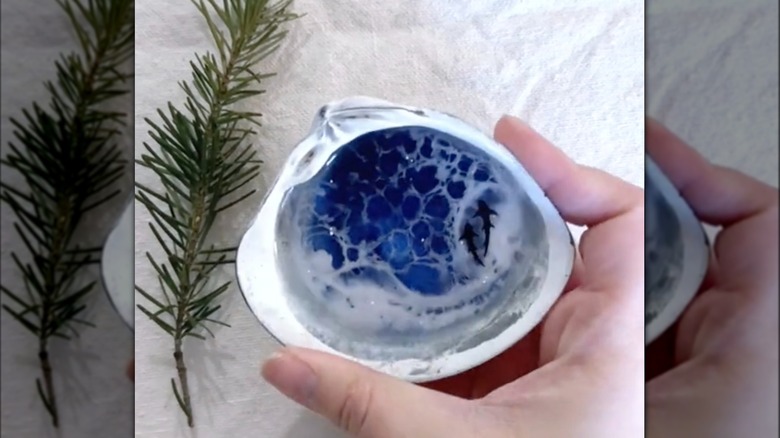
While seashells can be beautiful on their own, you may want to add some pretty, ocean-themed colors to your soap holder. To do this, you will need clear resin, like the EasyCast clear epoxy resin ($17 at Michaels) as well as transparent or opaque resin dyes. While you could choose any colors you like, blue and green hues tend to match the coastal decor theme. You can find these dyes at craft stores, like the transparent Color Pour cool dye kit in Michaels stores for $11. Prepare 1 ounce of resin in a cup according to the directions and add three to six drops of your dyes, combining different hues if you wish.
Now, pour this mixture into your seashell (after it's been washed) and tilt the shell back and forth to coat the inside with your resin. If any bubbles form, a heat gun may be used to get rid of them. You might also choose to place tiny seashells or other small decorations in this first layer of resin. Allow it to dry overnight, though be aware that the majority of the resin will gather in the base of the shell. Repeat this process with another color dye, and once it cures you'll have a stunning coastal soap dish that will add a pop of color to your bathroom. If you still have shells left over after this project, consider turning your summer seashells into cute table dishes too.

