How To Properly Apply Tung Oil Finish To Your Next DIY Wood Project
Because of its water-resistant and protective properties, tung oil is often used to seal and finish wood. Many woodworkers are familiar with tung oil because of its beautiful matte appearance and how it accents natural wood grain. To apply a tung oil finish to your next wood project, you'll need to thin the oil, apply multiple coats, and give the oil up to 30 days to cure.
Tung oil is made from the seeds found in tung tree nuts, and, in its pure form, contains no volatile organic compounds (VOCs), which makes it popular among DIYers looking for green solutions. This yellow, odorous oil hardens when exposed to the air, creating a water-resistant protective barrier. It stands the test of time and doesn't darken or yellow. While it's not quite as durable as some other finishes and stains, it's a beautiful choice for accentuating the color of your wood floors or showing off the wood grain in your homemade table. Whether you've selected it for its environmentally friendly characteristics or appearance, tung oil requires correct application to look and function as desired.
Preparing for tung oil application
First, determine the correct amount of tung oil for your DIY woodworking project, keeping in mind that you'll need to apply multiple coats. Most projects need between two and five coats. However, porous materials and high-contact surfaces may require more. For example, a coffee table or cutting board needs more coats than a decorative side table that will only display a few trinkets. As a baseline for your calculations, 16 ounces of a pure tung oil product will generally cover 50 square feet of wood with a single coat.
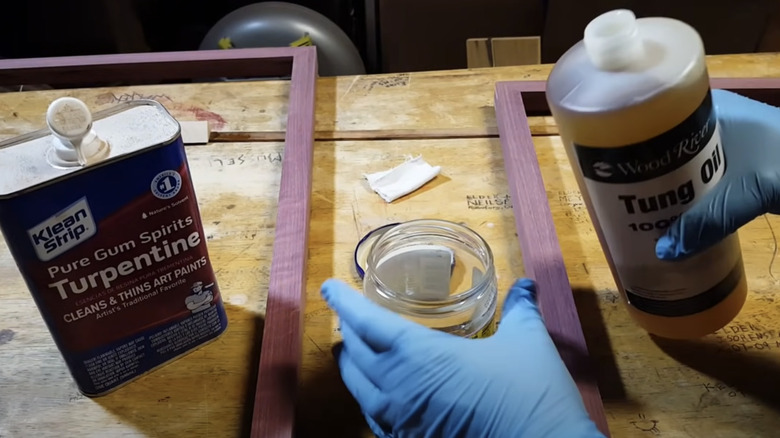
Once you have the correct amount of tung oil, thoroughly clean your surface and strip any existing finishes off the wood. For the best results, you need a surface free of grease, dust, and dirt, and tung oil cannot be layered over other stains. Next, thin the oil — unless you bought a pre-thinned product or are applying it to porous surfaces like unfinished wood flooring. To thin the oil, follow the instructions on your specific product. Usually, this step requires mixing the tung oil in equal parts with mineral spirits or citrus solvent. Remember to wear protective latex gloves.
How to apply tung oil
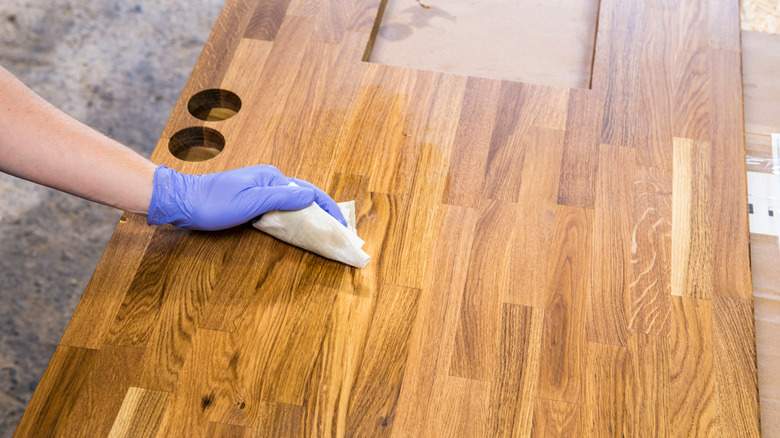
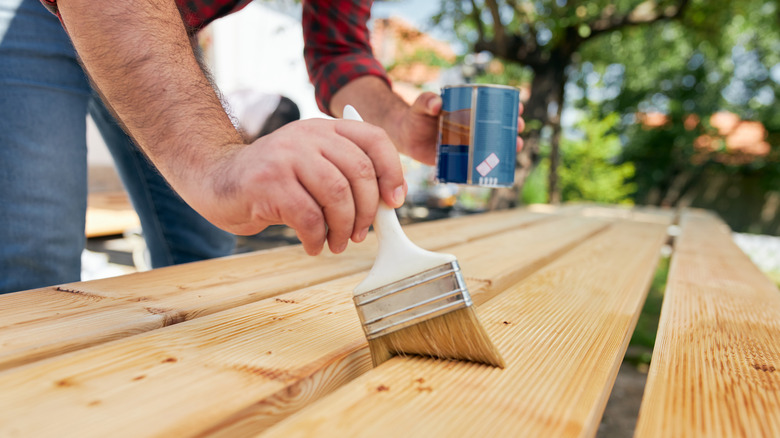
A clean soft rag, a bristled brush, or a foam brush applicator all work well for applying tung oil, depending on the size of your project. Begin with a thick first coat, keeping in mind that the oil will soak right into the wood. Use the brush or rag to ensure that the oil is spread evenly over the entire surface and follow the natural grain of the wood. Wait for the oil to visibly absorb into the wood, then move on to the next step.
Apply even coats, waiting until each is absorbed (or up to 40 minutes) before adding the next. You'll know when it's time to stop when most of the oil stops soaking into the wood. At that point, use a clean rag to wipe away the excess oil. You don't want to be left with any pooling or unevenness. The next part might be the hardest — waiting for it to cure. Tung oil takes about 30 days to cure at room temperature. Finally, keep an eye on how your wood project is wearing. It's often helpful to add a coat of tung oil every six months or so to keep it protected.


