9 Smart Tips To Keep Your Birdbath Beautiful
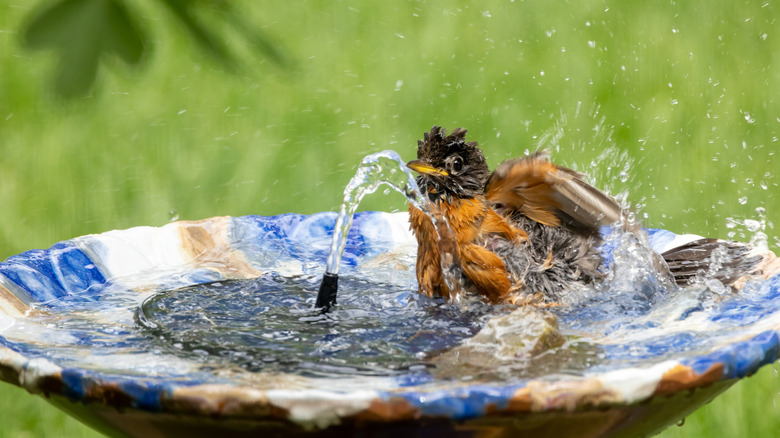
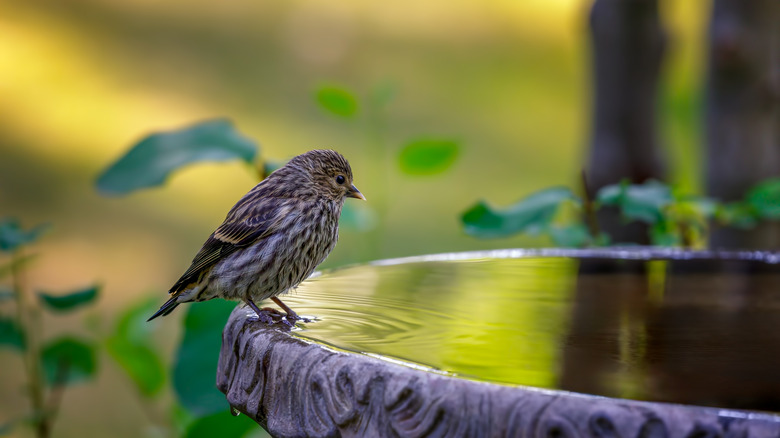
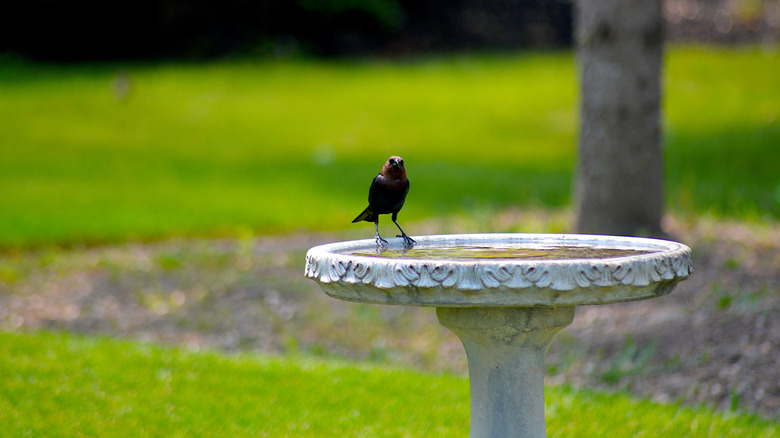
Placing a birdbath in your yard is a beautiful way to attract local birds — and it supports their health and safety by giving them a secure, reliable place to bathe and drink water. Especially in the summer, a birdbath is the perfect way to help your feathered friends by providing them with an easy way to cool down. But in order to keep your local birds safe, you'll need to keep your birdbath clean consistently.
While that might sound like an easy chore, keeping your birdbath sparkling isn't always that simple. Stagnant water is prone to algae growth, pests, bacteria, and buildup — much more so than your average outdoor water feature. And because you're inviting birds to enjoy your birdbath, it's essential that you know how to clean it safely, or else it poses a serious danger to the birds that use it.
Don't be discouraged just yet, though. We've rounded up a few genius tips that will help you keep your birdbath fresh and clean for longer (plus a few ways to make cleaning it that much easier). While you're at it, don't forget to give your bird feeder a proper clean, too.
Soak it with vinegar and water
Before you even begin to scrub away at the dirt or algae in your birdbath, you should first leave it to soak. Adding diluted vinegar to your birdbath before cleaning it is something you can do regularly to help break down the algae and grime left behind by visiting birds, keeping its water clear. But if you haven't already been doing so, soaking your birdbath before you clean it will help lift away built-on grime and layers of algae.
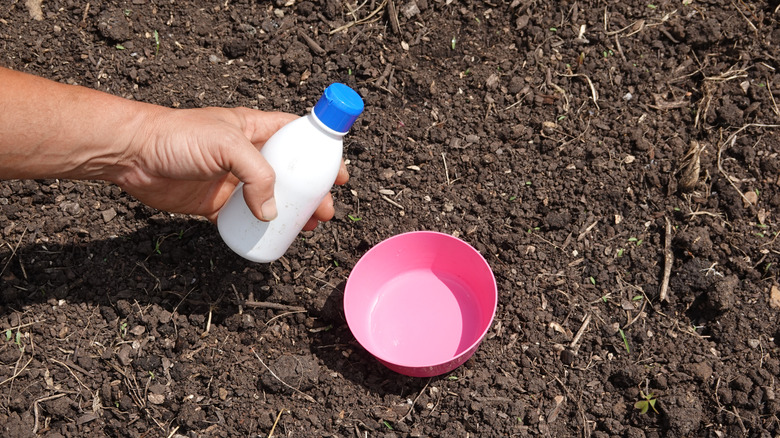
Start by filling the bowl of the bath with hot water; since hot water molecules move faster than cold water, this will help to loosen up the dirt stuck to the walls in your birdbath. In the meantime, the acidic vinegar will start to break down the algae and spores in the bath. Make sure you soak your birdbath inside your home or in a protected area that birds can't get to, as it isn't safe for them to bathe during the soaking process. Nine parts water to one part vinegar is a good rule of thumb to follow whenever you use vinegar to clean or soak your birdbath. Leave it to soak for at least 10 minutes. Then, empty the birdbath and prepare a new solution to finish cleaning it with.
Drop in a penny to prevent algae
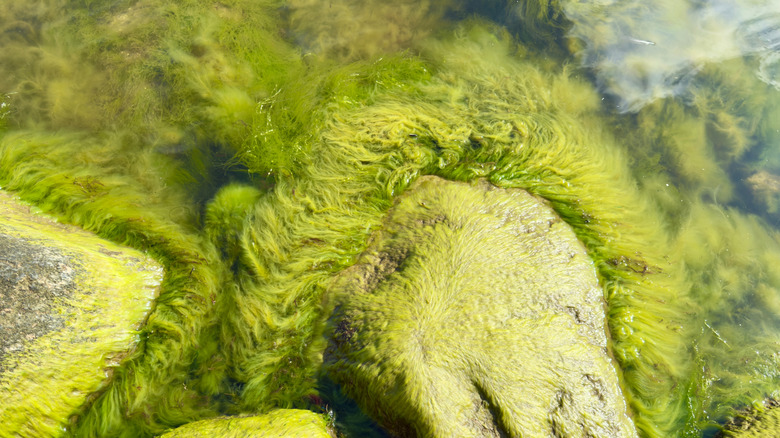
One of the most frustrating things about keeping a birdbath is its propensity to grow algae. Not only can algae be home to bacteria, but the algae itself can release toxins into the water that make it dangerous for birds to drink from and bathe in. This means that, if you want to own a birdbath, you need to be on top of your cleaning game — but algae can form in as little as a day.
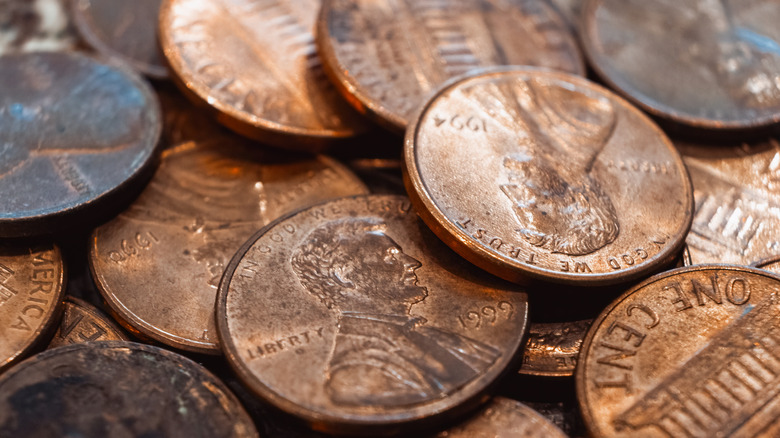
To lower the amount of time you need to spend scrubbing down your birdbath, you can try placing a few copper pennies inside your birdbath. In a nutshell, copper prevents algae from photosynthesizing, which kills it before it can grow and spread. You'll only need a couple of pennies to have a high enough level of copper in your birdbath to stop algae from growing quickly. Just make sure the pennies are minted before 1982, as pennies from later years aren't actually made of 100% copper.
If you'd rather save your change, you can always opt for other sources of copper besides pennies. You don't need much; a small copper disk, for example, will also do the trick. Just make sure the birds aren't able to grab whatever copper you use out of the birdbath. Keep in mind that copper can't stop algae completely, but it can slow its growth a bit.
Change out the water every day
You don't need to clean your birdbath every single day to keep it sparkling, but changing out the water regularly will help prevent dirt and algae from accumulating. Every time you change out the water in your birdbath, you're getting rid of a lot of the dirt and bacteria that visiting birds have added to your birdbath. Generally, it's recommended to change out the water in the bath every couple of days, depending on how many birds are using the bath. However, if you notice that your birdbath gets dirty easily or grows algae quickly, then you should try changing the water every day. This can help slow algae growth and prevent bacteria buildup, too, keeping your local wildlife much happier.
Changing out the water in your birdbath is also an easy way to get rid of other contaminants, such as feathers, fallen leaves, seeds, and pollen. While these might seem like harmless additions to your birdbath, they can encourage bacteria growth and even algae growth, in some cases.
Place your birdbath in the shade
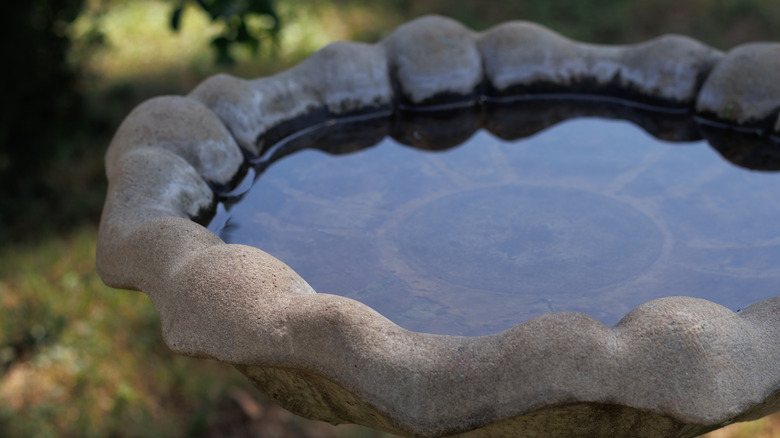
Another easy way to slow algae growth is by placing your birdbath in the shade. As with all plants, algae needs sunlight in order to photosynthesize and grow. By limiting the amount of sunlight your birdbath gets, you're also stunting the growth of algae inside it. This means you won't need to deep-clean your birdbath as frequently.
Better still, birds might be more attracted to your birdbath if it's in a shady spot. This helps to keep the water cool for them, which makes it more appealing. Keeping your birdbath in the shade will also slow the evaporation of the water inside it, so you won't have to top up your birdbath as often.
If you don't have a yard that receives full shade, even partial shade can help limit algae growth. You might also consider making artificial shade for your birdbath by placing it underneath an outdoor umbrella to keep things cool.
Hydrogen peroxide can give your birdbath a deep clean
Many birdbaths are made of porous materials. These can be difficult to fully clean because algae spores can hide deep inside these pores, so that a scrubbing brush can't get to them. If your birdbath is constantly growing algae again right after you've cleaned it, it could be because these small spores are hiding out in the crevices of your birdbath. Get rid of them by using diluted hydrogen peroxide in your birdbath.
A simple soak will do the trick, allowing the hydrogen peroxide to seep into the pores of your birdbath and kill off the algae spores. It's a good idea to do this with your birdbath every so often, especially if you're noticing that it grows algae faster than it used to. One part water to one part hydrogen peroxide is the secret recipe you should follow.
After you've soaked the bath in hydrogen peroxide, scrub it down as usual. Then, it's important to rinse out the bowl thoroughly several times, scrubbing it as you do so. This will help ensure that there isn't any hydrogen peroxide left in the bowl, so the water will be safe for birds to bathe in and drink again. Generally, hydrogen peroxide doesn't pose risk to birds when used as a cleaning agent, but it's a good idea to rinse it all out afterwards regardless.
Use diluted bleach for algae
Another option for thoroughly ridding your birdbath of algae spores and bacteria is to use diluted bleach. Some birdbath owners prefer to avoid using harsh chemicals to clean their birdbaths at all, because leaving these chemicals behind — even just in trace amounts — after you're finished cleaning can be dangerous for birds. That's why it's important to only use bleach during the first part of the cleaning process, and to ensure all traces of it are gone before you replace the water in your birdbath and make it available to use again.
Follow the rule of nine parts water to one part bleach, and allow the mixture to soak in your birdbath before scrubbing it down thoroughly. Bleach is a great way to remove buildup from the walls of your birdbath, and might even return some color to a particularly grimy bath. Once the dirt and algae are gone, fill the bath up with just water and rinse it again. Be sure to rinse it multiple times very carefully until the bleach is gone.
Use a hard scrubbing brush
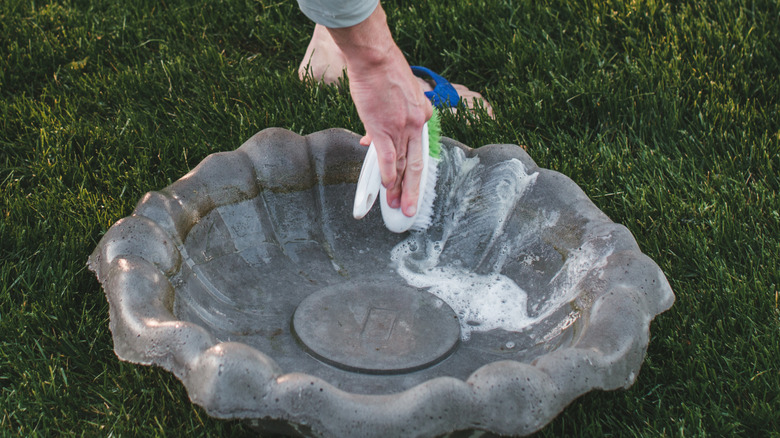
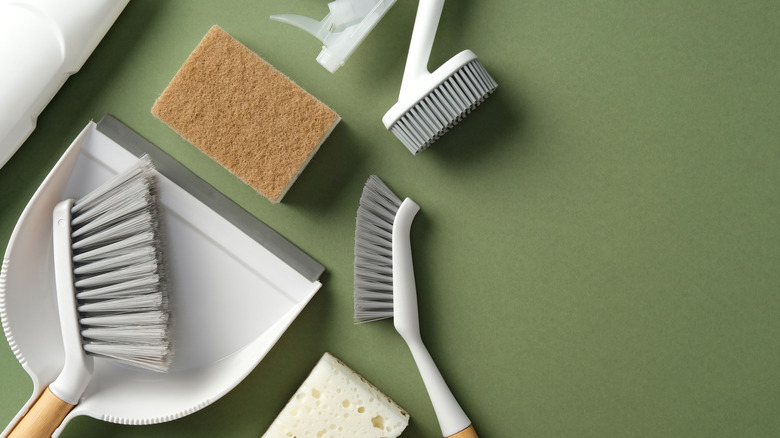
Since most birdbaths are made of materials like concrete, granite, or ceramic, you should always use a stiff scrubbing brush when you're cleaning your birdbath. The tougher your scrubbing brush, the better it will be at removing buildup from the birdbath's hard surface. Additionally, stiff scrubbing brushes are much better at reaching into the pores of your birdbath to remove dirt and algae, which soft brushes, sponges, and cloths simply can't do.
The bristles of a stiff brush will reach and clean crevices that soft cleaners won't, so it's essential to have a scrubbing brush on hand if you don't already. Your birdbath is likely to be made of a material that can withstand a good scouring, so you also won't need to worry about scratching or damaging your birdbath while you clean it.
Use safe dish soap for a stronger clean
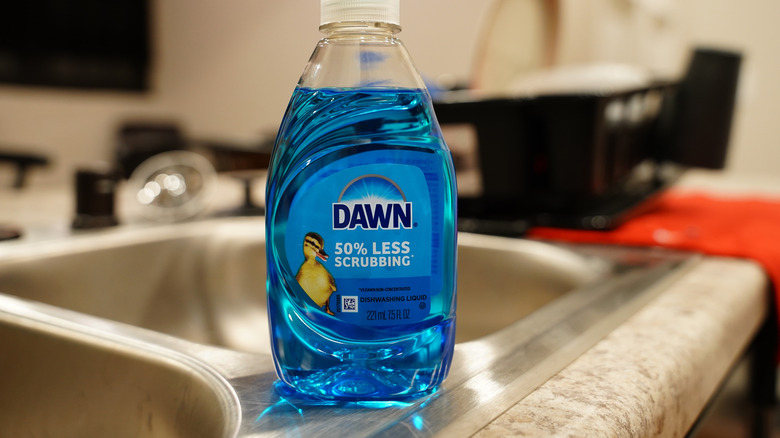
Another cleaning solution for your birdbath is to use bird-safe soap. Soap is gentler than bleach, but it's stronger than just plain water and a scrubbing brush. If your birdbath has a lot of dirt built up or has old stains you want to try to lift, then soap is a great option. A soap like Dawn dish soap — which is rated to be safe for using directly on birds to help clean them — is a good option for your birdbath. You'll still want to rinse the bath thoroughly after using it, but it's not as toxic as other cleaning chemicals like bleach, for example.
Just pump some soap directly into your birdbath or onto your stiff scrubbing brush, then add a bit of water. Use the brush to lather the soap and spread it all around the walls of your birdbath, scrubbing as you go. Rinse the soap out, then repeat as needed to lift stubborn buildup.
Keep your birdbath away from shedding trees
Fallen leaves in your birdbath can cause a large number of problems. They provide nutrients for algae to grow, making it harder to keep your birdbath clean. As the leaves decompose, they introduce more bacteria to the water — and depending on how long the leaves are left there, they can even start to mold, too. Leaves also give lots of coverage to the surface of your water — a mistake that can attract mosquitoes to your yard and encourage them to lay their eggs there.
You should always clean leaves out of your birdbath as soon as you see them. It's a good idea to skim your birdbath for leaves once or twice a day. To prevent leaves, flowers, and seeds from dropping into your birdbath, place the bath away from any nearby trees that are prone to shedding. You might consider moving your birdbath around your yard during the fall season while leaves drop — and don't forget to look out for trees that shed flowers, nuts, or fruit at certain times of the year.
