Create A Stylish Tabletop Firepit With This Budget-Friendly DIY
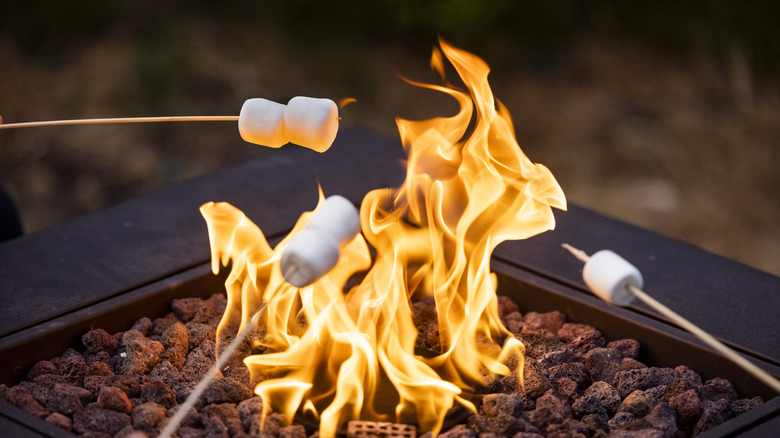
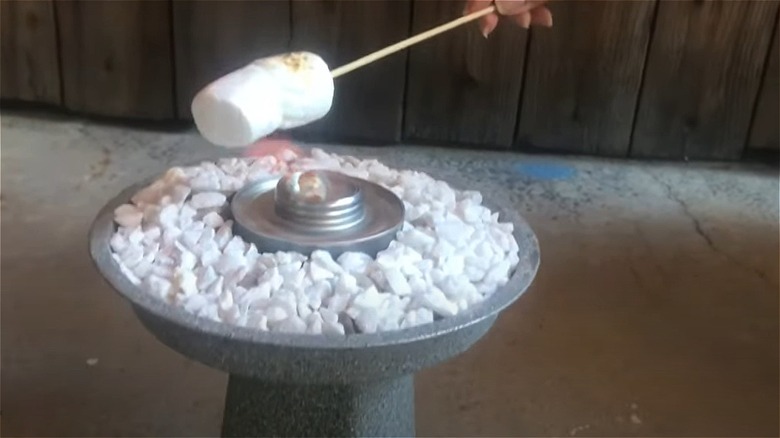
Watching a dancing flame is calming, meditative, and comforting. Firepits can turn your outdoor living space into an oasis, but their cost and potential hazards may be holding you back from investing in one. Play it safe with a budget-friendly DIY for a tabletop mini firepit that is sure to add a cozy atmosphere to your outdoor living space. For under $50, you can craft a handsome pedestal firepit that's ideal for toasting marshmallows, brightening up an al fresco meal, or creating an interactive centerpiece for a party table. What's more, you'll have enough glue and paint left over to make several more for little extra cost.
Make a quick trip to Dollar Tree for a plastic vase, a round cake pan, and several bags of decorative stones. Each item will set you back just $1.25. If possible, seek out a vase that's wider at the mouth than at the base; since the vase will be inverted to act as a stand for your firepit, a wider mouth will reduce the risk of tipping. Also, purchase a heavy-duty glue or epoxy like E6000 (less than $5 on Amazon), a can of Sterno or other heating fuel (roughly $20 for a pack of six Amazon), and Rust-Oleum Stone Creations spray paint in the color of your choice (between $15 and $20 per can on Amazon).
Craft your mini fire pit
To DIY this mini firepit, remove any labels or stickers from the vase and the cake pan. Attach the bottom of the vase to the underside of the cake pan with the heavy-duty glue. Take the time to center the vase and cake pan to ensure the best balance, and let the glue fully dry according to the instructions on the tube. After the glue has dried, apply two coats of Rust-Oleum Stone Creations spray paint over all surfaces except the interior of the cake pan; this surface won't be visible once your project is complete. You can also avoid the dreaded spray paint frozen finger with a WD-40 hack if using spray paint causes your finger pain. Keep your painting area clean by using a medium or large cardboard box to hold your vase and cake pan while you paint them. Spraying the project while it is inside the box prevents the paint particles from reaching surfaces outside its walls.
Once the paint is no longer tacky to the touch, center your can of heating fuel in the cake pan. Don't glue this down, as you will need to replace the can after several uses. Fill the pan surrounding the fuel can with stones. Three to four bags of accent stones should be enough. If you're a rock hound, use your collection instead! It's a great way to display your unique findings while saving a few dollars.
How to mitigate risks
Dealing with open flames, especially with kids, may raise your concern. Indeed, there are risks involved with creating a DIY firepit in your yard. However, with a bit of knowledge and preparation, this project can go from a bit scary to pure fun. Be sure to purchase ethanol-based fuel rather than methanol-based. In general, cooking food directly over an ethanol flame is non-toxic, but cooking food directly on methanol isn't recommended. Sterno sells cans of biobased fuel specifically for toasting marshmallows. However, Sterno Green uses a similarly non-toxic formula that's available in bulk on Amazon for considerable savings.
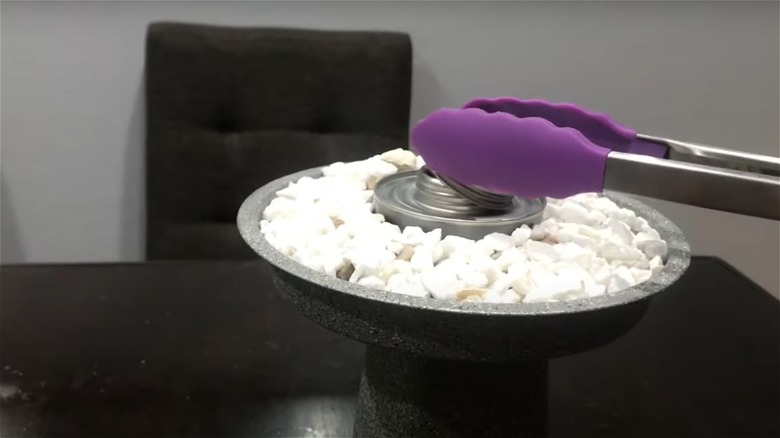
When you're finished using your firepit, use a pair of long-handled tongs to place the metal lid over the flame to put it out. As with any open flame, you should only keep your pit lit with adult supervision, and having a fire extinguisher on hand is always wise. Also, ensure your firepit is kept away from anything flammable. You may be concerned that the fuel cans could make the firepit's metal surfaces hot to the touch. However, according to anecdotal accounts, the heat does not transfer to the rest of the piece. If you are still concerned, consider adding an inexpensive cork trivet under the fuel can (a two-pack is available on Amazon for less than $4). This will be beneficial because cork can withstand heat up to 200 degrees Celsius and is relatively fire-resistant.


