Tear Into Your Kitchen Walls For The Extra Pantry Storage You Desperately Need
Unless you have insatiable teenagers draining food from your home faster than you can replace it, or you're using one of those Harry Potter spells that make tents and purses endlessly roomy, you've probably run low on kitchen storage space at some point. TikTok maker The Suburban Farmhouse (aka Christine) found some unused space within the walls of her kitchen — and we really mean within the walls. She and her husband cut away the wall covering two stud bays in the kitchen and created a little pantry, and the approach could be a boon to anyone with serious space limitations.
Saving money might not be the ideal motivation for this hack. Since you'll be building shelves within the wall cavity anyway, and the recessed cabinet will eliminate open wall space, it would probably be just as cost-effective to build shelves instead. But the sorts of things we store in our pantries can look messy and cluttered, and there's not much to do about it other than put a door between you and the foodstuffs. If you have the space for it but the messiness eliminates the idea of open shelving for you, a recessed cabinet with a door or doors like The Suburban Farmhouse's project might be just the solution for you. And this doesn't have to be a pantry project; it can be done in other rooms; DIYer Alaina Kathleen Ford, for example, cut into her walls to create her TikTok-viral arched niches.
The basics of building a wall bay pantry
Doors are probably a good place to start planning your cabinet. If you can find doors of an appropriate size (for two stud bays, your pantry would be 30 ½ inches wide), that simplifies things. You'll likely need to make your own, and The Suburban Farmhouse basically made a Shaker-style cabinet door. You'll need to overlap doors and walls; an inch-and-a-half reveal all the way around means your doors can meet in the middle of the center stud without over-complicating the math. Once you know the size of your opening, carefully mark your cuts in the drywall using a straight edge and a level, and use a wallboard jab saw to plunge in and make your cuts. File the edges straight and clean for a job as neat as pro drywall hangers would manage.
Because you will have exposed drywall edges all the way around, you'll need to plan for trim to cover it, and the trim should be what your doors close against. Installing shelves is a matter of cutting boards to length and carefully measuring and leveling them. Christine used pocket holes and screws to attach her shelves, but you could also use shelf pins or cleats for the shelves to sit on top. The shelves can't be any deeper than the width of your wall studs (3 ½ inches for 2x4 wall studs, which is perfect for canned goods since 22-ounce cans are similar in diameter).
Some gotchas to be on the lookout for
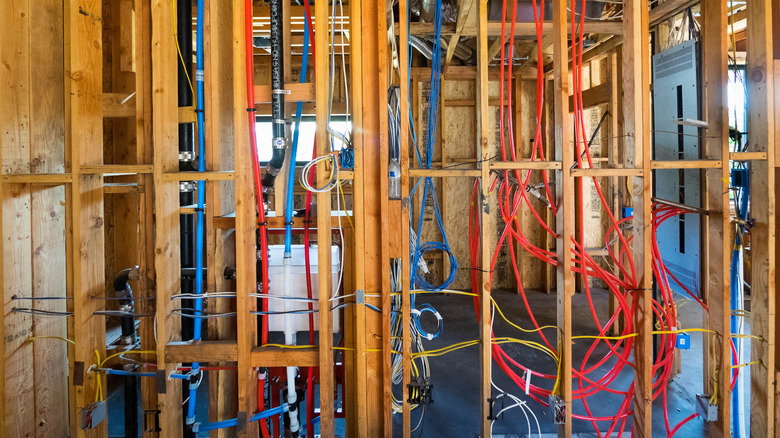
There are a few potential complications to avoid. First, you don't want to try this hack on an exterior wall because of vapor barriers, insulation, and other problems. Interior kitchen walls are more prone than other walls to contain water lines and electrical cables, which must be avoided. Kitchens can contain lots of wiring, typically two circuits for countertop outlets, a dedicated refrigerator line, sometimes dedicated circuits for microwaves and vent hoods, and perhaps circuits for the room adjacent to the wall. A sure way to find an electrical cable is to look for outlets. Even if the outlets are below your planned inset cabinet, the wires servicing them might be dropped down from higher in the cavity. Outlets and switches are typically 15 to 48 inches from the floor, but the wires can be run at any height. Some newer stud finders have a feature to help you find wiring within walls.
Fire blocking is vital as a preventative measure because fires can spread quickly through walls when air moves freely within them. Make sure you add a board at the top and bottom of each stud bay to completely fill the space, then caulk around the board thoroughly. You can use a specially designed sealant for this purpose, but it's not required in this case. Blocking also makes walls sturdier, as HGTV's Shane Duffy shows us, but with your fire stops and shelves, removing mid-wall blocking won't cause a problem.

