Why DIYing Recessed Lighting Has Gotten So Much Easier
We may receive a commission on purchases made from links.
Let's call them the "dark days," because irony is best when it contains some truth. Back when recessed lighting meant incandescent can lights, the whole enterprise was fraught with frustrations. They were too tall for some floor joists when there was a floor above; without modification, their mounting brackets might be too wide for the thicker joists used in some older houses; they couldn't be installed at all if there was a ceiling joist without shouting distance; and even when they did fit, they penetrated the insulation and created enormously expensive air leaks. And so we enter the modern era, where TikTok shows us that LEDs have solved these problems. TikTok carpenter @danthecarpenterman69 shows us that the new slim LED recessed lighting, also known as "wafer lights," can even be installed directly beneath a ceiling joist because they're no thicker than your ceiling's drywall.
As another TikTokker, @interiortrendinc, puts it, the old incandescent can lights took "like, six acres to install." More like "can't" lights, if you ask us. @interiortrendinc credits millennials with the advancement, though since LEDs were invented in 1962 that seems unlikely. (We will give them credit for installing recessed lighting fixtures while wearing white skinny jeans, though.) You might already know the basic differences between LED and incandescent light bulbs, but these little bulb-less fixtures are on a whole different level.
Why and how LED recessed lighting is better
You can't really even call LED wafer lights "can lights" (though many do, out of habit) because they don't require a can ... the metal housing into which electrical gizmos and incandescent bulbs are fitted. "Wafer lights" seems apt, since you can install them with as little as ½ inch of clearance. Not coincidentally, that's the thickness of the most commonly used drywall. (Incidentally, you could install most surface-mounted and pendant incandescent lighting directly beneath a ceiling joist by mounting them to a "pancake" box ... an electrical box as thin as ½ inch, so it really was just the can lights that couldn't.)
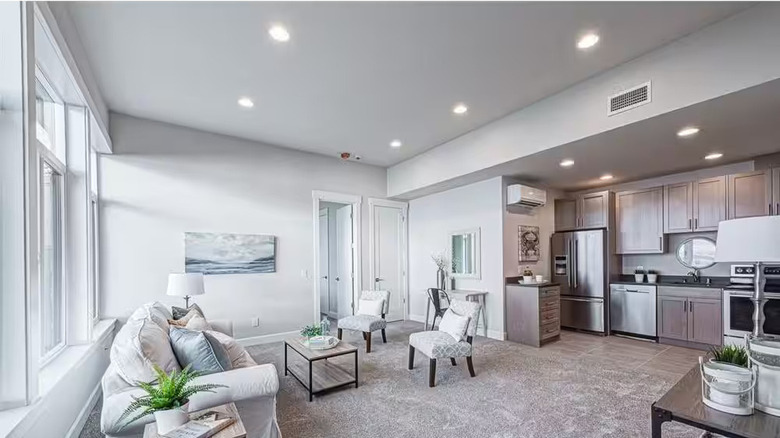
So the LEDs let you install your lights according to whatever layout you want, and they save you money by being 90% more efficient than incandescent bulbs and by not undermining your attic insulation. They're also more flexible in that most models are available in variable brightness and color, and they don't require replaceable bulbs (even LED bulbs). Recessed LED lights have even more advantages you should be aware of before shopping for fixtures, like the fact that the lights last for as much as 15,000 hours of use. Seems like LEDs win the day. So how do you get in on this?
What's the catch? Is this hard to do?
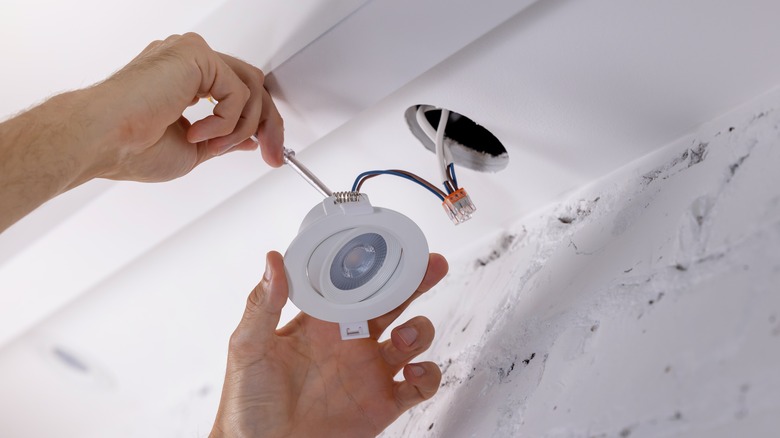
Installing the wafer LED fixtures themselves couldn't be easier unless you expect them to drill holes for you. The electrical wiring is the same as incandescent fixtures, since both operate on standard 120-volt home circuits. And the actual process of getting one in your ceiling is simple. Following your wafer light package directions, you'll buy a hole saw (which might very well cost more than your lighting) at a size slightly bigger than the nominal size of your lights. For example, YouTube how-to guy @Fixthisbuildthat uses a 6 ⅜-inch hole saw to install his 6-inch lights. Whatever saw you buy, try it out first on a bit of scrap sheetrock or thin wood just to make sure the beauty ring trim around the light will cover the hole completely.
From there, you'll connect the light fixture to the junction box (if it isn't connected already). The junction box will typically have a metal compartment with wire leads and either push-in connectors or wire nuts. These are used to connect the leads to your house wiring. Replacing a light can be quite easy, but adding a new light (or series of lights, as is often the case with recessed lighting) requires electrical wiring best left to the pros. Finally, stuff the junction box in the hole, then insert the fixture so that the built-in clips snap the light into place.

