10 DIY Basement Storage Solutions You Need To Free Up Precious Space
Basements are like magnets for clutter. Unless you repurpose the space for entertainment, the basement is just the place where things go when you want them out of your face. Holiday decorations, hobbies you picked up once and forgot about, old school projects, and so much more pile up over the years. While it's easy to cast aside all the space you have downstairs, the basement can be more functional and organized with some inspiration and elbow grease.
Most of the DIY projects on this list will be doable with some wood and a drill, but some will be easier with a saw as well. Also, these hacks focus on building storage spaces, such as shelves and cabinets. However, it's a good idea to go through your belongings before choosing a project to get an idea of what you need. Whether you're hanging totes from the ceiling or displaying your tools on a DIY pegboard, here are 10 DIY basement storage solutions you need to free up precious space.
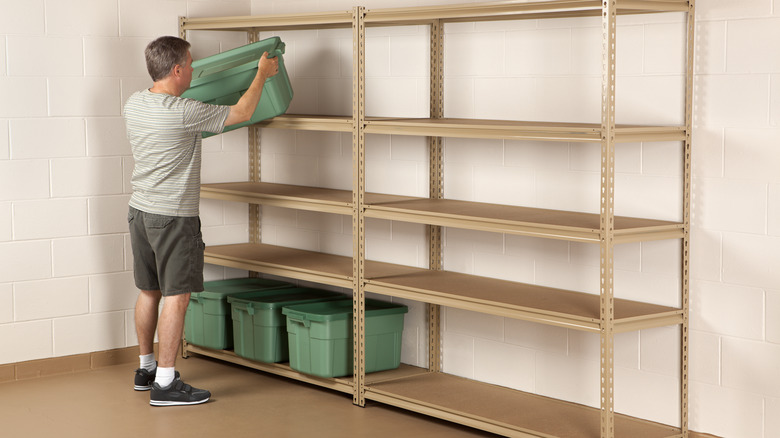
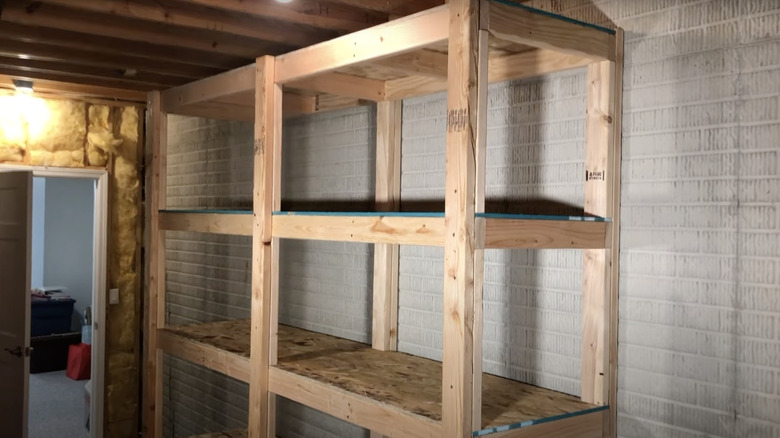
Barebones basement shelves
The most obvious storage solution is to build a big shelf. According to the YouTube channel Everyday Home Repairs, you don't have to break the bank or come equipped with a garage full of fancy tools to build one. He suggests getting your lumber cut while still at the store, utilizing the industrial-grade saw at The Home Depot. In this 11-minute video, he walks viewers through putting together a shelf that is 8 feet tall, 8 feet wide, and 2 feet deep. From there, you just need a power drill and an Irwin clamp.
Cabinet wall
TikToker Erin Marshall (@liveprettyonapenny) remedied a blank basement wall by building a wall of cabinets. She bought several unfinished cabinets at The Home Depot and then added them onto "bases" made from 2x4s. The bases were easy to fit together along the wall, and she merely had to set the pre-made cabinets into place. Adding finishing touches like trim and baseboards gives the wall a professional look, and you can paint or stain them for a stunning final product. Hiding clutter has never looked so good so easily!
Want to make your unfinished basement more inviting? Check out these ideas.
Pantry in the stairwell
Have you ever noticed that no man's land of space above your basement stairs? TikToker Caveat Carrie (@caveat_carrie) decided that square footage is too expensive to go to waste in this economy, so she turned it into a pantry. The most important step is building a false floor that can swing over the stairs or tuck against the wall. Please be careful with weight capacity! You will need to measure carefully and properly stabilize the wood. However, it's just a matter of painting and adding shelves afterward for a cute little pantry over the basement.
Install a wall of IKEA PAX storage
If your basement is big enough, create a wall to divide the space into multiple rooms. Using pieces from IKEA's PAX wardrobe system lets you pick the size and color of the pieces but also makes your makeshift wall functional for storage. TikToker Kiersten (@k_sway) first added a base made from 2x4s for stability. She cut a piece of the baseboard out of her way to put the closets flush with the wall. The end result is so smooth and professional that it looks like the house came that way.
Sliding drawers
Vertical storage is not the only solution to a full basement. You can utilize the space under beds, shelves, or tables as well with some quick and easy sliding drawers. YouTube user @emergingtechhd647 shows himself gluing and drilling pieces of wood together into the drawer shape before painting. He adds wheels that only roll forward and backward for the drawer action, but this is easily customized to fit your needs. For example, adding a top and wheels that turn 360 degrees would give you a storage ottoman for your basement lounge area.
Under-stair storage
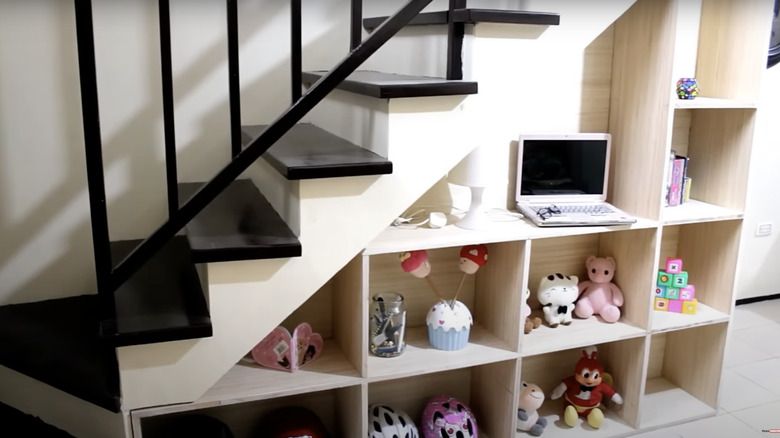
All basements have stairs, so why not use that space? YouTuber D.A Santos turned the space under her stairs into the ultimate storage unit. This project is a little more involved, but she was able to create a small closet and a series of shelves while standing in her kitchen. The cubbies are cute and perfect for aesthetic organization, while the closet behind them hides the less appealing storage. For more ideas for under-stair projects, here are some more clever ways to repurpose unused under-stair spaces.
Overhead storage
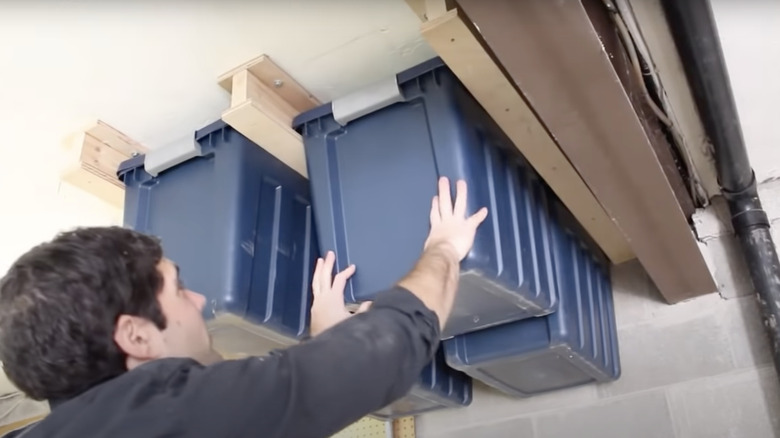
When floor space is a luxury, you can always go up. Home Repair Tutor on YouTube shows you how to hang totes from the ceiling, completely opening up the floor. This project may be closer to an intermediate level DIY because it briefly involves a circular saw, and you will have to locate your ceiling joists. However, the original video is easy to follow, and we have more information about doubling your storage space in your basement. Whether you build it or invest in a pre-made system, ceiling storage is an option.
Shallow wall storage
Big shelves, drawers, and doors are invitations to stuff as many things as possible out of sight, so it's no wonder things get lost. Delancy from @delancydiy solved the clutter problem for herself by building a shallow shelving unit. She built the unit from basic 2x4s and installed it with a power drill, but you can avoid also needing a saw by getting your lumber cut at The Home Depot. Because the shelves can only fit one or two items deep, you can display your tools and paint without misplacing anything.
Honeycomb organizer
The soul of this idea may be more applicable than the details. YouTube user @justinflom cut a PVC pipe down into equal-sized pieces and then held them together in a honeycomb shape with a ratchet strap. He used it to hold a number of spray paint cans, which might not be as useful for most of us. However, the idea of creating a new shape out of equal-sized cubbies is more visually appealing than a plain shelf. You can get creative with it, including gluing the pieces together vs. using a ratchet strap.
DIY pegboard
Beyond shelving, the smoothest way to organize your basement or garage is to utilize the wall space with a pegboard. They are great for holding things like tools because adjustable hooks can be placed to make room for different shapes and sizes. Such flexible organization does come with a price though. If you happen to have some plywood, a drill, and some spare time, you can make your own pegboard. TikToker Athabasca Restoration (@athabasca_restoration) traced a grid on a piece of plywood and then drilled into the intersection of each square.


