10 Cleaning Hacks You Should Be Using To Keep Your Kitchen Sink Sparkling
The kitchen sink is an ongoing battleground when trying to keep your home clean and spotless. Cleaning it after each use is something you should do every day, but not every cleaning method works well. Instead of doing the usual scrub and rinse, shifting to new cleaning hacks can help fight pesky water stains and grime. The goal is to keep your sink sparkling clean and germ-free to create a safe environment for preparing meals.
From using odd household items to trying more eco-friendly cleaning routines instead of chemical-heavy ones, these hacks use easily accessible items and aren't hugely labor-intensive. We know you're busy, so we're going to give you tricks to clean, cut through stubborn grime, prevent nasty buildup, and leave a nice shine on your whole sink. Whether you want to discover how natural ingredients help with this process or find more uses for things around your home, you'll understand the how and why behind each hack so you can use them confidently.
Baking soda and vinegar perform different tasks
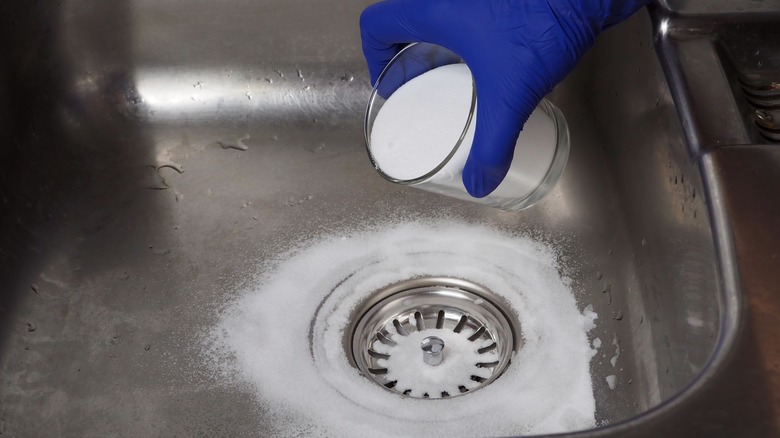
Western Oregon University suggests sprinkling an even layer of baking soda on and around your kitchen sink to get a shiny finish. Sprinkle carefully so you don't end up with messy powder on the floor. Slowly pour vinegar onto the baking soda or use a spray bottle to spritz it on and wait for it to fizz. Leave it alone for a few minutes for the fizzing to die off before gently scrubbing the sink with a sponge or scrub brush. You shouldn't have to apply a lot of pressure; it'll start loosening up any gunk on the surface. Finish by rinsing the area with warm water to remove any remaining baking soda and vinegar residue, and wipe it dry to avoid water spots. However, if your sink has a special finish, don't use this hack because the acidity from the vinegar can damage it.
This hack works because a small chemical reaction happens when the vinegar meets the baking soda. They create carbonic acid, and it breaks down as it fizzes and bubbles into harmless water and carbon dioxide. As it fizzes or bubbles, it helps gently loosen the grime and dirt on the sink, making it easy to scrub and rinse. Baking soda is a mild abrasive that helps scrub the sink without scratching the finish. Vinegar works to disinfect the sink, kill bacteria, and dissolve grime.
Lemon, cornstarch, and salt scrub remove stains
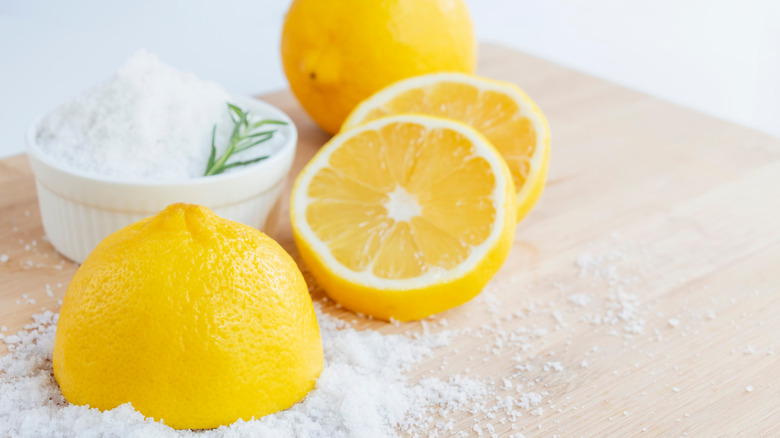
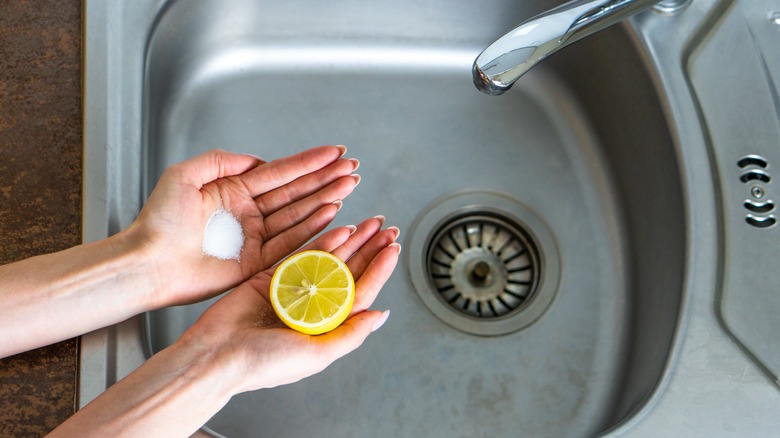
Natural ingredients make great floor and sink cleaners and make the area smell citrusy. Carefully cut a lemon in half and sprinkle a layer of cornstarch and salt to act like gentle abrasives. Use the lemon like you would a scrubber and apply it right onto any stains you see. As you scrub, it'll start lifting and removing the grime, and the lemon's acidity will break it down. The cornstarch and salt help scrub away any residue without scratching the sink, leaving a fresh smell behind. Don't use this hack on marble or other natural stone surfaces because lemon's acidity can cause etching and dull the polish.
This mixture works to remove stains because lemon juice is acidic, helping it break down and lift surface-level stains. The salt is a very gentle abrasive that helps work the cornstarch and lemon juice into the stains. Cornstarch absorbs residues and oils to make it easy to rinse them out. Lemon also has antibacterial properties, sanitizing the sink while leaving a clean scent.
Buff with olive oil for a shiny finish
There are several surprising uses for olive oil around the house that you may not know about, including buffing your sink. Once you clean the sink, take a soft cloth, drizzle a few drops of olive oil, and buff the sink's surface in a circular motion. You don't have to press hard. Just gently work the oil evenly across the surface, ensuring you hit every spot. The goal is to finish with an even, thin layer that boosts your sink's natural shine without leaving a slippery, greasy residue. Be careful because applying too much will make a mess; note that it works best on stainless steel sinks.
The unique properties of olive oil make it an excellent polishing agent. When you put on a thin layer and buff it in, the oil fills the microscopic crevices and pits in the material to give you a reflective, smooth finish. Also, Washington State University points out that it'll create a thin barrier that repels water, reducing the chances of water spots forming. It's safe to use on surfaces where you prepare food, making it great for the kitchen. You'll get an eco-friendly, safe option to help keep your sink beautiful and shiny each time you apply it, and the protective barrier can potentially make your sink last longer.
Use flour for polishing stainless steel
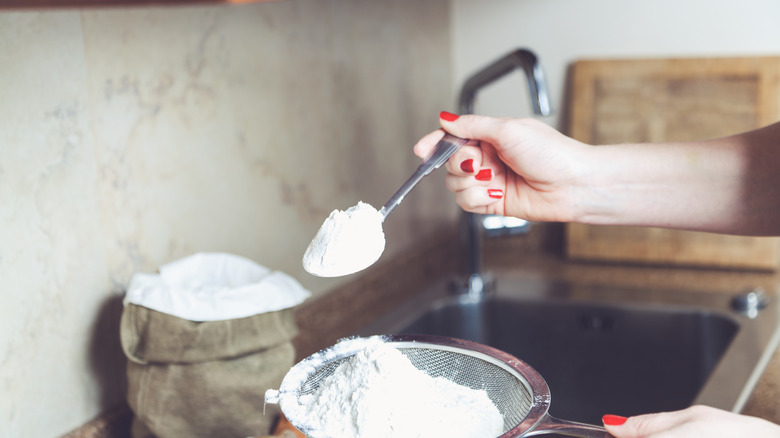
You most likely have flour in your kitchen and can use it to polish your stainless steel sink. Before you sprinkle it on, take time to wash and dry the area. Really dry it because if it's even slightly damp, the flour will stick and make a mess that is challenging to get out of the sink without clogging the drain. Sprinkle a thick layer of flour all over your sink and use a soft cloth to rub it in. Diamond Home Support suggests using ½ cup of flour for a standard-sized sink. Buffing it will slowly make your sink shinier, but it'll take a few minutes for you to notice a difference. This hack is excellent at removing smudges and light stains. It's also a great way to polish your stainless steel appliances.
Flour works to polish stainless steel because it has very fine abrasive properties. By gently buffing the flour onto the surface, it scrubs it very granularly, removing any residue or dirt that can make your stainless steel look dull. Also, since flour is so fine, you can polish without worrying about scratching anything while getting a professional-grade sheen. The tiny particles in the flour will act like a buffer to smooth the surface so it reflects more light.
A white vinegar soak removes mineral deposits from faucets
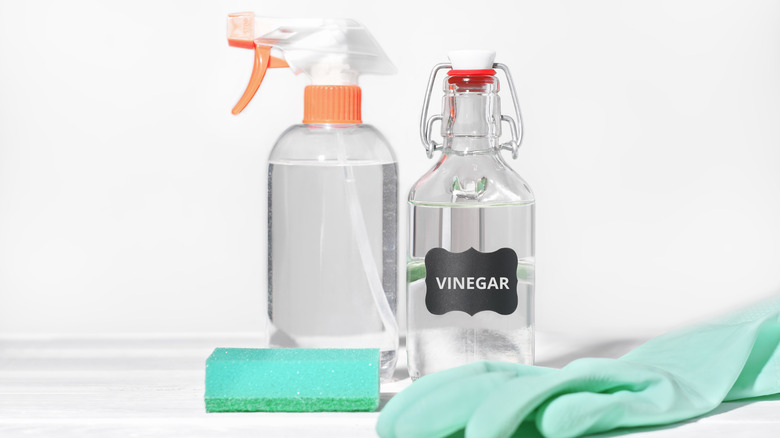
Stripping mineral deposits from your faucets can be a tricky process. However, white vinegar can be the perfect solution. Get a large cloth to wrap around your faucet and soak it in the vinegar, ensuring it's saturated. Wrap the cloth around your faucet, covering any mineral deposits you can see, and leave it alone for an hour or two. As the vinegar sits against the mineral deposits, it'll penetrate and lift them from the metal.
When time is up, carefully unwrap the cloth and rinse the faucet with clean water, ensuring you remove all the residue. Wipe the faucet with a dry, clean cloth. Also, according to Michigan State University, you can remove the aerator and soak it in vinegar to remove deposits while the faucet itself is soaking. However, before you try this hack, note that vinegar's acidity can etch some finishes. So, look at the manufacturer's guidelines before you use it, especially if you have faucets with special finishes.
Using white vinegar to eliminate icky mineral deposits works because of the acetic acid content. This acid is very good at dissolving mineral buildup, like lime and calcium. These deposits stick to your faucets, creating a crusty layer that dulls the material. When you use vinegar, the acetic acid slowly breaks down the minerals, making them easy to rinse and wipe away. It's a natural, gentle hack that polishes the metal, leaving a shiny faucet in its wake.
Use a toothbrush for tight spots
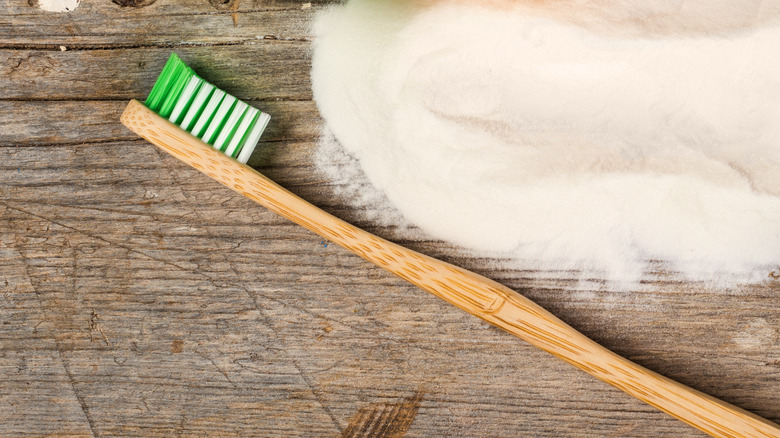
To ensure a thorough cleaning, use an electric toothbrush to get into tight areas. A regular toothbrush works well, too, but you'll scrub more. Mulberry Maids suggests you dip your chosen toothbrush into a cleaning solution or vinegar and use it to firmly but gently scrub around drain edges, bases of faucets, and other tight spaces where grime builds up. This method allows you to focus on targeted cleaning without contorting yourself to get in there. Remember to swap the toothbrush (or toothbrush head) out for a new one every few times to prevent spreading germs.
The toothbrush's design is why this is such an effective cleaning method. It has a small head with flexible bristles that let you get into tiny spaces and contours to get a deep, thorough clean that you can't reach with bigger brushes. Dipping the toothbrush into vinegar or another cleaning solution can also help you break down mineral deposits and grime, as the bristles can gently scrub it away. This hack can eliminate any nasty buildup, leading to a cleaner and more hygienic sink or space.
Rinse with club soda for sparkle
If you want your sink to sparkle in the sun without using chemical-based cleaners, TLC Cleaning recommends cleaning your sink by opening a bottle of club soda. Carefully pour it over the entire surface of your sink, being careful not to splash it around. Let it drain, and buff the surface dry with a soft cloth. This will help remove any lingering water spots or moisture, leaving your sink shiny and bright. This hack works best on chrome and stainless steel sinks, creating a streak-free sparkle.
Club soda works because it contains carbon dioxide, and when dissolved in water, it creates carbonic acid. This very weak acid breaks down light surface residue and dissolves streaks or particles that rinsing in water can leave. Also, buffing the sink dry polishes the surface and removes water spots, making it shine more. This method leverages club soda's physical and chemical properties, making it a safe and sustainable alternative to chemical-based cleaners.
Scrub with borax and lemon juice paste
Maid to Please says borax mixed with lemon juice creates a gentle but strong cleaning paste for the sink. Start with a cup of borax and slowly add lemon juice until you get a thick paste that sticks to the sink without dripping. Carefully spread an even layer over the sink, paying close attention to any areas that have visible smudges or spots. Leave it alone for 15 to 20 minutes to work. After the paste has set, get a sponge or scrub brush and work the borax and lemon juice into the stains so you can lift them. Rinse the area with warm water to remove any residue or loose debris, and dry with a clean cloth. Wear gloves to protect your hands as you work with this paste because the weak acid in lemon juice and borax's abrasive nature can irritate.
The two substances work well together. Borax is naturally occurring and has a reputation for whitening and cleaning by using a light abrasive to scrub stains and grime without damage. Lemon juice has a decent amount of citric acid to deodorize and disinfect. The acid breaks down the grime and kills germs, leaving your sink smelling fresh and visibly cleaner. Lemon juice also dissolves soap scum and hard water deposits.
Use a vodka spray for disinfection and shine
This vodka hack cleans and shines chrome faucets and sinks. Put a little vodka on a cloth and wipe it on the sink, or put a 1:1 ratio of vodka and water in a spray bottle and spritz it on, covering the whole sink and leaving it alone for 15 minutes. During this time, it's soaking into any dirt or grime and going to work killing bacteria and germs. To finish, wipe with a soft, clean cloth and buff it until it shines.
To use the alcohol-soaked cloth, rub it onto the sink's surface, scrubbing at any stains, and dry it with another clean rag. Before you start working, we recommend you check the ventilation because vodka can have a very sharp, strong smell that can be overwhelming in small, enclosed spaces. Also, don't pour it onto marble or delicate surfaces because it damages them. If the smell bothers you, Kristi Klean recommends adding a few drops of your favorite essential oils when you shine the sink.
Because vodka has a lot of alcohol in it, it is a very strong cleaner. Alcohol is a strong germ killer that will break down viruses, bacteria, and germs on the surface of your sink by making their proteins less stable. When you use pure vodka, it dries quickly and leaves a shine without streaks. You'll get a clean, shiny surface that makes your chrome or stainless steel sink or faucets look better.
Use rubbing alcohol to disinfect
Rubbing alcohol is a surprise cleaning ingredient for the sink that makes it shine while killing germs. Mix a 1:1 ratio of rubbing alcohol and water in a spray bottle and spritz your sink, ensuring you cover the whole surface area. Get a clean cloth and wipe out the sink, ensuring you dry it. It leaves a germ-free, clean surface without having to scrub. However, only use it in a well-ventilated area because it can have a strong smell, and don't use it on enamel or colored sinks because it can cause damage or discoloration. Always test it on a hidden spot before covering the whole sink.
Rubbing alcohol's properties make it such a powerful cleaning and disinfecting agent. Healthline points out that it's a powerful germicide that kills viruses and bacteria from surfaces. It denatures proteins on contact, meaning that it neutralizes microorganisms when you spray it on. Remember, rubbing alcohol will also evaporate very quickly, so it doesn't leave water spots or streaks.
