The Proper Way To Remove Floor Glue To Keep Your Renovation Running Smoothly
We may receive a commission on purchases made from links.
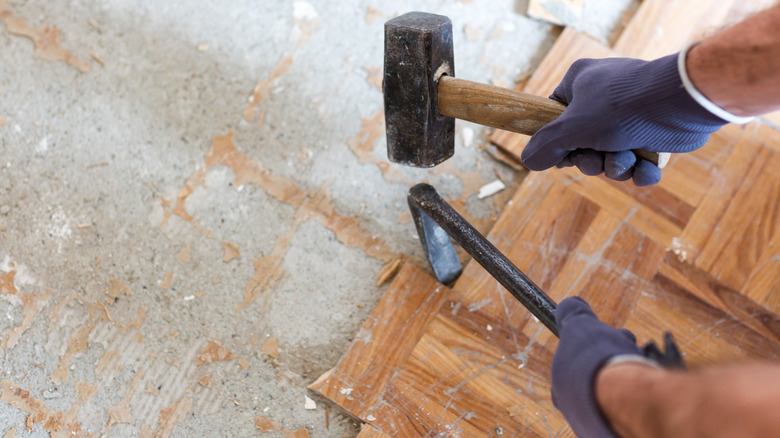
Have you ever pulled up old laminate flooring or even linoleum with the expectation that you'll be ready to lay new flooring right away? Seems logical without any nails or staples to worry about slowing you down. Then, you see it. There are layers of stuck-on glue, with ridges and grooves throughout the surface. You can't ignore it because anything you put on top of that floor glue is going to create an uneven surface for the new material you're putting in its place. It also makes it harder for new glue to properly bond to the floor.
For some, the easiest option seems to be just pulling off the uneven spots and peeling away the ridges. If that's what you've done, chances are good that you now have a few rips and snags in the subfloor, and it's still not all that level. The alternative is to use the right tools and process to fully remove all the adhesive on the floor. That likely includes the use of a properly selected glue remover and a floor scraper. The other important factor in this equation is time. As you learn how to remove floor glue, remember that taking your time to go over the area several times and ensuring a thorough job will pay off with a better-looking floor and more durability overall.
Removing floor glue starts with loosening it
It's common to find old glue under carpeting (especially in old homes) as well as covering beautiful oak hardwoods from decades ago. Sometimes, it's a hard substance, other times, it looks like a black, sticky, caked-on mess (which usually means it's been there for some time). You could try mopping it up, but the glue's job is to hold onto the surface of the subfloor tightly, and it's not going to give that up easily. For that reason, it's necessary to use a specific floor glue remover.
Choose a floor glue adhesive remover designed for this application. There are numerous brands available, including Max Strip Floor Adhesive Remover, sold at Home Depot for about $56 a gallon, or Zep Floor Stripper for about $24 per gallon. Zep will remove that heavy black, tarry glue and varnish build-up on older wood floors. Other products are available, including some non-toxic and eco-friendly agents.
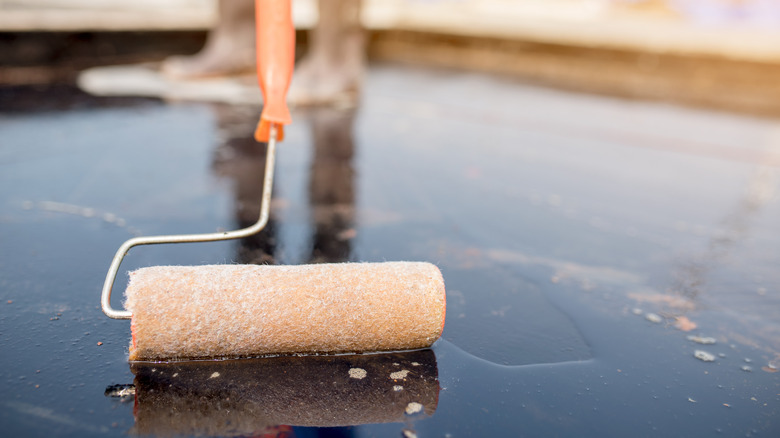
You'll need to have good ventilation in the room. Be sure to control the use of the product and cover any delicate surfaces, like baseboards, with cloth to prevent damage. You'll then apply the floor glue remover to the areas of stuck-on material according to the manufacturer's instructions, usually by rolling, brushing, or painting it on the surface. It needs some time to penetrate the glue. These products are highly effective at breaking down the composition of the adhesive, loosening it, and breaking its hold on the subfloor.
Clearing away the glue and grime
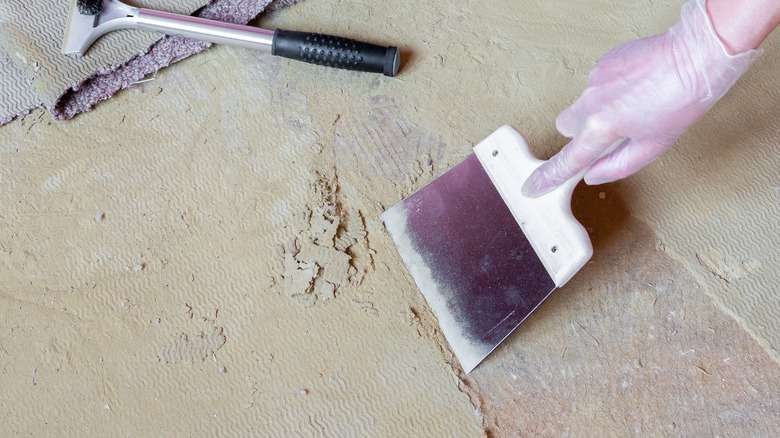
After the allowed time to sit as directed by the manufacturer, your next step is to remove the gunk that's now present. Don't use a mop but a floor scraper instead. Don't use a lot of force, but move over the surface in a methodical manner to carefully pull off all the substance. Wipe it onto a paper towel for disposal as you go. Keep the angle of the scraper low so that you're not gouging into the floor's surface as you move over it. Apply enough pressure to remove as much as possible to lift off.
Then, you'll likely need to repeat the process. Some old adhesives may take several more passes to finally pull off all the glue. It's worth the work to keep up with the process. Once you've removed all the glue, use a clean cloth and just some water to wipe the surface clean. Sweep it up to remove any dust or debris, too.
If you plan to sand the floor and you're not adding new flooring to the top, you don't have to be exacting. The sander will remove the final bits. Since there's nothing covering the surface in this case, you'll definitely want to get it all off so you can bring your hardwood floors back to life. Even if you're applying new flooring, don't cut corners. You'll appreciate a smooth, clean surface when laying your new wood, laminate, or other material.


