Every Spot You Should Tackle In Your Kitchen When Spring Cleaning
Spring cleaning is a way to welcome the changing seasons into your house, especially your kitchen, the heart of your home. When you spring clean, you go much deeper than wiping down surfaces or decluttering drawers; you get deep into the small nooks and crannies to give your kitchen a sparkling clean. To do so, you'll want to focus on battling the grime under and inside your appliances and counters.
Even though having clean and sanitized countertops is essential, many people skip cleaning refrigerator coils, sanitizing the dishwasher's interior, and degreasing vent hoods. However, it's vital to deep clean these areas to ensure they run as efficiently as possible and keep your food safe. Organizing and refreshing the spice rack or decluttering under your kitchen sink may seem like small projects. But, they can dramatically reduce the chances of a pest infestation or boost how usable each area of your kitchen is.
Deep cleaning at least once a year is important to avoid mistakes like neglecting the fridge seals or letting grease build up in hidden spots. These mistakes can cause your appliances to break down faster, increase energy bills, and be a potential health hazard. By highlighting these areas, you'll know exactly which spots to tackle when you start your big spring clean to get a healthier, safer, kitchen.
Clean the refrigerator coils and interior
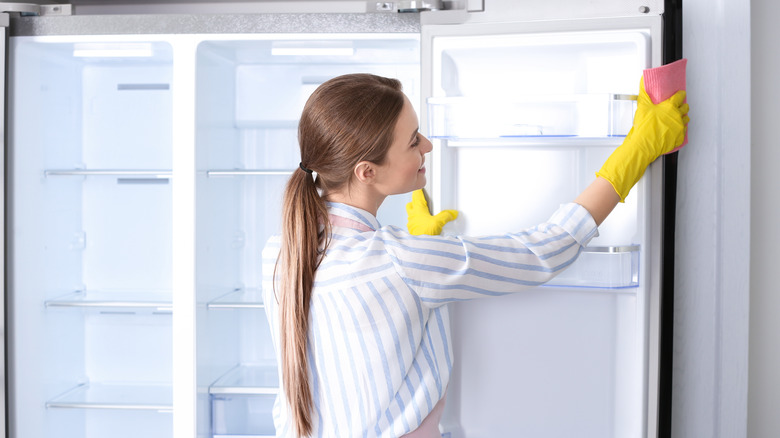
Cleaning the interior as well as the refrigerator coils is vital for your health and your appliance's efficiency. Grimy and dusty coils make the refrigerator's cooling system work harder and requires more energy to run, leading to unnecessary wear and tear. A clean interior helps prevent unpleasant odors and bacteria from growing, ensuring your food stays fresh.
Unplug the refrigerator, find the coils under or behind the fridge, and use a vacuum with a brush attachment to remove debris and dust. For more stuck-on grime, you may need a special coil cleaner brush to scrub the dirt away gently. For the inside, remove everything, take out the shelves, and wipe down all surfaces with warm water and mild dish soap. You can also mix two teaspoons of baking soda and water as a gentle cleanser. Wipe the interior with a clean cloth and dry it before replacing everything.
Clean and organize your pantry shelves
Pull everything off your pantry shelves, tossing anything stale or expired as you go. Wipe down your shelves with warm water and mild soap, ensuring you scrub any spills, and get into corners and crevices so that pests can't hide. You can sanitize shelves next by wiping them down with a mixture of a teaspoon of bleach in a quart of water, and then allowing them to air dry.
As the shelves dry, organize your items by categorizing them — like canned goods, grains, and snacks — into designated areas. Place the items that have closer expiration dates up front so that you use them first. This makes them easier to find and reduces clutter. Also, consider using clear containers for bulk items and labeling your shelves or bins for quick access.
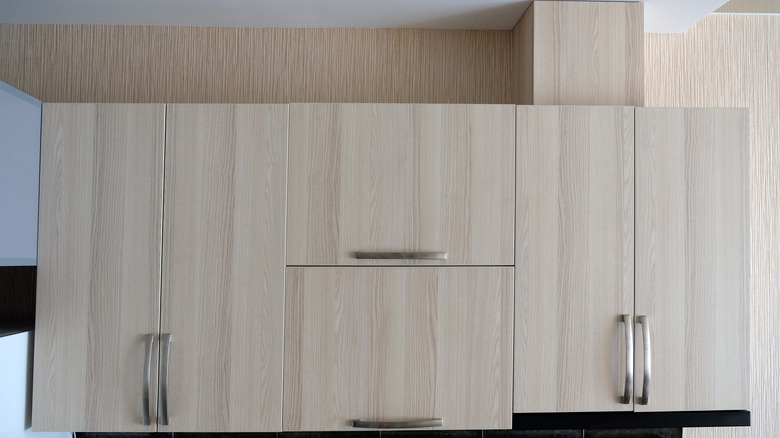
Wipe down cabinet fronts and hardware
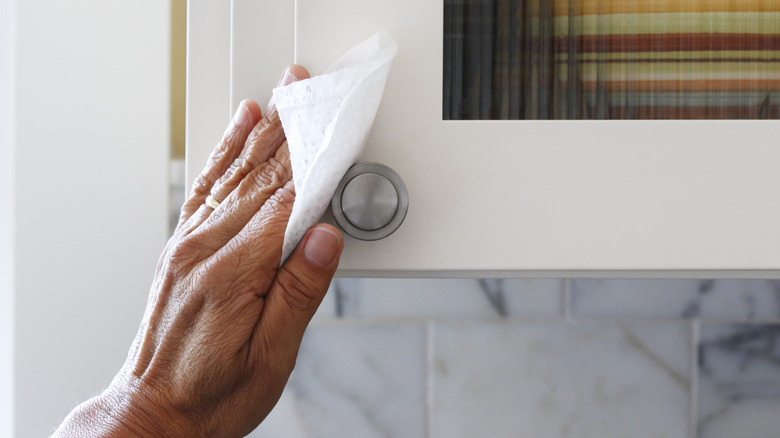
Wiping down your cabinet fronts and hardware removes built-up grease, dust, and grime to prevent long-term damage. Dip a microfiber cloth into a mixture of mild dish soap and warm water to cut through the film without stripping the finish. Wipe down the knobs and handles well, as this is where dirt and germs tend to build up.
Use a soft cloth or old toothbrush to get into nooks and crannies. To clean wooden cabinets, use a wood cleaner to replenish the surface. For painted cabinets, ensure your cleaner doesn't strip the paint. As you work, start at the top and work down to avoid re-dirtying cleaned areas.
Sanitize cutting boards
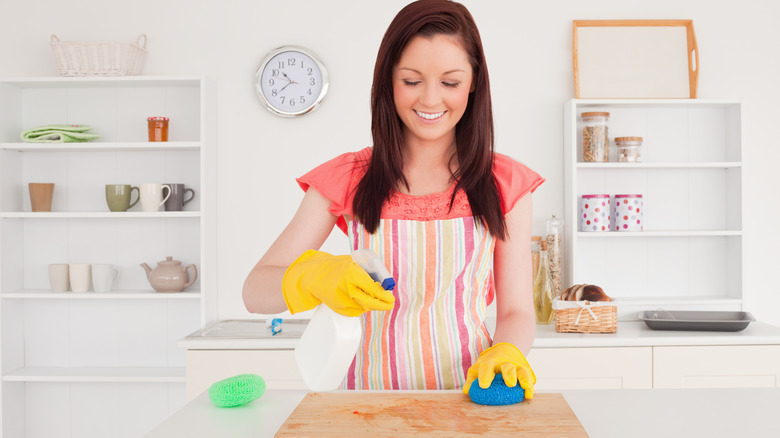
According to University of Arizona microbiologist Charles Gerba, per an episode of "48 Hours" (via CBS News), "There are actually 200 times more fecal bacteria on the average cutting board in the home than (on) the toilet seat." So sanitizing your cutting board is critical for your health. Scrub the board using hot, soapy water after each use. Then, sanitize them by applying a mixture of a tablespoon of bleach in a gallon of water.
Let it stand for 10 to 15 minutes before thoroughly rinsing with hot water and letting it air dry. Regular sanitizing, especially after raw meat or seafood comes in contact with the cutting board, reduces your risks of getting sick.
Deep clean kitchen floors
Deep cleaning your kitchen floors rids it of bacteria and grime. Remove any furniture, and sweep or vacuum to remove debris, ensuring you get into the corners and other hard-to-reach areas. Mix warm water with an appropriate cleaner. A good formula is a 1:1 ratio of vinegar and water for tile or linoleum surfaces and a wood-specific cleaner for hardwood.
Make a baking soda paste to clean the grout, use a damp cloth on sensitive surfaces, and use a deck brush to scrub at stubborn stains. Mop thoroughly, refreshing the water as it gets dirty. Rinse the whole floor with clean water and let it air dry, or use a dry mop to remove excess moisture.
Clean out small appliances
Cleaning your small appliances helps them work properly and keeps your food safe. Unplug each appliance to start. To clean toaster ovens and toasters, remove the crumb tray, shake it over the garbage or sink, and wash it with soapy water. For stuck-on crumbs, a brush will dislodge them. You can descale your coffee maker with equal parts vinegar and water, followed by two or three water cycles to rinse the vinegar residue.
Take your blenders or food processors apart, wash the parts in warm, soapy water, and use a brush to reach tight spots. Easily clean your microwave by putting a bowl of water with lemon juice inside and heating it for several minutes before wiping down the interior. Also, on any appliance, use the least water possible to avoid damaging the electrical components.
Degrease the vent hood and filters
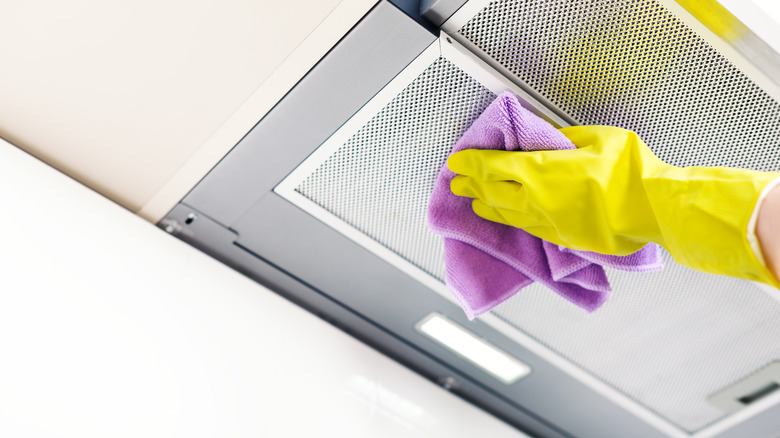
Degreasing your stove's vent hood and filters helps maintain kitchen air quality and reduces fire hazards. Start by switching the vent hood's power off. Then, mix warm water and a degreasing dish soap (like Dawn) for the hood. Apply it with a non-abrasive sponge to strip the accumulated grease, but be careful so that you don't scratch the surface.
The filters trap a large amount of grease, so remove them and soak them in a degreasing solution or the water and dish soap mixture. Allow the filters to soak for at least 10 minutes, scrub them with a soft brush to remove the grease, and rinse them with hot water. Dry the filters before you reinstall them.
Dust light fixtures and ceiling fans
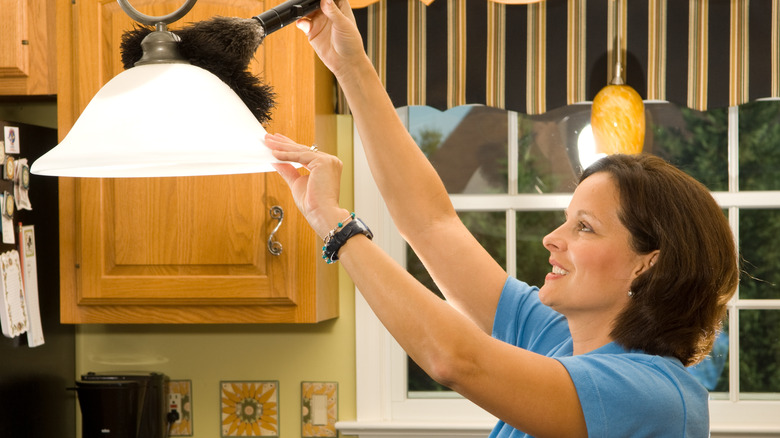
Dusting your light fixtures improves air quality and brightens the kitchen because they collect dust that spreads throughout the room. Turn the light or fan off before you start. For ceiling fans, climb on a stepladder to reach it, and use a microfiber cloth or duster to wipe each blade, ensuring you get both the top and bottom.
For lighting, remove any covers or shades, and wash glass fixtures with soapy water; use a damp cloth for other materials. Dry them before you reattach them, and use a dry cloth to dust the bulbs and fixtures.
Clean and organize drawer organizers and utensil holders
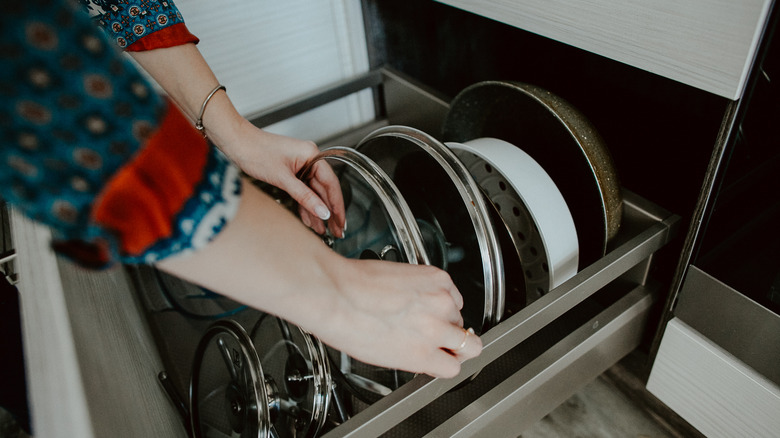
Cleaning and organizing these spaces helps keep the kitchen clutter-free and hygienic because crumbs, dust, and stains can build up in these containers, making them a bacteria hotspot. Empty each organizer or holder and shake them over the trash to remove debris. Wash them in warm, soapy water, and use a scrub brush to get into the corners.
Wipe them with a damp cloth followed by a dry one for wooden utensil organizers to prevent warping and mildew growth. Before replacing them, toss or donate utensils you don't use, and organize utensils in an efficient way that makes it easy to grab what you need. You can also wipe your utensil drawer with white vinegar to sanitize.
Organize and refresh the spice rack
Refreshing and organizing your spice rack allows easy access to fresh ingredients. Empty the spice rack, check the expiration dates as you do, and discard any old spices that have lost their aroma and have a weaker taste profile. Wipe the rack with a mild cleaner and damp cloth to remove spice residue and dust.
Before restocking, group the spices by usage frequency or cuisine, making them easier to find. Transfer your spices to jars to get a cohesive look and label them. For bulk spices, put them in airtight containers to keep them fresh longer. Storing spices in a place away from heat and light helps to retain freshness and potency.
Clean and declutter under the sink
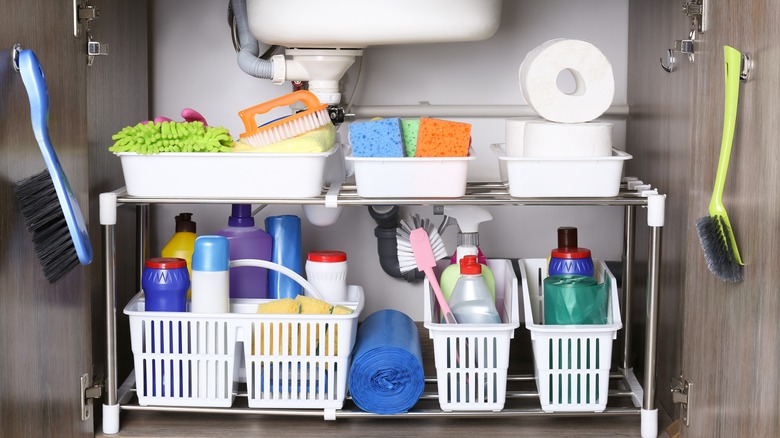
Decluttering and cleaning under the sink prevents mildew growth and maximizes storage. This space is commonly a catch-all for household items, leading to clutter and making it hard to find the cleaner you need. Empty the area under your sink, tossing expired or unnecessary products, and recycle empty bottles. Wipe down the space with a mild detergent and warm water to remove grime and freshen it.
If you notice moisture or leaks, address them so that they don't cause more damage. Consider installing shelf liners to keep the bottom of the cabinet shielded from spills, or install organizers or bins to neatly store your supplies.
Deep clean the countertops and backsplash
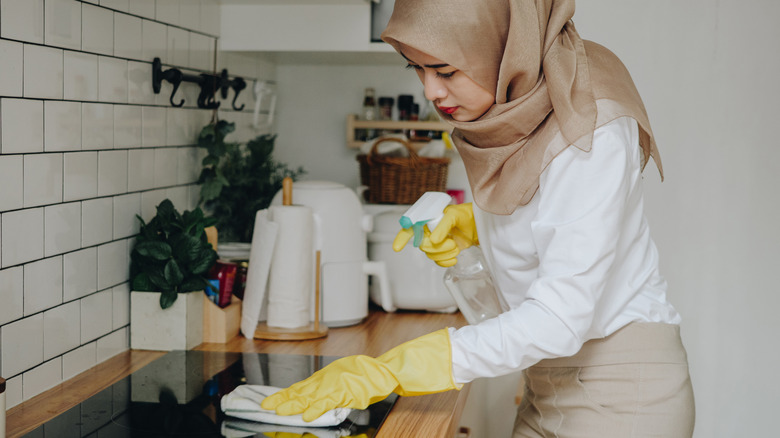
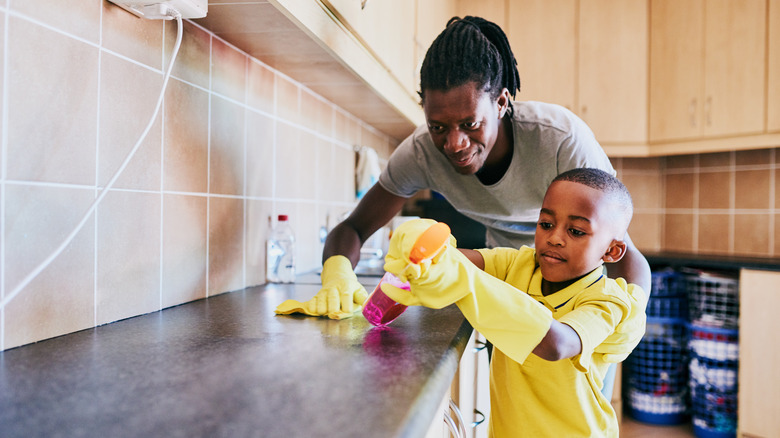
Deep cleaning the kitchen backsplash and counters removes stains, bacteria, and buildup. Clear everything off the counter to expose all surfaces. To avoid damage, use a mild cleaner that's appropriate for your countertop material, whether it's marble, granite, or laminate. For natural stone, using warm water with mild dish soap is a good option, while laminate can survive the application of a 1:1 vinegar and water mix.
Use a soft cloth to apply the cleaner, paying close attention to areas around the appliances or sink where buildup tends to happen. For a backsplash, use the same cleaning mix to remove food splatters and grease, rinsing them to finish. Dry surfaces with a clean cloth to prevent streaks and water spots.
Clean the walls
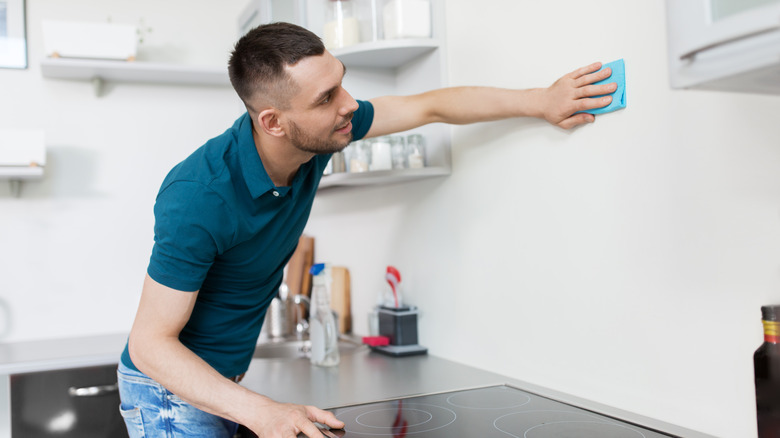
Cleaning the walls removes dust, cooking splatters, and built-up grime. Dust the walls with a microfiber cloth to remove loose dirt, especially behind appliances or in corners. For painted walls, add a few drops of dish soap to warm water and gently wash the walls from top to bottom with a sponge to avoid streaking. Concentrate on areas around the sink and stove where food particles like to settle.
Mix 1/2 cup of baking soda with 1 quart cup of water, and apply it with a soft cloth to tackle stains. Rinse the walls using a damp, clean cloth to remove any residue and then dry to prevent water spots.
Sanitize and clean the trash can
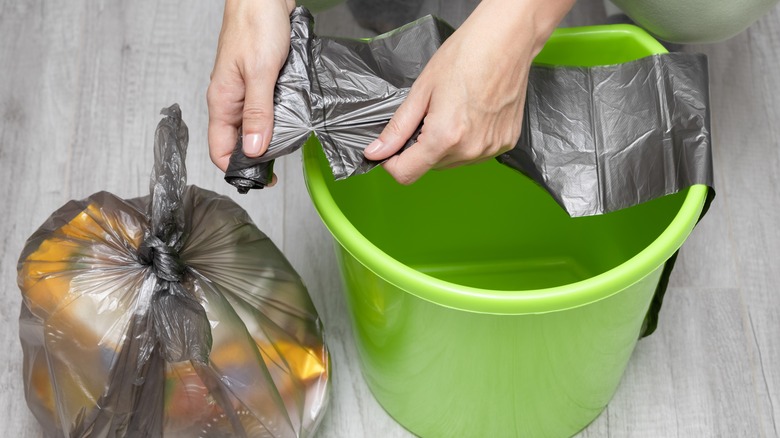
Cleaning and sanitizing the trash can removes odors, bacteria, and pests from the kitchen, including Salmonella, Listeria, and E. coli, keeping the entire space healthier. Empty the garbage, and take the can outside if possible to clean it thoroughly. Rinse out any debris using your garden hose and apply a disinfectant of one part bleach and nine parts water to kill bacteria and germs. Get a long-handled brush and scrub the inside and outside of the can, paying close attention to the lid or corners where waste can build up.
Carefully dump the bleach water and rinse the can thoroughly before leaving it to dry upside down and bringing it back inside. Put a fresh liner in and consider adding a sprinkle of baking soda to the bottom or a trash can deodorizer to minimize future odors.
Scrub the baseboards
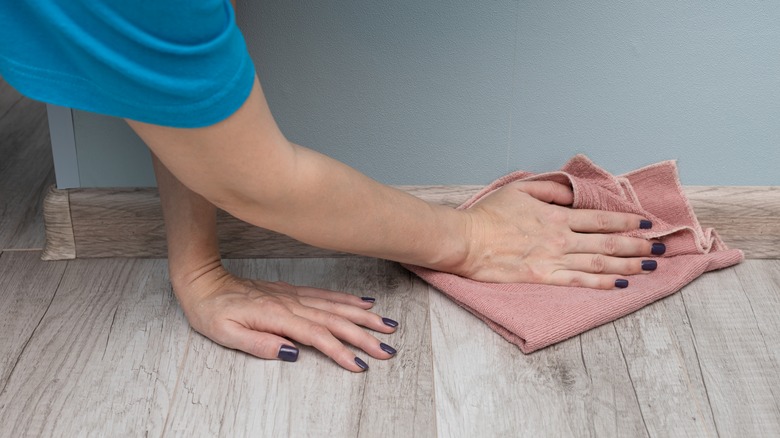
Scrubbing your baseboards removes grime, dust, and scuffs that build up over time. For an easy way to clean your baseboards, move any furniture away from the walls, and sweep or vacuum along them to remove loose dirt. Use warm, soapy water and a soft cloth or sponge to scrub the baseboards to remove the grimy film.
You may have to scrub a little at stained areas to lift them, but don't use a melamine foam eraser as this can leave patchy spots or discoloration on treated wood or painted surfaces. To finish, go over the baseboards with a damp, clean cloth to strip any soap residue and dry using a soft towel.
Clean tile grout
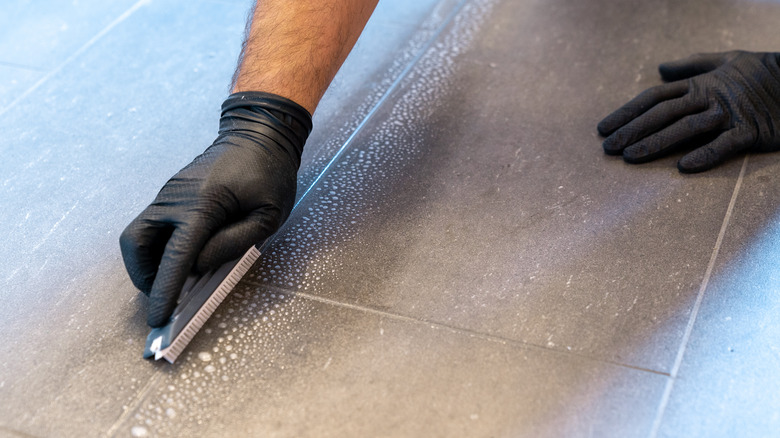
Cleaning the grout removes mildew, mold, and stains that can make your tiled floor look dingy and cause health issues. Since grout is porous, it harbors bacteria and dirt, so cleaning it is essential for health reasons. Mix equal parts vinegar and warm water in a spray bottle. Spray the mixture directly into the grout, giving it 10 minutes to work, and then use an old toothbrush to scrub the grout lines.
For stains, create a thick baking soda and water paste and apply it to the stained spots. Allow the baking soda paste to sit for an hour or more before scrubbing for deeper stains. Rinse the grout with clean water to remove any residue and dry the area with a towel to prevent streaks or water spots on the surrounding tile.
Wash the blinds or curtains
Washing the kitchen blinds or curtains removes grease, dust, and cooking odors in the materials and fabrics. Dust the blinds with a microfiber cloth or use a vacuum with a brush attachment to remove the surface dust. Wipe them down with a damp cloth, warm water, and mild dish soap, ensuring you don't soak the material.
For curtains, check the care label before you do anything. You can wash many of them on the gentle cycle with mild detergent, but some need professional cleaning. Remove any hardware before you wash, and let them air dry to prevent shrinkage. Let them fully dry before hanging them up.
Wash the windows
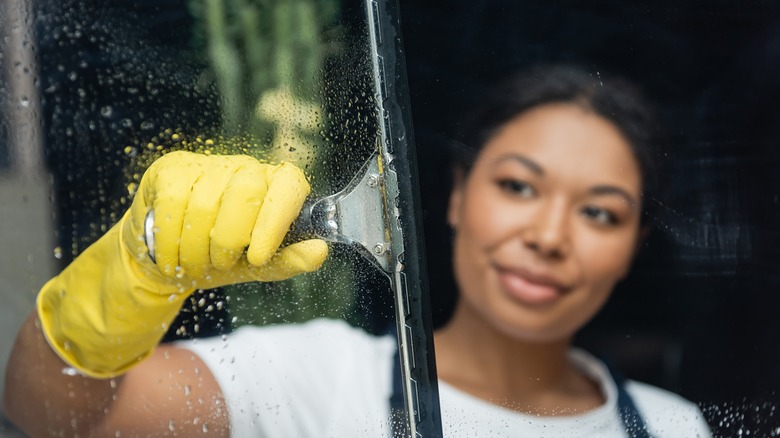
Learning to wash your windows and get a streak-free finish is critical for letting natural light in. Over time, windows collect grease, fingerprints, and dust, blocking sunlight. Mix a solution of water with a few drops of dish soap or equal parts water and vinegar. To clean exterior windows, rinse them with a hose to remove the dirt first.
Use a soft cloth or sponge to apply the solution, and finish with a squeegee to wipe the windows, working from top to bottom to avoid streaks. Wipe down the sills and frames with a soft cloth to remove dirt, dust, and grime.
Clean the top of cabinets
Cleaning the tops of cabinets strips away grease, dust, and debris. Use a stepstool to reach the top of your cabinets safely. Carefully remove any items or decorative pieces up there, and then use a microfiber cloth, duster, or vacuum with a brush attachment to clean the surface.
For greasy buildup, get a damp cloth and a mix of mild dish soap and warm water to wipe the surface gently. Stubborn spots may require water and powdered dishwashing detergents or baking soda to be more effective. Rinse with a damp, clean cloth and dry with a towel. Regular cleaning of the cabinet tops can prevent the accumulation of dust and keep your kitchen looking and smelling fresh.
Defrost the freezer
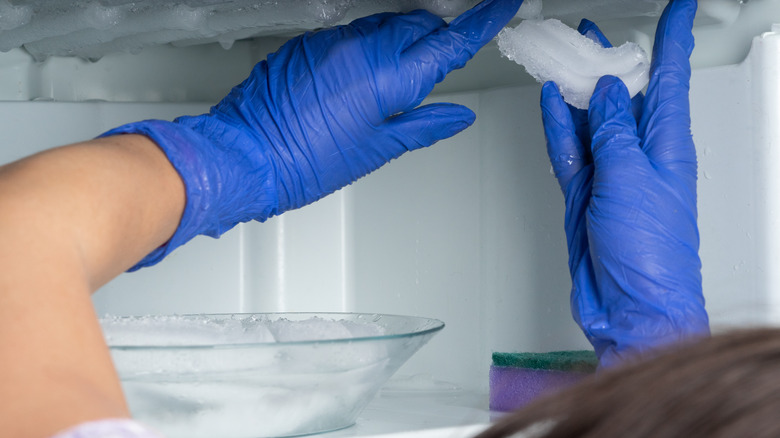
Defrosting the freezer stops ice buildup and maximizes your storage space. Over time, ice accumulates and makes the freezer work harder to stay cold, increasing energy consumption. To quickly defrost the freezer, turn it off or unplug and take all the food out, putting them in coolers with ice. Layer towels around the freezer to absorb the melting ice and use a plastic scraper to remove the ice buildup. Don't use sharp objects as they could damage the interior.
Summit Appliance suggests an alternate method: putting a pot of hot water inside the freezer and closing the door for 15 to 20 minutes to speed up the melting process, swapping it for a fresh pot of hot water when it cools. When the ice melts, wipe the interior with a 1:1 solution of water and vinegar to remove odors and sanitize it. Dry it, switch it back on, and replace frozen food items.
Clean the fridge and freezer seals
Cleaning the seals on your refrigerator or freezer ensures your appliances are airtight and efficient. Food particles get stuck in the seals, causing gaps where cold air escapes. Mix a tablespoon of baking soda into a bucket of warm water to clean them.
Use a cloth or soft brush to wipe the seals, paying attention to any crevices or folds. To combat tougher grime or spills, make a paste with water and baking soda, and scrub the area. After cleansing, wipe everything down with a clean, damp cloth to remove residue, and dry with a towel.
Strip grease from the oven and stovetop
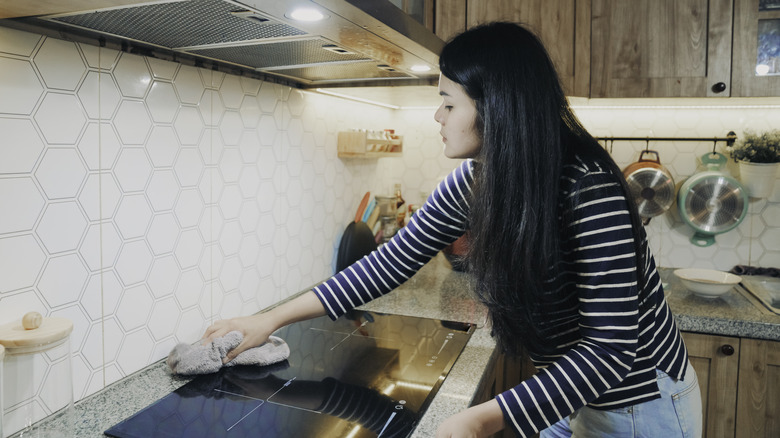
Built-up grease on your oven or stovetop isn't just unsightly; it can also be a fire hazard. Remove the grates and burners if possible to clean the stovetop, and soak them in hot, soapy water. For stubborn grease stains, make a baking soda paste with water and sprinkle it on before scrubbing. Wipe down the surface with a mixture of vinegar and water.
Mix ¾ cup of baking soda with ¼ cup of water to make a paste for an oven that doesn't have a self-cleaning option. Scrub the interior, avoiding the heating elements, and let it sit overnight before wiping it away with a damp cloth. Spray the interior with vinegar and water, and wipe away the baking soda residue. Rinse every cleaned part before you reassemble it.
Sanitize the dishwasher
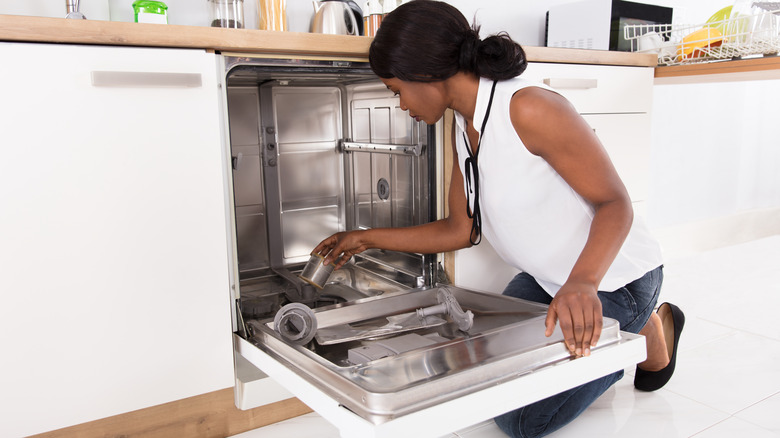
Sanitizing your dishwasher is another important spring cleaning task. Remove and clean the filter under running water, scrubbing with a soft-bristled brush to ensure water can pass through. Check the sprayer arms for clogs and use a toothpick to clear blockages so that the water can freely spray.
Pour 2 cups of white vinegar into a glass measuring cup, put it in the lower rack, and run a normal cycle. Next, sprinkle a cup of baking soda and run a hot water cycle. Regularly sanitizing your dishwasher keeps it smelling fresh and running smoothly while ensuring your dishes come out sparkling clean.
