Helpful Tips For Cleaning Your Attic (And Common Mistakes To Avoid)
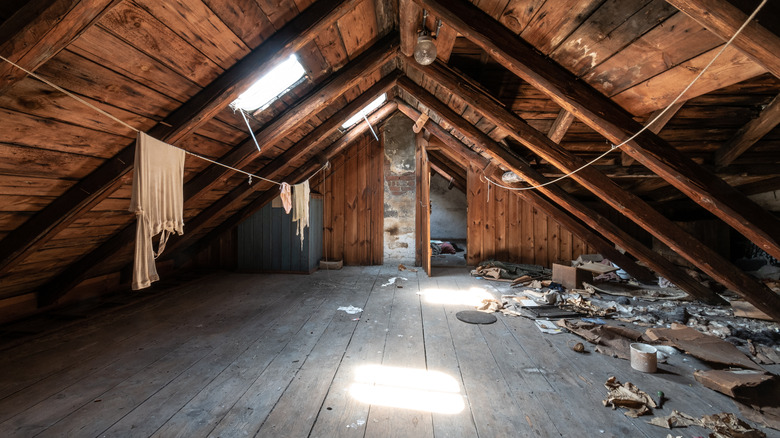
Attics are handy storage spaces used to stockpile holiday decorations, old furniture, forgotten instruments, extra bedding, and the like. So, it's no wonder they aren't at the top of your cleaning list until you hear strange scratching sounds in the dead of night. While you might be convinced of supernatural activity, it might just be the handiwork of mice running amok in the filthy space. An accumulation of dust and dirt will also degrade your home's air quality, courtesy of the interconnected air ducts. Fortunately, cleaning and maintaining your attic will help you avoid these issues.
That's not all. Regular maintenance will let you remediate pesky issues, like leaky roofs, ahead of them snowballing into expensive problem territory. You also get the opportunity to repair or replace damaged HVAC (heating, ventilation, and air conditioning) appliances before they wreak havoc on your utility bills. However, steer clear of common mistakes like not clearing the attic when cleaning. Avoiding this mistake will make it easier to access the space and allow you to take note of loose floorboards and exposed wires so you don't injure yourself. Similarly, wear protective goggles, gloves, and a face mask to minimize contact with the dust and debris inside. Changing into clothes you don't mind getting dirty is recommended, too. If you're gearing up to clean your attic soon (or don't know when or how to go about it), here are a few helpful tips and mistakes to avoid for a sparkling loft year-round.
Do: Give built-up dust the boot
You'd think an enclosed space would have difficulty accumulating dust, but you'd be wrong. Dust particles will enter your attic through tiny cracks, miniscule gaps, and broken seals. Worse, they'll settle in for the long haul unless you displace them. Pests like spiders will also find their way in and weave elaborate webs to snare innocent insects. Since you don't want the dust bunnies to infiltrate the air ducts and trigger your allergies, the first order of business is to give the built-up dust and cobwebs the boot.
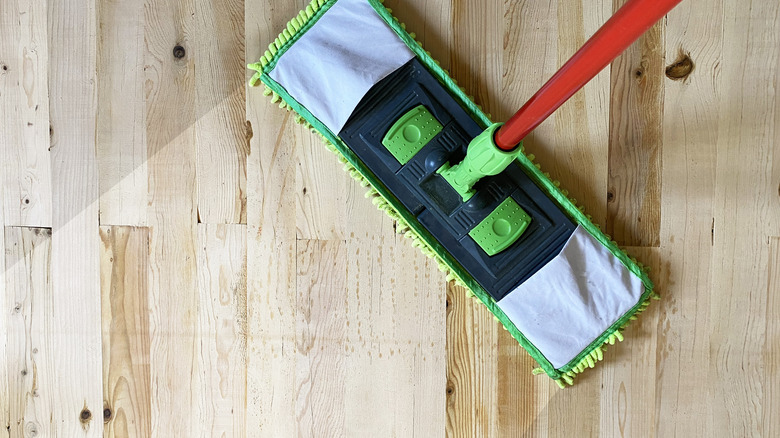
Remove cobwebs and dust from the loft's ceiling and beams with an extendable duster. If you don't have one and the floorboards seem sturdy beneath your feet, climb a step ladder to dust the cobwebs and rafters. Use an electrostatic duster or microfiber cloth to clean the light fixtures and ceiling fans. Don't use a regular duster because it'll simply move the dust around instead of trapping it. After those areas are clean, attack the windows, baseboards, walls, and vents. Grab a vacuum cleaner with a hose extension to reach the awkward spaces, nooks, and crannies. Handpick and dispose of large debris prior to vacuuming the floors to prevent the device from getting damaged. Finally, sweep the room with a broom followed by a damp mop (or Swiffer) to eliminate residual dust and debris. Don't forget to carry a headlamp or shop light if the lighting inside the room is poor.
Don't: Neglect your attic; clean it at least twice annually
It's pretty easy to forget your attic's existence (and cleaning needs) until you open the door to take the holiday decorations out or store a few just-in-case items. However, it's important to make it a habit to clean your loft at least twice annually.
However, refrain from cleaning it whenever inspiration strikes, as the roof space will get too hot during summer and too cold during winter, leading to health complications. It's best to clean your attic during spring and fall. The agreeable temperature inside the space will keep the heat strokes or chattering teeth at bay. Moreover, the six-month difference makes it easier to inspect damages or issues before the hot or cold seasons roll by. For instance, cleaning the room in the spring will let you check on your home's insulation before the HVAC system comes to life in summer.
Similarly, a fall clean-up will allow you to plug in holes, monitor the insulation, and examine the space for rodent nests before the chilly weather hits. With that said, don't hesitate to check on your attic after a brutal storm. It's also best to clean the room every quarter if there's a high probability of water or pests damaging it.
Do: Check your attic's insulation
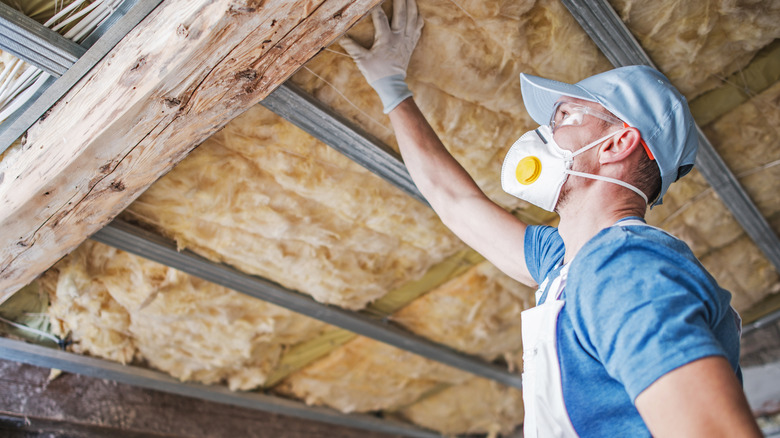
The U.S. Department of Energy estimates that 9 out of 10 homes in America are under-insulated. Air leaks and poor home insulation are the primary culprits since they promote energy waste. As your attic's insulation is essential to repel heat waves during summer and cold drafts in winter, a well-insulated room is essential to lower your utility bills. Alas, old age, moisture build-up, pest infestation, and a shoddy job compromise your loft's insulation, driving your utility bills through the roof. Faulty insulation in the roof space will also lead to leaky roofs and ice dams in winter. To minimize these issues, check your attic's insulation while cleaning.
If the insulation seems intact and there are no suspicious puddles littering the floor, you're in the clear. But if the room features moisture or leaks and the insulation looks threadbare, wet, falling, or chewed up in certain spots, you might have to replace it. Although you can DIY, insulating an attic is best left to the pros for a few reasons. For starters, if your home was built before 1970, the insulation might contain asbestos—a health hazard. Pathogens swirling in the air due to pest infestations and inky mold also pose health risks. Moreover, using appropriate tools, determining the material fit, and choosing the right insulation grade (R-value) is vital for your insulation's lifespan. While you're at it, ensure the roof space is well-ventilated, and your HVAC and exhaust fan's air ducts are placed outside.
Don't: Disregard obvious clean-up signs
While creating and sticking to a cleaning schedule for your attic is a good idea, it's best not to disregard obvious signs that the room above needs a clean-up. For instance, if you can't shake the foul odor in your house, no matter how hard you try, you might want to check the attic to ensure there are no decaying pests, like mice, stinking up the place. Roof or wall leaks, mold and mildew, stored items past their prime, moisture-laden insulation, and plant growth might also contribute to the smell.
Your house producing an abnormal amount of dust in a distinct color or texture is another sign you should look out for. This might mean the roof space is incredibly dirty or the room is overrun by pests. If left untreated, the increased dust filtering through your home will cause respiratory issues and exacerbate your allergies. Unchecked dust bunnies are a fire risk, too. Alternatively, if you hear clawing or squeaking noises in your attic, it's best to check the space for pests. Unfettered access to the cluttered and dirty room and safety from predators hunting them down make your loft the perfect hideout for insects. These freeloaders won't shy away from taking advantage of your new insulation and use it to hide, store food, and reproduce. A blocked entrance to the roof space is another indication you need to clean the room and sort the mess inside.
Do: Inspect your attic for pest infestation
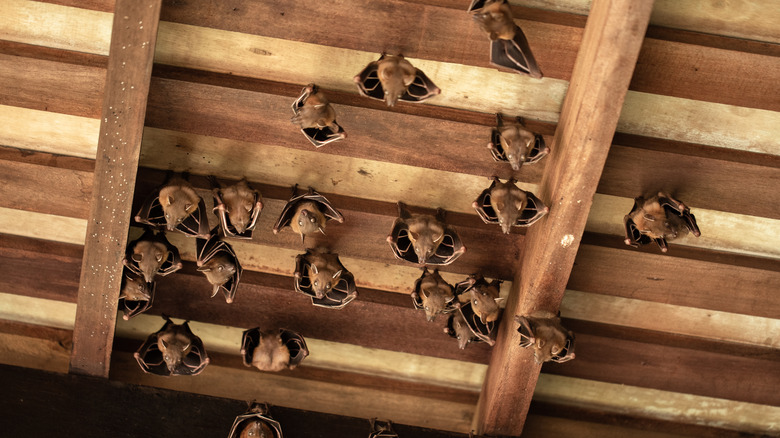
Your dark, enclosed, and overstuffed loft is the perfect spot for pests like roof rats, mice, silverfish, squirrels, bats, bees, wasps, and moths to build a home. These pesky insects will destroy your property, including chewing wires and HVAC systems, leaving behind droppings, and creating holes in the insulation. They're also a health concern, especially rodents that can cause hantavirus pulmonary syndrome (via CDC). Their droppings, urine, and saliva carry disease-causing pathogens, too, making it important to get rid of mice. Bees and wasps are known for their painful stings, whereas flies spread diseases. In short, your attic will be crawling with harmful bacteria and viruses that can filter through the ventilation system if left unchecked. Worse, a few pests like mice and rats might invite their friends in the ticks, fleas, and mites community. Spiders and other wildlife will soon follow, as they won't be able to resist the mouth-watering gathering of prey.
While cleaning your attic, look for pest droppings, chewed items, scratch marks on cardboard boxes, fly colonies in the corners, and holes in clothes to ascertain you're dealing with pest infestation. Since they won't be easy to exterminate, break up the pest party using insecticides like pest control dust. Traps, mothballs, and bait stations are other options. Further, take preventative measures by repairing holes, sealing gaps, using vent and chimney covers, and fixing leakage. However, don't shy away from getting professional help if you're dealing with a full-blown infestation.
Don't: Ignore moisture in the attic
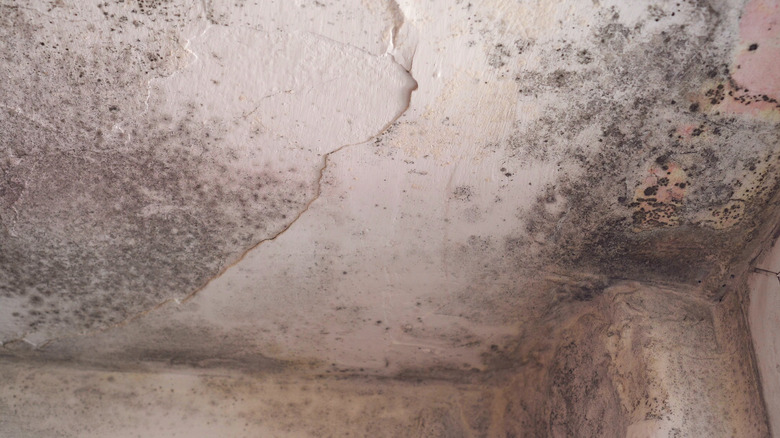
If you notice moisture in the roof space during your bi-annual spring clean-up, don't ignore it, as it could indicate attic condensation. Condensation forms on the deck during winter and spring when the warm air in the house rises to shake hands with the frigid roof. This condensation soon turns to frost, giving way to peculiar phenomena, such as frosted nails in the attic. While the frost is usually harmless, issues—like rusty nails, mold, and rotten wood—crop up when the temperature rises, and the frost turns back into water. Although the damp odor should clue you in when you open the latch after months, it might not be as pronounced if you're dealing with other foul smells like a dead rodent's. To be 100% sure, examine the wall(s) for signs of water. Other clues include condensation on windows, mold on walls, watermarks on the floor, moist insulation and wood, rusted tools, and damage to the roof sheathing.
To take care of the moisture in your roof space, improve the room's ventilation to ensure the moist air can move out. Ensure your dryer and bathroom vents aren't accidentally leaking air into the enclosed room. Further, seal the vents so they don't transport warm air into the attic. If moisture is seeping in through the gutters, install downspouts to carry water directly away from your home. However, don't undertake the project if dark, moldy spots overrun the walls; contact professionals to eliminate mold in your attic.
Do: Sort your belongings before putting them back
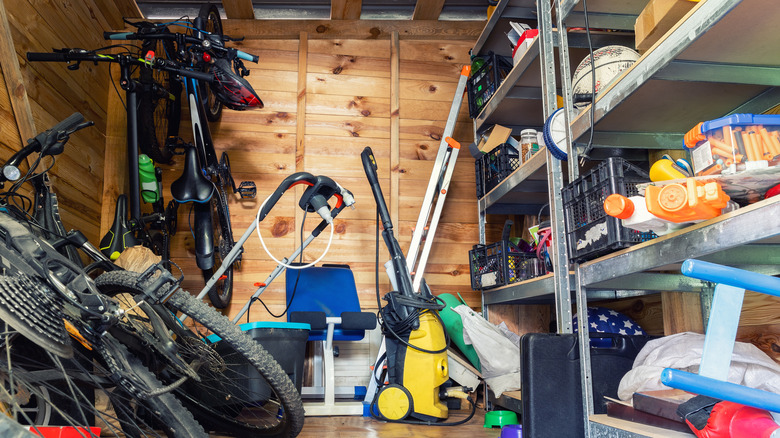
After cleaning your attic, don't put everything back without sorting it. You don't want to spend time and effort cleaning the room only to stuff it to the gills and invite the creepy crawlies back. Although it'll eat into your day, make some time to declutter the space and let go of things that no longer serve a purpose, such as broken instruments, discolored carpets, childhood toys, and kitschy art. However, before you dive into the cardboard boxes, inspect them for strange noises, chewed-through holes, or scratch marks to avoid a frightful confrontation with any mice and rats who may be hiding inside.
Once you're sure no rodents are lying in wait to scare you, pop some music and begin sorting through the boxes. Create two piles to indicate which articles you intend to keep and which fall in the "toss" category to fast-track the decluttering process. Although you want to rifle through each box and chuck out items that no longer work and can't be repaired, stay focused and refrain from taking a lengthy walk down memory lane. After you're done, attach a label on the boxes in the "yes" category so you don't have to hunt down stuff later. As for the items in the "toss" pile, subcategorize them to recognize the things you can sell, donate, or recycle to minimize the waste you send to the landfills.
Don't: Throw in items haphazardly or store items that spell trouble
After you go through the trouble of decluttering your attic, don't make the mistake of stuffing the attic with the items you decided to keep. This would make the room incredibly messy and undo all your hard work. Additionally, keep in mind the roof space has limited square footage, and you don't want to overload it. Heavy pieces could tear through the drywall and spell disaster for the ceilings of the rooms beneath in case of flooring inconsistencies. Moreover, there are a few items you should stop storing in your attic, like food, books, documents, paint, cleaning products, gasoline, and electronics to keep them and the roof space safe.
Begin by getting a few transparent plastic boxes in various sizes. They're moisture-resistant, transparent, and can be piled high, unlike cardboard boxes. When you have the boxes, line them neatly with items and label them for future reference (if you didn't already) prior to stacking them. DIY beautiful wooden shelves with plywood to streamline the storage and make the most of your attic's limited space. Don't overlook the space between struts and rafters. Install screw-in hooks, brackets, and rods to use the gaps judiciously. Remember, all seasonal decor should go in robust plastic boxes, whereas clothing fares best in vacuum-sealed bags. Plus, don't accidentally place items over the door. Before stepping out, place the boxes you'll need in the immediate future near the entrance to retrieve them easily.

