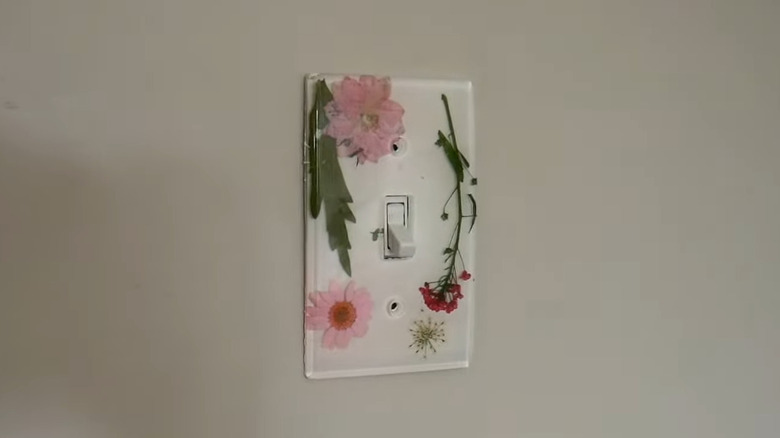
How To Create A Gorgeous Custom Resin Light Switch Cover
We may receive a commission on purchases made from links.
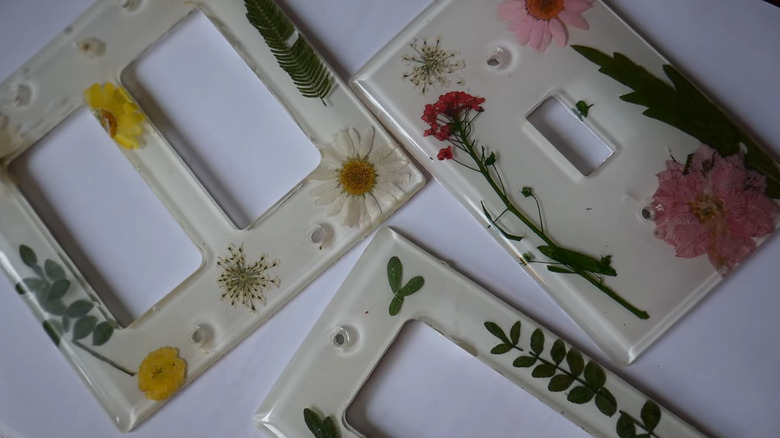
If you enjoy filling your home with wall-to-wall decor and aren't afraid of color, then there's one spot in your home that might be missing an upgrade: your light switch covers. While some folks will switch their default covers out with different colors, the standard version is usually white. A simple way to upgrade this item is by creating a gorgeous DIY resin alternative. TikTok user @kamariaskreations showed their followers how they make their resin light switch covers using flowers, petals, and stems, creating a striking floral design.
Resin has become a popular material for DIY enthusiasts, and it's easy to see why. It's generally easy and fun to incorporate resin art into your home, from ornaments to coasters to vases. The downside to using resin, however, is the time investment. Epoxy resin dries in about 30 minutes, but the curing time is 12 hours, and your creation won't be completely ready for 72 hours. This is definitely a factor to consider if you plan to replicate this project, but hopefully it won't stop you from making your own stunning light switch covers.
You'll need:
-
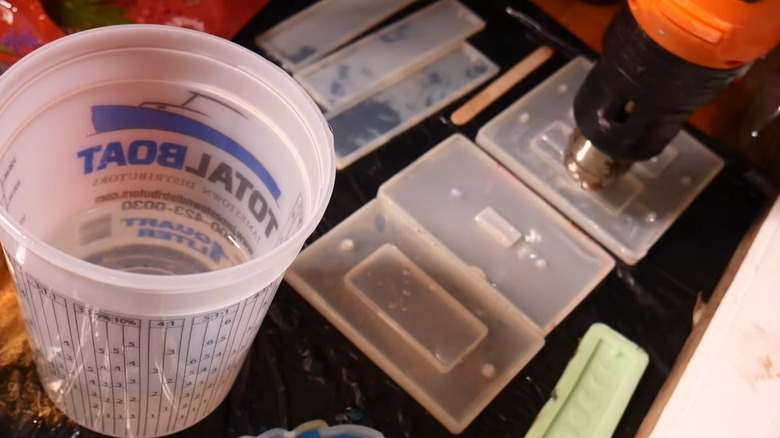
Light switch cover molds
-
Resin casting and hardener
-
Rubber gloves
-
A heat gun
-
A measuring cup
-
Wooden stirring sticks
-
Tweezers
-
White paint
-
Paintbrushes
-
Sandpaper
-
Decorative elements like flowers, petals, stems, or glitter
Amazon has a six-pack of light switch molds for $15.89 that are excellent for this project. Michaels sells the resin casting and hardener duo, as well as a heat gun.
Organize your materials and tools
Gather all your materials on a crafting table so you have everything nearby. Prep your light switch cover molds by removing them from their packaging. If you already have some at home, give them a light rinse to remove any dust before starting. Lay them out on the table and pick the one you want to start with.
Next, organize the decorative elements you plan to add to the resin. For instance, if you're using flowers, stems, and tiny petals, put them in a tray or bowl so you have them on hand. Alternatively, if you want to add glitter, ensure you have all the necessary bottles nearby so you can sprinkle them over the resin before it starts drying. Finally, remember to plug in your heat gun so you won't have to do so in the middle of your project.
Mix your resin
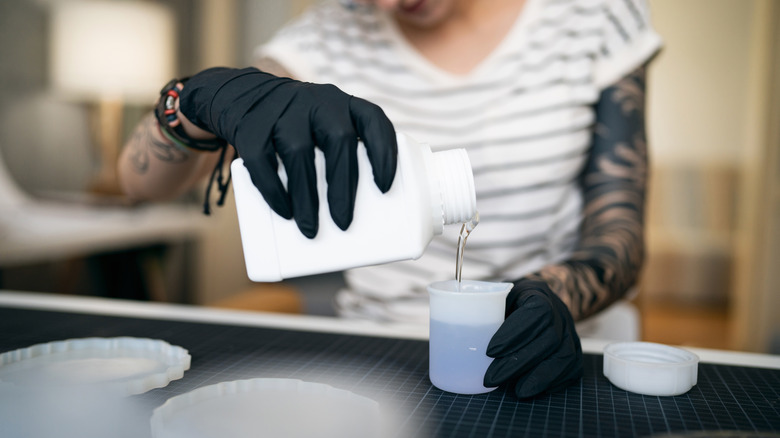
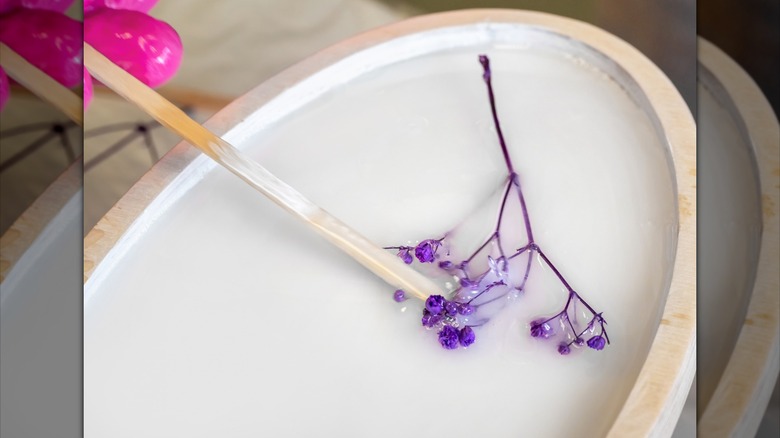
Prepare your resin by mixing equal parts of the casting resin and hardener in a measuring cup or bowl. If you aren't using the resin from Michaels, follow your manual's instructions.
For Michaels' resin, mix a 1-to-1 ratio of the casting and hardener. Then, stir the mixture slowly for a minimum of five minutes. While you do so, scrape down the walls and base to ensure thorough mixing. The solution should be clear and shouldn't have streaks or swirls.
Pour the resin into your molds
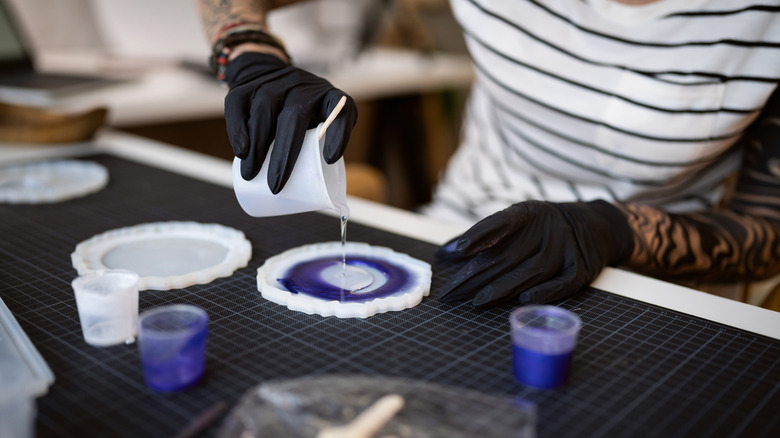
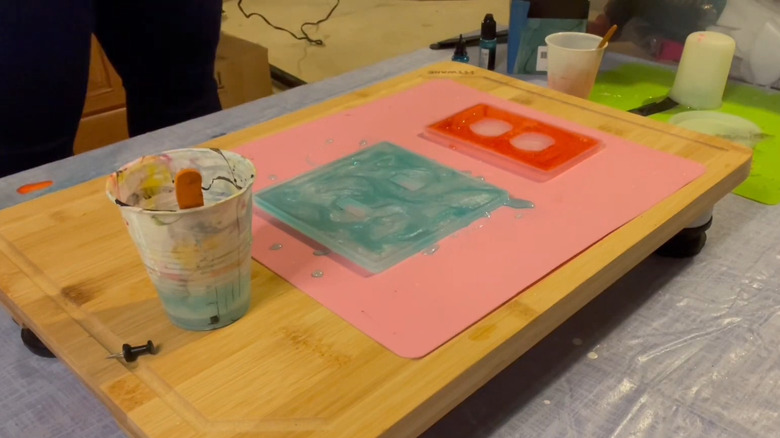
After combining the two resin parts, immediately pour the mixture into your molds. Cover the entire surface of each mold with resin, ensuring it's filled to the brim with an even layer. You can fill multiple light switch cover molds simultaneously by placing them next to each other and filling them one by one.
Of course, if you're a beginner, work with one mold at a time so you don't feel rushed. Work at your own pace with a single mold until you get the hang of it. If you overfill a mold and liquid spills out, wipe it away with a damp towel. Alternatively, if you spill resin on your skin, remove it with acetone or vinegar. Warm water and soap will also work.
Remove air bubbles
After pouring the resin into your molds, you'll have to remove all the air bubbles. You won't always get a bubble-free pour, so using your heat gun to pop the air bubbles on the surface will help give the resin a smooth appearance.
Apply the heat gun to the resin's surface for a few minutes until you see the bubbles disappear. If there are air bubbles in the corners, pop them with a thin wooden stick by dragging them along the mold's sides and corners. If you leave the bubbles, they'll show up as tiny holes when the resin dries.
Add your decorative elements to the resin
Once you remove the air bubbles from your resin molds, add your flowers, petals, stems, and glitter. Try making a configuration of the items before putting them in the molds to see how the results will look. If you change your mind, you have time to move things around, even once you've placed them on top of the resin. Use tweezers to easily remove anything you don't want or to move an item to another corner.
Keep in mind that when you're adding the flowers and stems, they appear backward, so consider how you want them to look when the light switch cover is flipped over. After deciding on the perfect placement, push each petal, flower, and stem into the resin so it's coated on the backside.
Let the resin cure
The longest and most tedious part of this project is letting the resin dry completely. Check the instruction manual to see how long your resin needs to dry before you can remove it from the molds. Michaels' resin should dry for 12 hours, but if you plan to make more light switch covers, you can remove the ones you've made after a couple of hours and let them cure on a flat surface.
After 72 hours, the resin will be ready for use, and you can remove it from the mold. It's best to make as many light switch covers as you can since you can't throw out epoxy resin in liquid form. The best way to dispose of epoxy resin is to put it in the trash after it's fully cured. Use any extra covers as gifts for friends and family.
Paint and seal the back side of your light switch covers
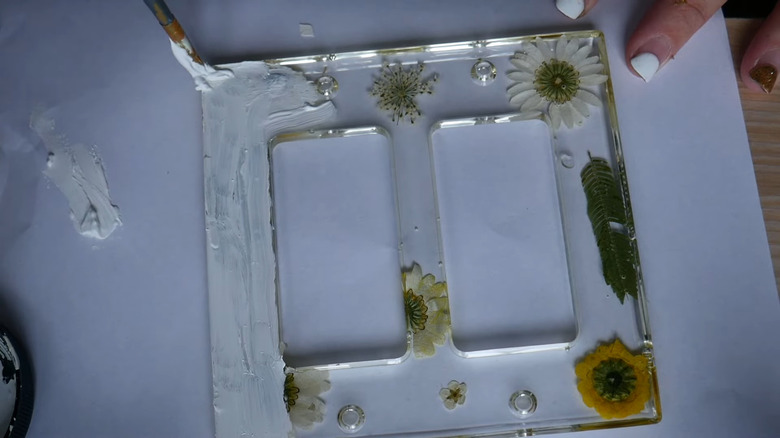
Since the resin you're working with is likely clear, the light switch's wires will be visible through the new cover. Fortunately, you can paint the backside of your creation to hide them. After the resin has fully cured, paint the backside any color you want, as long as it still shows the cover's details. Pastels and neutrals are excellent paint choices for this task; they're opaque enough to hide the hole in the wall but light enough to let the cover's details peek through. Plus, the right color choice will complement your room's interior.
Paint a few coats on the cover's backside to ensure it doesn't get any streaks or patches. Once it dries, apply a layer of varnish so the paint doesn't transfer to the wall. Clean the edges with acetone to give your light switch cover nice, clean lines.
Sand the back of the cover
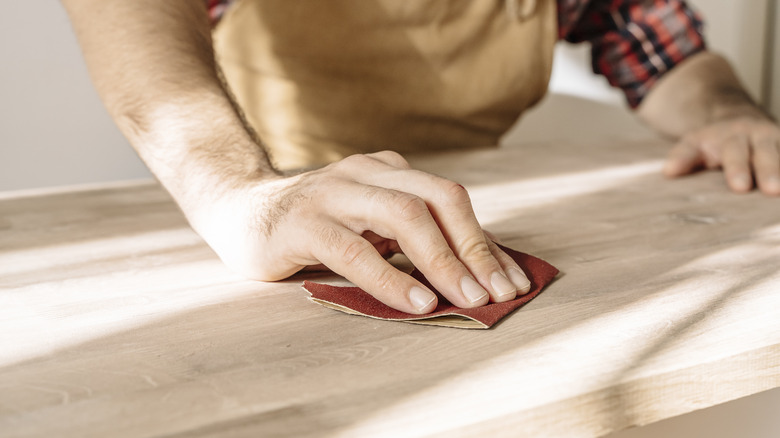
After the varnish dries, sand the back of the cover for a smooth finish. Use even pressure and contrasting strokes — some vertical, some horizontal — to achieve a flat, even surface. You don't need to sand it too much; a light sanding will do just fine.
Hang the light switch cover on your wall
Finally, remove your current light switch cover and attach your new one. You shouldn't have to purchase new screws to secure it to the outlet, as the screws from the old cover should fit in the mold.
How long do resin light switch covers last?
Your resin light switch covers can last years with proper care. If you do remove them from the wall, store them in plastic bags or a box where they won't get damaged. If you notice that one of your light switch covers needs a touch-up, apply a resin top coat to make it look as good as new. You'll have to create a new resin mixture, but each light switch cover will only need a thin layer to reinvigorate its shine and glow. Resin projects can last up to five years before needing a refresh.
When this does happen, the surface will start turning yellow and will show scratches, and the resin may start peeling. Also, keep sunlight exposure to a minimum, as this is what causes that yellow hue. If you use the light switch often, bumps and scratches can occur over time; however, light sanding and a fresh, thin resin layer will keep it looking brand-new.
