How To Turn Your Old Mason Jar Into A Stunning DIY Wind Chime
Few objects are as versatile and timeless as the mason jar. In 1858, American tinsmith John Landis Mason created the mason jar as an at-home glass jar for food preservation, providing a much-needed container that has become a staple in American life. Today, old mason jars are cleverly repurposed for a number of DIY projects, such as wind chimes. Regardless of the season's temperatures, mason jars can be repurposed into wind chimes using only a few materials: Glass beads, hanging wire, twine string, and a desire to decorate your home uniquely.
Beyond their unique aesthetic, reusing old glass jars around the house is a great way to consciously protect the planet from our disposal of natural resources. Believe it or not, Americans dispose of approximately 10 million metric tons of glass, resulting in water and air pollution across the world. By doing our part—even if that's using old mason jars for a DIY wind chime—we can help reduce our carbon footprint, all the while dressing up our home with quirky wind chimes for every season. Let's get started.
Create multiple beaded strings for hanging
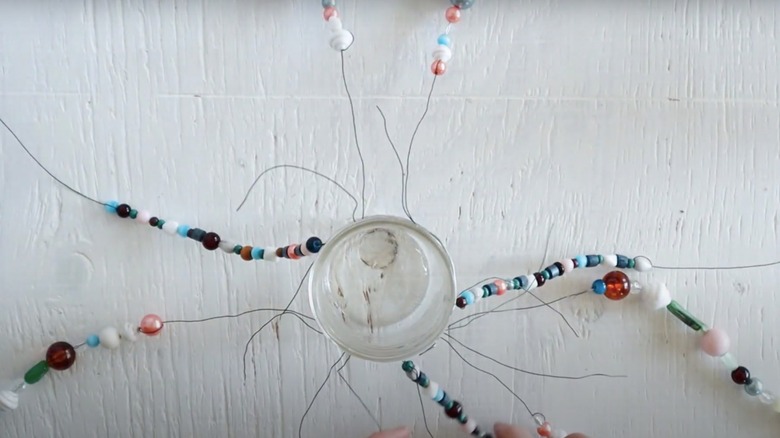
To start, cut five floral wires, each approximately 20 inches long. Slide one large bead through the string before tying it securely at the end—this will ensure no beads fall off. Once you've created a barrier between your beaded wire and the floor, continue adding a variety of your selected beads to the string until each one is decoratively filled. You may choose to personalize the wires by following a color scheme or committing to bead size variety — or both! Secure the final bead by looping the string twice around each hole.
Wrap wire around mason jar rim
Once all five of your floral wires are complete with decorative beads, you're ready to attach them to the mason jar. Using a thicker floral wire, cut an 18-inch wire to wrap around the jar. Collect your beaded strings and securely attach them to the wrap-around wire, using pliers or another force to tightly wrap the wires in place. Wrap the thicker wire around the jar's neck and twist the ends to ensure it stays put. You may choose to add more beaded accents made from clear strings that can easily tie to the hanging wire. Space the strands out evenly before moving on to the next step!
Decorate the inside of the jar
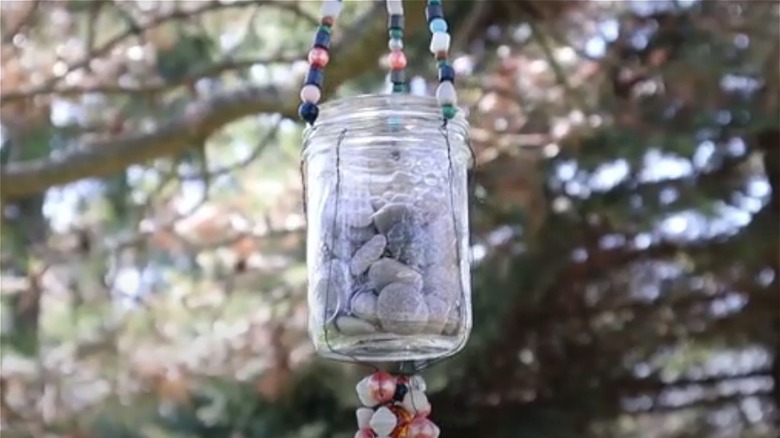
Once you've conquered the wiring, fill up the jar with pebbles, flowers, and even an artificial candle. The purpose of this is to make the mason jar as physically appealing as possible, potentially attracting birds and other insects to explore your unique wind chime. This can include everything from sunflower seeds to leftover beads to small planted flowers—the choice is entirely up to you. Finish it off with a small set of string lights to stand out in the dark.
Prepare the wind chime to hang outside
It's time to prepare the wind chime to securely hang outside, and that's where our twine string comes in. Cut about 80 inches of twine before tying the ends into a knot. Lay the string flat on a table with ends crossed into a loop. Place the mason jar above where the strings cross before pulling the top through the original loop—there should be several intersections of twine at this point. Pull the sides of the string through their neighboring loops, and watch as it becomes a net for your mason jar as you pull the string up. Ideally, you'll finish by holding two loops you'll use to attach the wind chime to your tree. Once you're done, all that's left to do is find the perfect spot for your completed wind chime.


