13 Important Steps You Shouldn't Skip Before Starting A Load Of Laundry
In theory, doing laundry is quite simple. Load dirty items into the washing machine and add a dash of detergent. Now, simply entrust the appliance to handle the mysterious stains, unpleasant smells, and lurking germs. Yet, the reality is your clothes often come out of the washer worse for wear. If you've been stuck in your personal nightmare of shrunken, faded, and damaged clothing for too long, break the cycle and observe a few steps before laundering your dirty pieces. For instance, if the label of an article calls for dry clean only, it'd be best to drop it off at the cleaners.
Poor laundry practices don't just spell disaster for your clothes. They can harm the appliance, too. To illustrate, accidentally leaving metal screws in your pant's pockets might harm the inner drum and outer tub. An injured inner drum can shred the garments, and the damaged outer tub will cause leaks. So, to keep the appliance in tip-top shape, it's essential to check your pockets and remove forgotten screws before chucking the item inside. If case you want to avoid similar mistakes and prolong the life of your clothes and washing machine, here are a few steps you shouldn't skip before starting a load of laundry.
Check the garment's care label
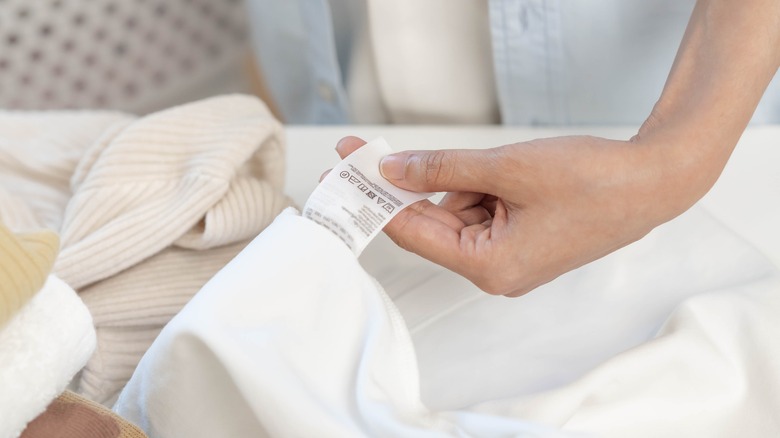
Check a clothing's care label before leaving it to the washing machine's mercy. Manufacturers usually communicate a garment's specific requirements, like dry cleaning, through the care label. So, check the side seam or the back to locate the tag. If the label features simplified instructions, follow them to the T. However, if the tag is a confusing combination of rectangles, circles, and odd symbols, decode the laundry codes to clean everything the right way. For starters, a washtub indicates the garment is safe to be washed in the machine. Conversely, a washtub with an X means you shouldn't wash the article in the machine. A hand inside the wash tub is usually reserved for delicates, like silk, and indicates it should only be washed by hand. Similarly, a circle means dry clean only. Fabrics with a circle with an X can be machine-washed on a gentle cycle.
Checking a garment's care label is essential if you don't want it to shrink, fade, or get ruined. For instance, dry clean-only woolen clothing can shrink two or three times its original size in the washing machine. But what do you do when the label wears out? A rule of thumb is to set aside leather, silk, velvet, wool, taffeta, acetate, and sequined items for dry cleaning. Cotton, polyester, and linen are generally machine-safe. But to be 100% sure, conduct a spot test to tell if you need to dry-clean your laundry.
Sort your clothes into neat piles
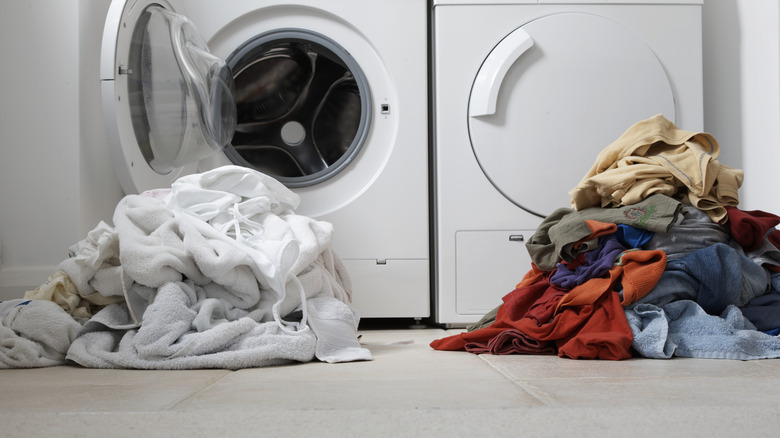
Sorting is essential if you want your whites to remain white, delicates to last long, and items to come out visibly cleaner. Sort the garments based on their care label, color, fabric, and level of dirt. Begin by sorting dry-clean, hand-wash, and machine-safe pieces. Next, sort machine-washable articles based on their color. Create three piles for whites, light colors, and dark colors. Although if you have a smart washer, you'll just have to make two piles for whites and colors. But create three piles if you add bleach or bluing agent for your whites and don't want the colored articles to lose their vibrancy. Also, slot the fabrics into four categories—denim, delicates, towels, and the rest. Finally, separate filthy items, like your child's muddy trousers and smelly gym clothes, from lightly soiled clothing.
Dividing your garments by care label will ensure you don't accidentally throw in your expensive silk shirts with your loungewear. Moreover, sorting machine-washable pieces by their colors will keep your white- and light-colored clothing from becoming the unintended victim of the bleeding dye from the darks. Washing your delicates separately from heavy fabrics like jeans will keep them safe. Plus, separating towels from the group will reduce the amount of lint you end up with on your laundry. Further, running two distinct loads for your incredibly and lightly dirty items will allow you to pretreat stains, prevent the dirt from soiling other pieces, and prolong the life of your detergent.
Take care of stains and questionable odor
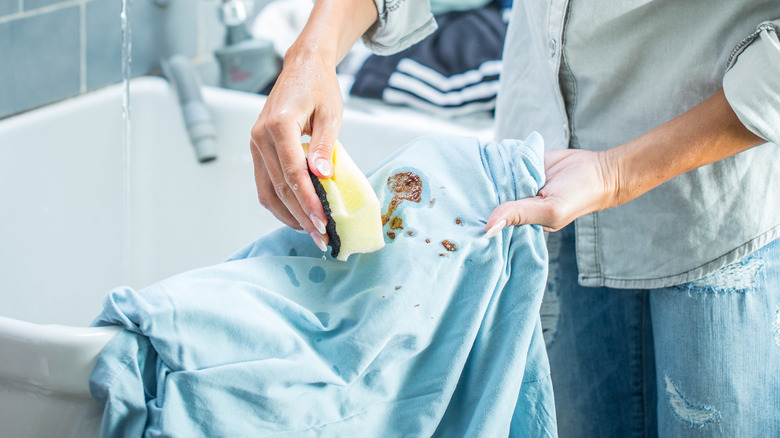
Clothing is the most common casualty of food and drink spills. An innocent splotch of ketchup, bleeding pen, or accidental wine spills will stain your garments if they're not taken care of immediately. When dealing with liquid spots, blot the area with a white cloth to remove as much of the liquid as possible. Be careful and move from the outside in to keep the stain from conquering additional areas of the fabric. However, pick off the solids if the spot stems from food or sauce. Remember to sprinkle cornstarch on the stain and let it stay for 15 minutes in case of oil-based stains.
Now, pretreat the items by soaking them in white distilled vinegar and warm water. Let them soak for an hour, and stir the solution occasionally. This step will also remove any foul odors. Switch to cold water when treating blood stains, or they might set in permanently. Or rub in some detergent on the front and back of the spot. Laundry stain removers are a good option, too. Simply follow the manufacturer's instructions to get the offending spots out. If none of these methods work, let professional cleaners handle the items. Pretreating the stains and odor in advance will prevent them from setting in the fabrics and ruining your beloved articles. But swift action is necessary, as the stains will be challenging to eliminate once the clothing undergoes the dryer's heat.
Empty out pockets
Pockets in clothing allow you to always have necessities, including keys, money, phone, and bobby pins, at hand. But these items can be a nuisance if they end up with your dirty garments in the washing machine. So, ensure your pockets are empty before doing laundry. Additionally, remove belts from your pants and dresses, too.
Though checking each pocket and methodically removing everything you find inside will add to the washing time, this practice will keep your wash and appliance from getting damaged. Metal objects, like coins and keys, will harm the machine's inner drum and outer tub. The spinning action might also shatter the glass of a front-loading washer and scratch the insides, necessitating expensive repairs. The objects might even harm the fins of the drain pump when they slip past the filter.
Worse, if they enter the drain pipe, they might jam the plumbing and cause flooding. These objects will also tear the clothing inside. Moreover, your electronic devices, like keys or phones, will be rendered useless when they come into contact with water. Paper money will dissolve, and a leftover tissue will cover the clothes with lint. The spinning might ignite lithium-ion batteries, chargers, and lighters. A forgotten pen or candy wrapper will cause stains. If a small item, like a penny, passes your scrutiny, stop the machine immediately when you hear clunking sounds.
Zip up zippers, fasten metal clasps, and unbutton buttons
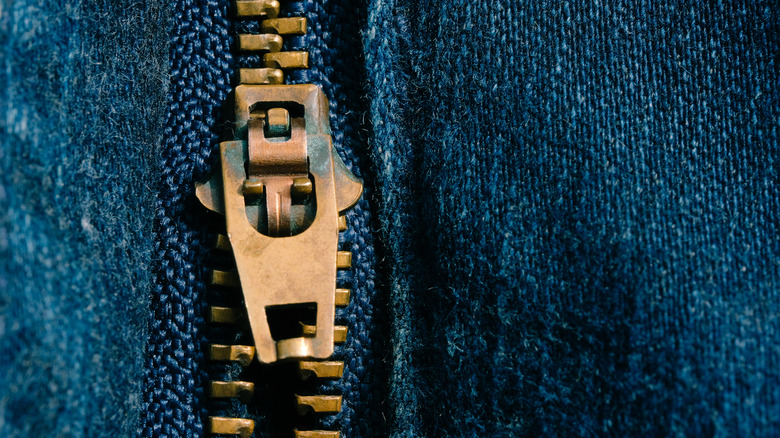
Have you ever tossed in a new-looking dress in the washer only to be rewarded with visible tears and holes all over? The zipper on your trousers or the metal clasp on your lingerie might be the likely culprit. To stop sacrificing your dresses needlessly, take a minute to zip up all zippers, including the ones on your jeans, jackets, trousers, and dresses. The decorative ones should be zipped, too. Moreover, clasp the hooks on your bras, blouses, and skirts before tossing them in with the others. It's also recommended to unbutton the buttons on the shirts, along with the ones around the sleeve and collar. You should also remove the detachable collar stays.
Closing the metal teeth on the zippers and fastening the hooks might seem like a tad overboard, but it's necessary to protect other items in the wash. The spinning during the wash cycle might cause the sharp edges to rip, wear, or poke holes in the delicate garments. While taking care of the zippers and clasps is necessary to prevent casualties, undoing the buttons will prolong their life. Buttoned-up garments might get entangled with other articles or the appliance's inside, tearing the buttonhole or causing the small fastener to break in half (or fall off entirely). The resultant pulling will also damage the clothing it's attached to. Moreover, an unbuttoned article allows easy access to the water and detergent and gathers fewer wrinkles in the wash.
Knot the drawstrings
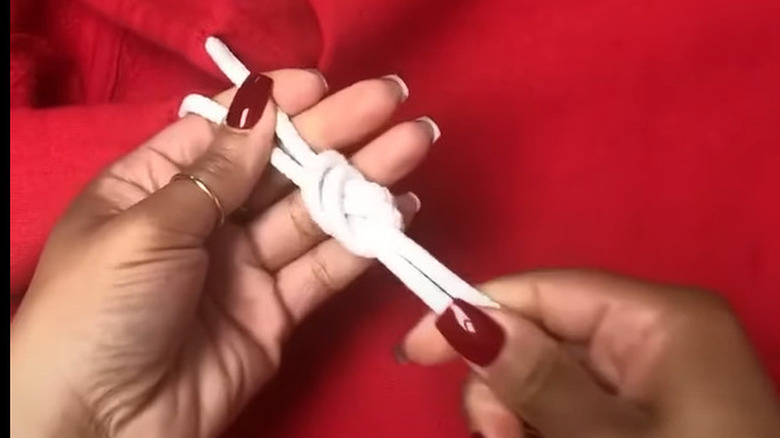
Drawstrings on clothing such as hoodies or workout pants should be knotted gently to keep them from getting tangled or falling out of the garment during the wash cycle. Sash belts in a dress or robe fall should be treated similarly.
The obvious reason to knot the drawstrings is to keep them from moving out of the clothing during the high-speed tumbling, as it can be incredibly frustrating to put it back. Another compelling reason is that the loosened string (and sash) might get stuck under the agitator. Even if the string doesn't come loose, there's a good chance it can get stuck in the holes of the inner drum. In both situations, your clothing might get damaged, and the stuck string will be challenging to pull out unless you take apart the agitator or lift the inner drum. Drawstrings and belts can also get tangled around other items of clothing, causing wrinkles and ineffective washing since the items end up bunched together.
Put your delicates in a mesh bag
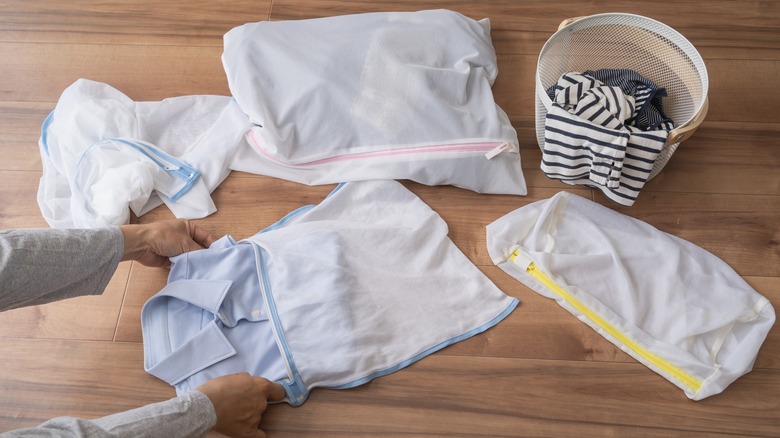
Delicate fabrics, like silk, wool, lace, and nylon, and garments, such as bras, hosiery, and swimwear, require extra care. Although it's recommended to hand-wash them to minimize damage, you might not have the time (or inclination) to do that every time. In such cases, you'd be at an impasse as even the delicate setting might be too rough. Enter mesh bags. Simply clasp the hooks, put the items inside the bags, zip them up, and put them in the washing machine.
Placing delicates in a mesh bag is necessary since they can get snagged, stretched, or develop tears otherwise. The bag offers a compact environment for the articles to move around, limiting damage. Moreover, running the delicate cycle while the bag protects the items inside is akin to hand washing them. Mesh bags aren't just great for delicates. You can also use them to wash socks and limit the number of orphaned socks. However, there are a few criteria the mesh bag must fulfill to protect delicates in the laundry. For starters, the bag should feature a zipper, not a drawstring, since they get stuck. Additionally, there should be space to tuck in the zipper head. It should also be tightly woven and porous enough to let the soapy water through. Check the bag's size because you don't want to stuff it to the gills. It's best to get several small ones to separate the delicates into by color or type, depending on what makes the most sense for you.
Choose the right type of laundry detergent
Washing machines heavily rely on laundry detergent to clean your dirty clothes, and the type of detergent you choose should match your family's particular needs. Moreover, the detergent you use should go well with the appliance. To illustrate, if you have a high-efficiency (HE) washing machine, you'll need a HE laundry detergent to complement the device and minimize unwarranted messes. Additionally, you need to choose between powder, pods, tablets, liquids, eco-friendly, biological, and non-biological detergents.
Your selection should be based on your laundry's soil level, budget, and skin sensitivities. Powdered detergents are ideal for regular washing since they tend to last longer than their liquid counterparts and are the cheapest. They do a good job of removing stains and whitening whites but tend to leave a white residue because they don't completely dissolve in cold washes. Liquid detergents are best for treating stains and washing extremely dirty clothes. Plus, they have multiple variants, including white, color, and dark. Biological detergents are ideal for tough stains.
On the other hand, single-use pods and tablets are best for travel, as they are convenient, less messy, and quite expensive for regular use. Alternatively, eco-friendly detergents are plant-based and don't contain harmful enzymes or chemicals. In case the choices seem overwhelming, always have three types of detergent handy—one for your whites, the other for colors, and the third for the delicates.
Follow the correct laundry loading order
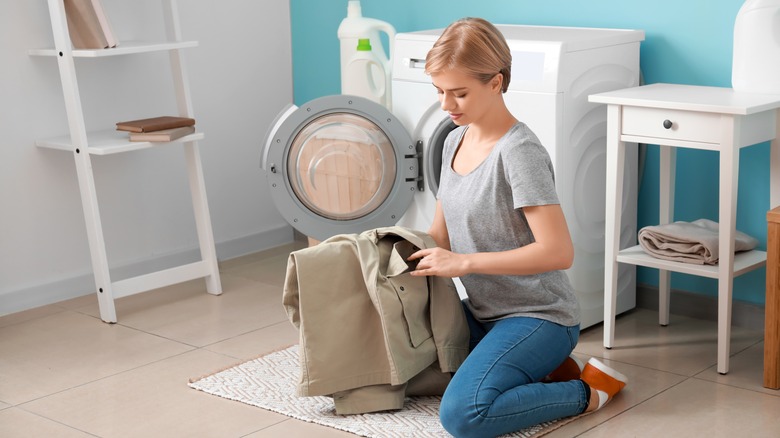
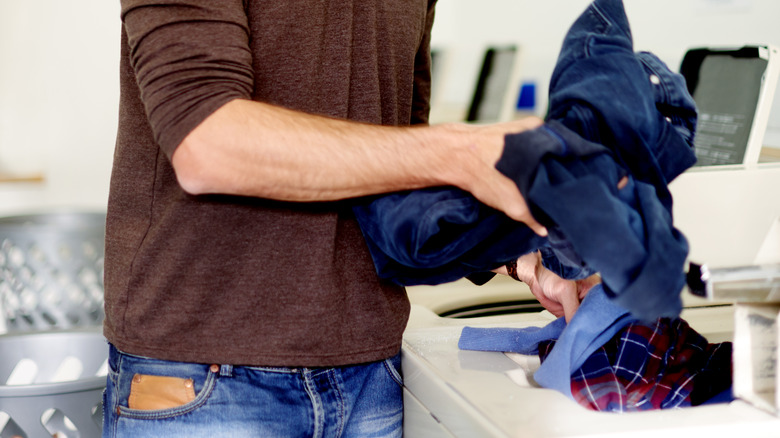
Instead of chucking clothes willy-nilly into the appliance, take a second to read the loading instructions on top and put the clothes, detergent, and water in the prescribed order. If the machine doesn't have instructions, then the correct order to load your laundry comes down to the type of washer. A front-loading machine usually has a dedicated dispenser compartment. So, you can add the detergent in the compartment, and the appliance will dispense it at the right time. But things get tricky when loading clothes and detergent in a top-loading machine since experts are divided on the correct order. Some recommend starting the machine, so it begins filling with water. While it's filling, pour in detergent before putting in the clothes. Others recommend adding clothes, starting the water cycle, and finally adding detergent. A few even advocate adding detergent before putting in the clothes. Once done, start the washing cycle.
Following the correct laundry loading order removes the risk of over-the-top suds and garment damage. This makes it important to follow the instructions on the washing machine or put detergent in the dispenser compartment. For top-loading machines, adding the detergent while the machine is filling but before adding clothes will encourage the detergent to dissolve completely before it works its magic on the dirty laundry. Adding detergent on top of items or throwing in clothes on top of the detergent doesn't allow the detergent to dissolve completely, and you might end up with unsightly powdery white stains on your garments.
Remove pet hair from clothes
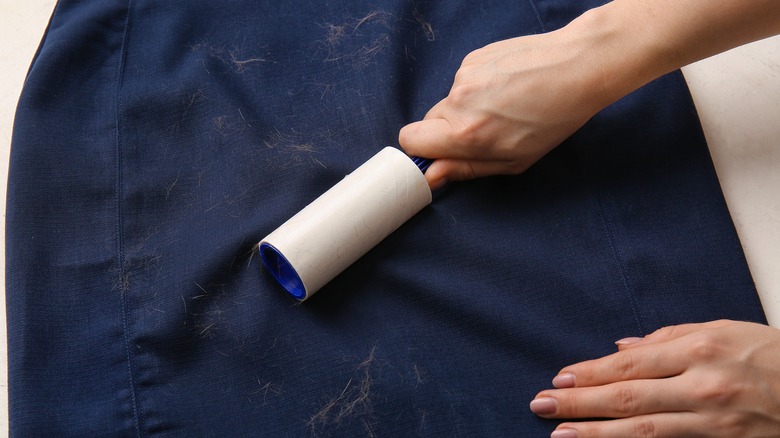
Playing with your pets, cuddling with them, and having them in your general vicinity will leave a trail of hair on your garments. While it'll be tedious and time-consuming to remove all the hair from the items before every wash, it's necessary to take care of it beforehand. Once wet, the hair will be incredibly challenging to get rid of. So, remove pet hair from all the dirty items using a lint roller (or masking tape) before loading them in the machine.
Although you might think that the washer will take care of the hairs (as it does dirt), the reality is this will cause huge (read: expensive) issues for your appliance and laundry. To illustrate, when you toss pet hair-covered clothing in the washer, the deadly combination of hair and water will give birth to soggy clumps. These clumps will cling to clothes and the corners of your appliance's wash basket, effectively jamming the filter and drain pumps over time. You'll also be rewarded with hair all over the next load. A buildup of pet hair can also hinder water drainage, putting undue strain on your plumbing. So, to minimize expensive repairs down the line, spare a few minutes to remove pet hair from your dirty clothing. If the lint roller process takes too long, consider drying articles on a no-heat setting to shake the hairs free. Once loosened, the lint trap will capture them. and you can wash your clothes without worry.
Turn clothes inside out before washing
Has your dark-colored clothing been coming out of the washer faded and looking worn? There can be numerous reasons for this phenomenon, including hot water settings, harsh spinning cycles, concentrated detergents, and color bleeding. You can minimize this by turning the garments inside out before every wash. This trick won't just protect your dark-colored clothes; it'll also elongate the life of your light-colored and white articles.
The primary reason to turn items inside out is to minimize instances of dye bleeding. It'll also minimize color fading, as the outer side won't be taking a beating. Additionally, this small step will minimize fabric pilling—the tiny lint balls on a garment. While a machine wash doesn't give way to these lint balls, the added friction can aggravate the issue. Remember, this step won't help you get rid of pilling on clothes. It can help prevent it from happening in the first place, however. Another benefit of turning your clothes inside out is the embellishments, woven designs, and elaborate bows will remain protected from the cycle's abrasion. Further, this method ensures your soiled and sweaty clothes get the attention they deserve and come out of the washer clean. Since it brings the fabric's inner (read: dirty) side in immediate contact with detergent, it'll even minimize odor retention. Bonus advantage: You won't have to deal with mysterious detergent stains on the exposed side any longer.
Mend tears in the clothes
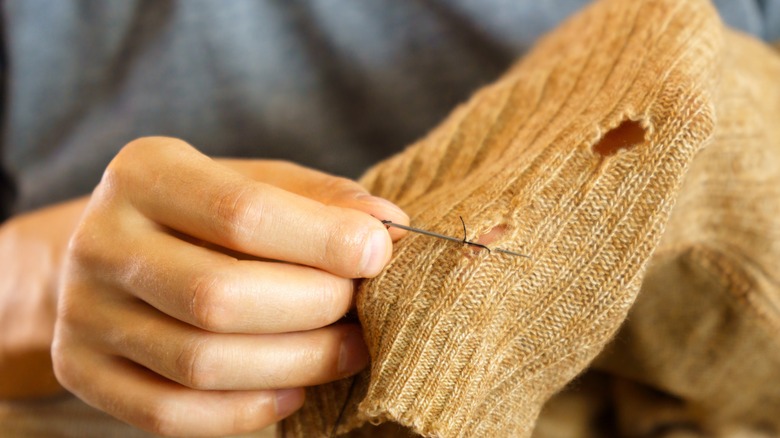
If you come across tears or holes in your clothes while sorting your dirty laundry or emptying out pockets, don't put them in the washer. Instead, set them aside for mending. Fabric glue is one of the easiest methods to mend small holes. The adhesive bonds with the fabric and fixes the holes quickly. However, you might have to wait for up to 24 hours for the glue to dry, depending on the type of glue and the amount used. Alternatively, an iron-on patch or fabric mending tape will help you repair small holes or tears in thin materials.
But sewing the hole shut is the best option when dealing with ripped seams or significant tears. Although you might be apprehensive about sewing, especially with little experience, tiny or straight tears can be easily sewn by hand. Simple stitches like running, buttonhole, or backstitch will let you close the gaps permanently. Just ensure you have the right type of needle—thin materials necessitate a small needle, whereas a thick garment needs a large one. If you have a sewing machine, you can even tackle significant rips and holes. That being said, if the garment is expensive and you aren't well-versed in the art of stitching, consider taking it to a tailor or dry cleaner. Fixing your torn clothing before putting it in the laundry is necessary to keep the inconspicuous holes from getting more pronounced, as the endless spinning and tumbling will exacerbate the damage.
Determine the load capacity to avoid overloading the machine
The final step is to consider the load capacity of your washing machine when dumping dirty clothes inside. The capacity will look different for different machines, so check the user manual in advance. Generally, a top-loading washer can comfortably wash 12 pounds of laundry, whereas a front-loading one supports between 15 and 18 pounds. If you have an extra large machine, you might even get away with 20 to 22 pounds.
Overloading your washing machine will defeat the purpose of the wash since your clothes will mostly come out dirty. The cherry on top is that they might smell worse, as they'll absorb all the water without letting the detergent clean the laundry. If that weren't enough, you'd also be left with unsightly soap stains. The extra agitation might also damage and stretch the garments. Worse, an overloaded washer will strain the motor and the tub bearings. An overheated motor will shorten the machine's lifespan and void the manufacturer's warranty. Paying for repairs can be expensive and might cost $320 to $400. Further, water may have difficulty draining and leak out during the spin cycle. In addition, the pressure might force small items like socks to move down and clog drainage tubes.

