The IKEA BORRBY Hack You Need To Create An Instagram-Worthy Plant Terrarium
We may receive a commission on purchases made from links.
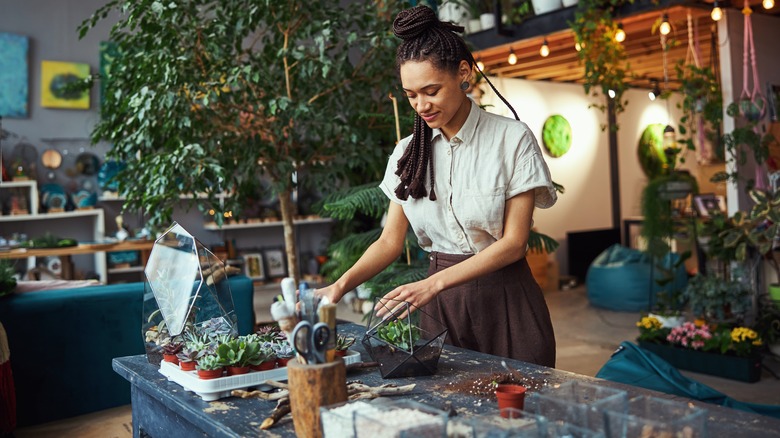
Plant terrariums have become increasingly popular as a decorative way to bring nature into the home. These miniature ecosystems, often contained within glass vessels, serve as striking focal points in any living space. While their appeal is alluring, the pursuit of creating your own terrarium may be daunting. Enter the IKEA BORRBY hack — a brilliant solution that combines affordability with style, providing DIY enthusiasts with a cost-effective means to create their own Instagram-worthy terrariums. By repurposing the versatile BORRBY lantern, you can transform an everyday item into a showcase for your favorite plants.
We'll provide a step-by-step guide to creating a terrarium using the IKEA BORRBY lantern, as well as tips and tricks for making your own unique design. All you'll need to get started is the IKEA BORRBY lantern, some adhesive sealant, potting soil, gravel, decorative stones, moss, an 8-inch square of wire mesh, a spray bottle, and a selection of your favorite types of terrarium plants.
How to create an IKEA BORRBY terrarium
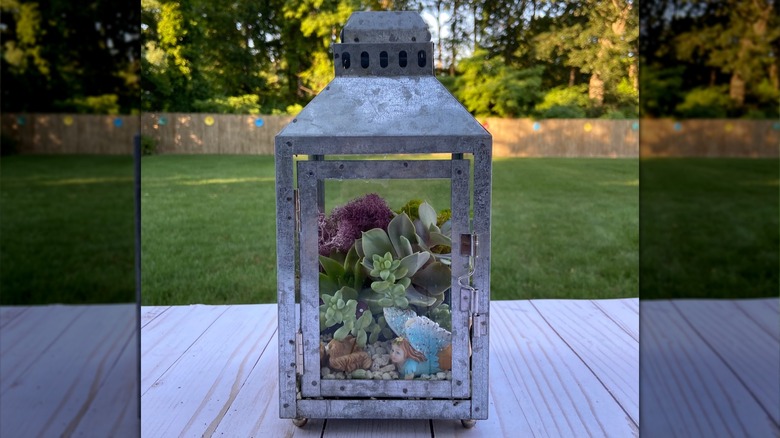
The IKEA BORRBY lantern, at just $13.99, comes in either white or black, and either of these neutrals would look great in a variety of interior design styles. First, you'll need to assemble the lantern according to IKEA's instructions. Next, because closed terrariums are moist environments, it is important to make the lantern water-tight. For this, use the adhesive sealant. There are a lot of varieties of sealant available — if you are wondering which one you should use, just make sure to choose a waterproof option. Take care to seal the gaps at the bottom of the lantern where a lot of the moisture will accumulate. Once the sealant is dry, you are ready to create your terrarium.
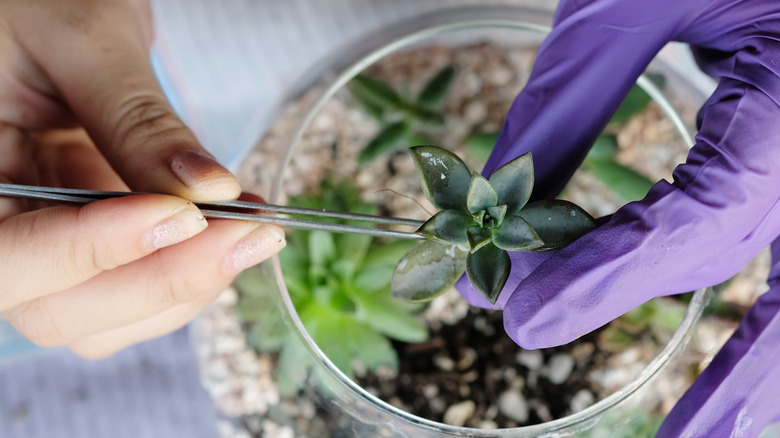
Place a layer of gravel that's 1 to 2-inches thick at the base of the lantern. Gravel creates a reservoir where excess water can collect, preventing the roots of the plants from becoming waterlogged. Next, add the square mesh on top of the gravel to create a barrier before applying a layer of soil around 1-inch thick. Finally, you can have fun arranging the plants in your terrarium! Mound a little soil around the base of the plants, cover the surface with moss and decorative stones, and spray generously with water. You are now ready to close the door to seal your terrarium and allow this self-sustaining ecosystem to flourish with minimal maintenance.
Tips and tricks to customize your terrarium
When designing your terrarium, opt for a mix of textures, colors, and growth habits. Contrast the greens of ferns and mosses with a wide variety of colorful succulents. Add different patterns with variegated species such as the polka dot plant. However, also consider that the IKEA BORRBY lantern is just 6 inches long by 6 inches wide by 11 inches tall, so choose small species that are suited to growing in the space — larger options, such as prayer plants, may not be appropriate for this DIY. Decorative elements such as polished stones or miniature figurines can add variety and charm to your terrarium. Additionally, incorporating natural elements like driftwood or seashells can be great options as part of your design.
For something completely different, why not experiment with creating a desert landscape? Use colored sands to create a layered design, and choose desert-dwelling plants such as Echeveria or Sedum instead of moisture-loving ferns and mosses. For desert landscape terrariums, keep the environment dryer with just an occasional misting, place it in a warm location, and leave the door slightly open to provide better airflow.


