The Best Way To Clean And Renew Vinyl Shutters
We may receive a commission on purchases made from links.
Vinyl shutters are crafted from acrylonitrile butadiene styrene, also known as ABS. This high-quality plastic ensures that the shutters are not only resistant to the usual wear and tear –such as chipping, warping, and discoloration — but also capable of withstanding the harsh realities of weather over time. Their resilience makes them an ideal choice for homeowners who value both appearance and longevity in their home's exterior enhancements. Despite their robustness and the advanced material from which they are made, vinyl shutters require regular maintenance to keep them looking their best. Over time, factors such as dust, grime, and continuous exposure to the elements can dull their vibrant appearance, diminishing the curb appeal of your home. Moreover, mold, mildew, and dust can accumulate over time, which not only looks unsightly but can also pose health risks. Regular cleaning removes these contaminants, ensuring your shutters remain healthy and hygienic.
Luckily, the process of rejuvenating and maintaining these shutters is not overly complicated. With the right know-how, you can get it done quickly. The key is to use the correct techniques that keep damage at bay. Plus, you'll want to roll up your sleeves for some regular upkeep. This means creating an effective cleaning schedule and doing your bit to fight the inevitable results of weather and climate.
Preparing your shutters for cleaning
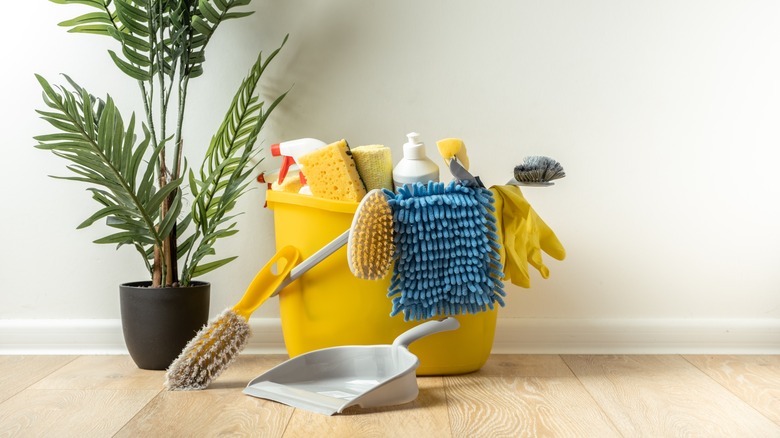
Before you start the cleaning adventure for your vinyl shutters, let's make sure you've got all the right tools on deck. You're going to need a few essentials: a microfiber cloth, a gentle sponge, a handheld vacuum that comes with a brush attachment, some mild soap, and warm water. One word to the wise — steer clear of harsh solvents and abrasives. Those are a big no-no, as they can scratch or damage the vinyl, and that's the last thing you want. Kick things off by giving your shutters a good dusting. Use that duster or cloth to gently sweep away any loose dirt and dust. This step is more than just a simple tidying up; it's your first line of defense against scratching the vinyl when you get down to the nitty-gritty of wet cleaning. After dusting, grab that vacuum cleaner. With the brush attachment, carefully vacuum the shutters, zeroing in on those tricky crevices and spots that seem to collect dust like it's their job. This ensures you're starting with a virtually particle-free surface before any water comes into play.
Next up, it's time to mix a little mild soap with some warm water. Opting for a mild soap is key here — you want to clean your shutters, not wage war on them. Dip your soft sponge or cloth into the soapy mixture and gently but thoroughly wipe down the shutters. Make sure you're hitting every spot, leaving no surface untouched.
Renewing and protecting vinyl shutters
After the shutters are squeaky clean, here's a nifty little trick to keep them looking great: Gently wipe them down with dryer sheets. This step is a game-changer, reducing dust and static, which means fewer cleanings for you. But the journey to maintaining your vinyl shutters doesn't end here. Once they're clean, you might want to go the extra mile to rejuvenate their appearance and shield them from the ravages of time and weather.
Enter the world of vinyl restorer products, designed specifically to breathe new life into your shutters. Take, for example, the Wipe On | Advanced Color Restorer & Protectant. These products may help restore the original color of faded shutters while also providing a protective layer against UV rays and weathering. Applying this restorer is a straightforward process: Grab a clean cloth, dispense some product, and work your way through the shutters in manageable sections. The trick here is to follow the product's instructions to the letter. Each product is unique, and Wipe On is no exception, possibly requiring a bit of patience as it needs time to penetrate the vinyl fully. After that, a buffing step might be needed in order to unlock that maximum shine and protection.


