This Common Kitchen Ingredient Is The Secret To Thriving Azaleas
We may receive a commission on purchases made from links.
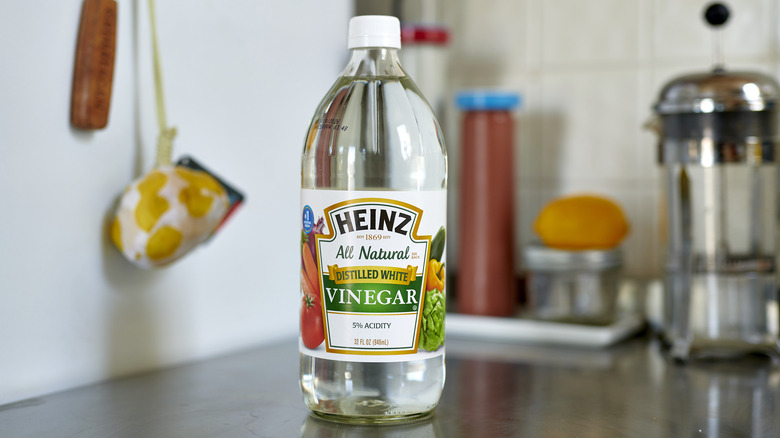
Azaleas are a beautiful addition to any yard. They come in a dizzying array of colors, allowing you to add an electric pop to your landscaping. From pink to red to purple to white, they will give your leafy landscaping a much-needed color infusion. While they are relatively easy to grow, they do sometimes get finicky over their soil content. They grow best in acidic soil, and if the pH is slightly off, they might not be able to receive or absorb the nutrients they need to thrive. This will leave you with less colorful and vibrant blooms, indicating that something is off. Luckily, you can change your soil's acidity with the help of vinegar.
Vinegar is naturally acidic due to the acetic acid in it. Most vinegars clock in between a pH of 2 to 3. Anything below a pH of 7 is acidic. While the common kitchen staple won't plummet your soil's pH down to those levels, it will help move the needle so the ground becomes a more suitable environment to help azaleas flourish.
How to use vinegar to lower your soil's pH levels
Acidic soil tends to have elevated levels of three important nutrients: iron, magnesium, and phosphorus. Azaleas tend to require high levels of these essentials, and failure to absorb them will result in less impressive blooms and a struggling plant. That's why it's so important to ensure the soil they're planted in has the correct pH level and is more acidic. Before you get started, first measure the pH of your soil to ensure this is the issue that is causing your blooms to falter. You can do so with a test kit, such as the Luster Leaf test kit on Amazon ($16 for 20 tests). Once you confirm that your soil is not acidic enough, grab your bottle of vinegar to remedy the situation.
Create a soil drench that will help take your soil from alkaline to acidic. To start, mix 1 cup of vinegar with 1 gallon of water. You always want to dilute the vinegar, or else it can harm the plant's roots and damage the flowers. Distribute this mixture evenly over your azalea plot. You will want to do this consistently over a few months since changing the soil's pH takes time. Each time you water the plot with your soil drench, test the pH levels of the soil to ensure you're not overdoing it. Making the soil too acidic can damage the azaleas you're trying to save.
Things to keep in mind
While this is a great way to increase the acidity of your soil, there are some caveats to keep in mind. While a 2005 study in the "Journal of General Plant Pathology" supports that the kitchen staple can reduce the pH levels of dirt down to 5.7, you might find varying success with this hack. Vinegar eventually breaks down in the soil, and once it does, the pH levels begin to change again. That is why you have to perform the soil drench routinely — it ensures you're replenishing what is being either broken down or washed away with rain or irrigation. For longer-term effects, consider coupling this hack with more tried-and-true methods, such as fertilizing the area with acidic compost made from pine needles or simply adding sulfur.
It is also best to do the vinegar soil drench during the winter or the beginning of spring. Not only are conditions usually wet then, but it also gives the ground plenty of time to adjust and prepare for the next growing season. This will give your azaleas the opportunity to rebloom in their prime growing conditions. While a vinegar soil drench might not deliver a 100% success rate, many gardeners have found that it works, so it's a simple hack that is worth a try.


