Home Projects You Should Really Be Doing During The Winter Months
We may receive a commission on purchases made from links.
When winter is long from over, and the thought of spring seems forever away, it's easy to curl up on the couch and hibernate. However, you don't have to wait until warmer weather to work on your house. This is actually the perfect time to upgrade your space and get some to-do's ticked off your list. That way, when the sun finally comes out, you can enjoy it.
From shopping appliance sales to trimming your trees, winter provides the perfect opportunity to get some of the nitty-gritty home improvement projects you've had on your list done. Even if you don't have a laundry room makeover in mind, there are some easy home maintenance projects that could not only help you save on energy costs but also ensure you and your family stay safe this winter. So, regardless of whether the groundhog sees his shadow or not, here are some ways to cure your winter blues. Whether you get a head start on spring cleaning or create a space you love in time for summer, it will help you make good use of these sleepy winter months.
Clear out the clutter
Whether you're going through expired food in your pantry, purging your closet, or deciding what knickknacks you actually need, it's never too early to get a headstart on spring cleaning. However, the easy part is setting up the donation box, while figuring out what to donate ... not so much. It's not a bad thing to keep sentimental things, but at the end of the day, you can probably come up with a reason for keeping all 12 of your water bottles. Here are a couple of easy questions you can ask yourself so you can finally start filling up that donation box and decluttering your home. Weigh the following: Do you actually use this item daily or weekly? (Or do you only bring it out once every six months?) Do you really like or enjoy the item? (Or do you have no response to it when you see it?) Do you have multiples of this item? (If so, is that necessary?)
We're sure you've heard the saying "less is more," but there are some real benefits when it comes to decluttering your home. The biggest thing is you will have less to organize, wash, and clean, and who doesn't love to hear that? You may also develop a more functional home when you eliminate excess items and clutter. Lastly, you will also cut back on expenses as you will become more aware of what you are spending money on and if it is something you actually need.
Change out your batteries
Replacing your smoke detector batteries is one of those tasks that seem to constantly be pushed to "tomorrow," but the only thing worse than climbing a ladder to change your batteries is having your detector start to beep in the middle of the night. So make tomorrow today! It's recommended that you change your batteries every six months in order to ensure a fully functioning device. If you start to hear the chirping noise, it's a sign you should immediately swap the batteries as your device might be unable to detect smoke. Also, note that even if only one detector is chirping or beeping, it's a reminder to change them all. That way, you'll be good for another six months.
Luckily, changing out the batteries is a super easy and quick task. Simply remove the cover, take out the old batteries, and pop in the new ones. If you have an older model, you might need 9V batteries. If you have a more modern detector, you likely need AA batteries. Afterward, make sure you test your smoke alarm. If the detector test alarm doesn't work, try some new batteries. If it still doesn't beep, it's time to get a new detector.
Air seal your house
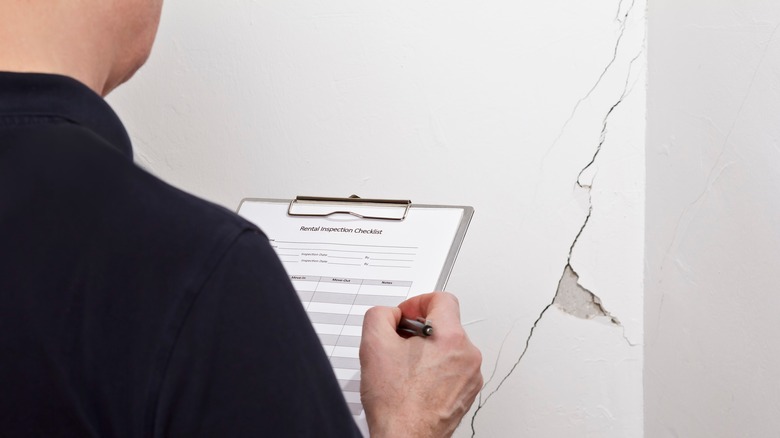
If you're going to notice any cracks in your house, it will be during the colder months because drafts might come through them. If you spot them, be proactive about preventing any further and significant damage by air sealing your house. This is when a professional comes to your home and seals and gaps and cracks in non-obvious areas, such as around your fireplace, in your attic, around outlets, and in the foundation. While the odd tiny crack may not seem like the end of the world, even the smallest of slivers can let heat escape or allow cold air in, which not only wastes energy but increases your heating bills.
If you're looking at the exterior of your home, some of the most common places for cracks are corners, outdoor spigots and taps, chimneys, and exposed foundations. Once you've finished checking outside, it's time to take a look around indoors at all of your outlets, door and window frames, vents and fans, mounted ACs, and baseboards. If you find substantial gaps, consider hiring a professional company such as Sealed to plug those air leaks.
Update your insulation
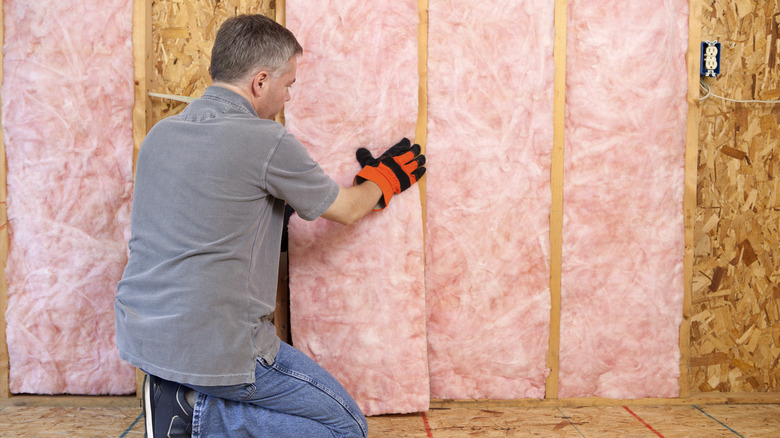
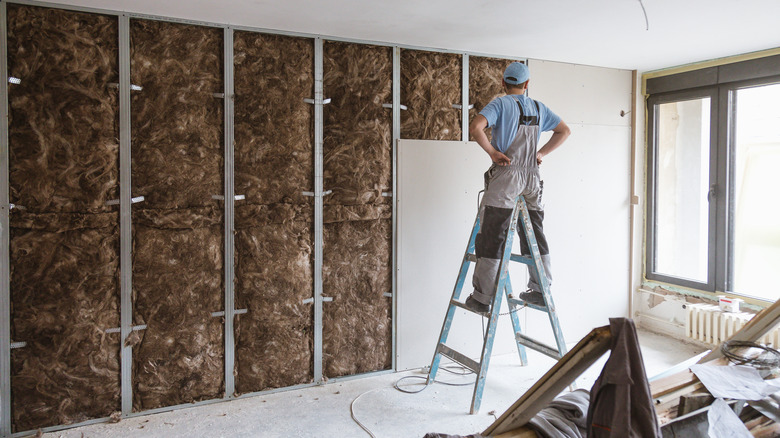
2024 is for saving energy and saving money, and one of the best ways to do that is by fixing the weak spots in your insulation. Beyond just the savings, upgrading your insulation has many more benefits, including helping regulate your house's temperature, preventing moisture from entering indoors and creating an ice dam, and even protecting you from outside pollutants. This is especially important if you live in an area that experiences wildfires or increased pollution.
The floor and roof are the two most common places to add insulation, and how much you need varies on your region. Something else to keep in consideration when upgrading your insulation is its R-value, which indicates how well it keeps heat from escaping. The higher the R-value, the better resistance it has. Again, much like with how much insulation you need, the recommended R-value is also based on where you live.
Clean out your dryer vent
This may seem like no big deal, but many things can go awry when your dryer vent gets clogged with excess lint. For starters, your dryer might work slower, taking longer to dry heavy loads. Even worse, a clogged dryer can also start a fire, so this is definitely not a task to skip this winter.
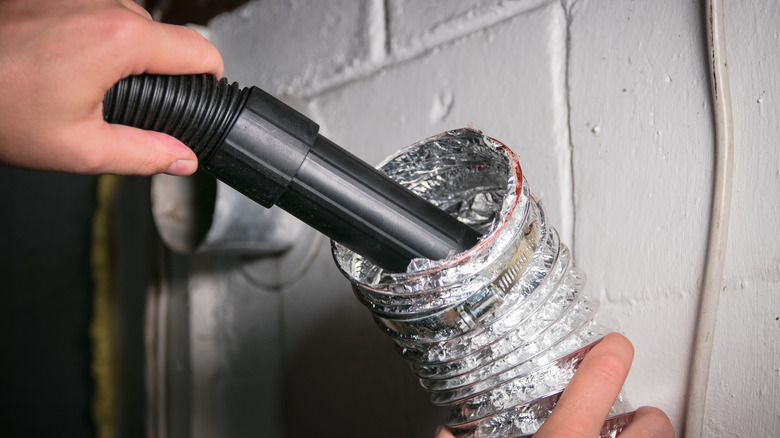
Luckily, it's not very difficult to clean a dryer vent. First, you will want to disconnect your dryer by unplugging it. If you have a gas dryer, you also want to turn the gas valve off. Move your dryer away from the wall and disconnect the hose from the appliance. If you have one that is made from aluminum, plastic, or vinyl, consider taking this as an opportunity to upgrade to a metal one. Because they are strong, smooth hoses, they don't trap much lint as the fuzz moves from the appliance to the vent, making them the safest choice in terms of fire safety.
The next thing you're going to want to do is clean not only your lint trap with soap and water, but also vacuum the space below where your lint trap is stored. You can better access that space by removing the front panel below the lint trap, which is often helped in place by a couple of screws. Lastly, vacuum both your dryer hose and the exterior vent that is located outside your house. This will remove any dangerous lint buildup, ensuring your whole system is clean.
Trim your trees
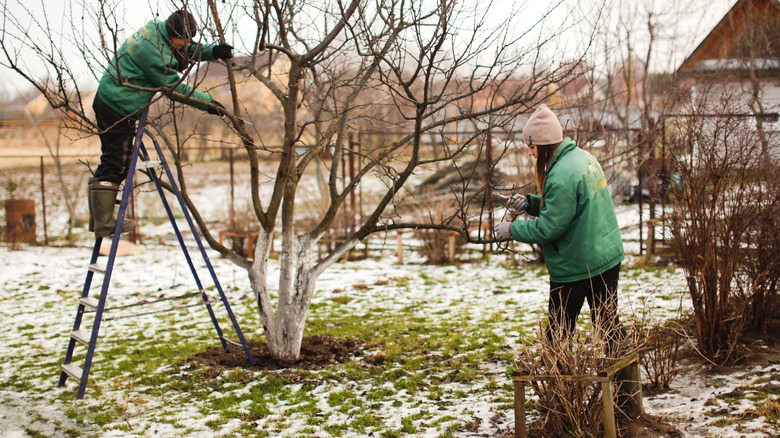
While this might seem like the wrong season to have this on your to-do list, winter is actually the best time to trim both your trees and bushes. That's because once they start to lose their foliage, they become dormant and essentially go to sleep. It's beneficial to prune trees during the winter for several reasons. Pruning often leads to new growth, so if you prune them in late summer or early fall, the new, delicate foliage won't survive the harsh conditions of winter. This means the tree used energy and resources for no reason. Pruning them during the dead of winter helps avoid that. Doing so during the dormant season also helps ensure there will be no surviving pests that can come feed — and ultimately infect — the tree's open wound. Plus, since it has no foliage, you will also have a clearer picture of any broken branches that need trimming.
But before you get out your shears, make sure the weather is just right. Pick a milder day toward the end of winter to avoid harming the open wound during deep freezes or harsh winter storms. You also want to make sure it isn't overly soggy or damp when you do your cutting, since those conditions can lead to infections or diseases. One thing to keep in mind is that not all trees like to be pruned during this season. For example, when it comes to magnolias, birches, and maple trees, you want to avoid pruning these plants in the winter at all costs.
Change out your furnace filter
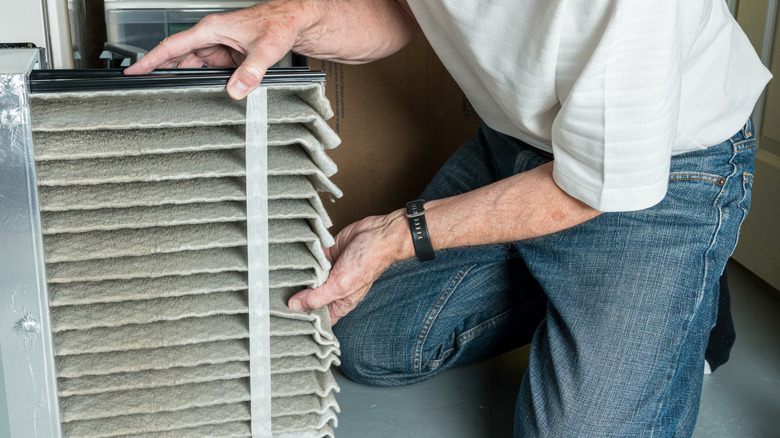
Much like forgetting to clean out your dryer vents, neglecting to clean your clogged furnace filter can also cause you a lot of problems. This can include everything from driving up your energy bills due to your appliances having to work harder to push air through the built-up dust, to possibly starting a fire. Plus, if the filters aren't clean, then that dust and debris get pushed through your air vents and diffused throughout your home, which can trigger everything from allergies to asthma.
The good news is that changing out your furnace filter is easy. Before you start, turn off your unit by turning off your thermostat. Then, locate your old filter to see how it looks. If you don't know where to find it, look at your furnace's manual. Then, purchase a new one with the same size and make. It likely has a sticker or tag on it that shares this information in detail. However, before removing the filter to get this data, locate the arrow on the filter and note which way it's pointed. You want to install the new one in the same direction, as this tells you which way the air is to flow. Insert your new filter, and then turn your thermostat back on. And you're done!
Organize your garage
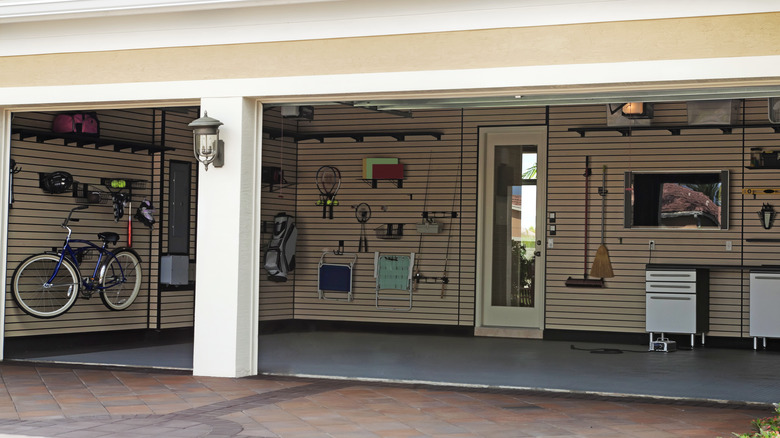
Much like decluttering your home, the time has come to tackle those miscellaneous storage boxes that are taking over your garage. It can seem daunting trying to figure out how to stack your storage boxes in an accessible and organized way, but it can be done. Whether your garage has become your second storage unit, or you just have a couple of holiday decor boxes you need to stash, these organization tips and hacks will make your garage functional again in no time.
Before you can start organizing, you first need to decide what to keep and what to get rid of. You can do that by using the same questions you asked yourself when decluttering the inside of your house. Once you've done that, utilize your vertical wall space to mount everything from tools to bikes to gardening accessories. This gets these items off of the floor and out of your way. You can do so by installing peg boards, suspended shelving units, and various brackets and wall hooks. Once you have run out of wall space, you can utilize your rafters to store things you don't use as often, such as storage bins filled with holiday decor. Just make sure they aren't too heavy, or else you risk breaking the rafters. You can usually safely store up to 5 pounds per square foot, so ensure you don't exceed that weight limit.
Regrout your bathroom
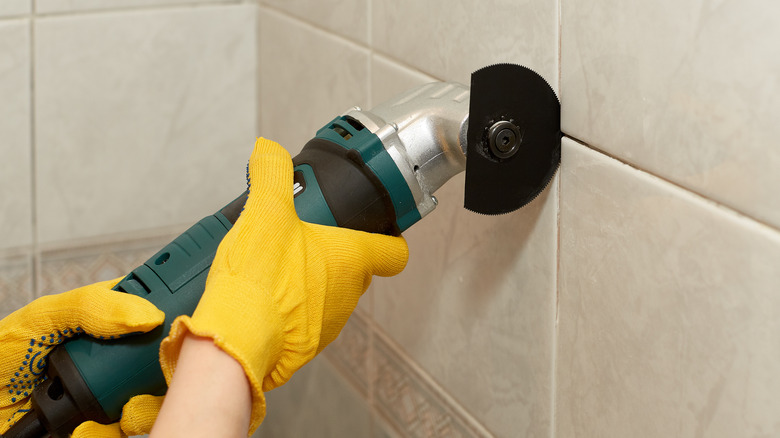
It might not be the most glamorous task in the world, but this often forgotten-about job can completely elevate your bathroom and leave it feeling brand new. Grout is used to fuse two objects together like brick or tile. It also is a barrier to any liquid that could seep through the cracks and reach the wall underneath, which can create long-lasting problems like mold. Now, it'll be obvious when you need to replace your grout. Not only will it begin to flake and appear overly discolored, but also keep an eye out for loosening tiles and mold growth. This signals it's time for a refresh.
Luckily, you don't have to be an expert tiler to take on this project. To tackle it, all you will need is a sponge, fresh grout, a small trowel, and a grout float. Remove the old grout with a grout rake by scoring it out of the seams with the tool's pointed blade. Once done, clean the area with a moist sponge to remove any residual dust. Then, grab your grout and apply it over the freshly exposed seams with a trowel, and then spread it out evenly with a grout float. Once done, allow it to set for a full 24 hours, and then use the damp sponge to remove the residue off the tiles.
Make your laundry room functional
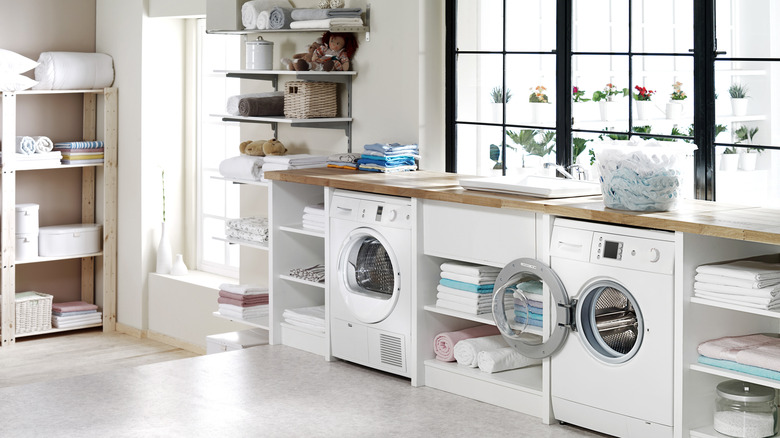
Laundry day is already a day most people dread due to the amount of work involved. But when the time inevitably comes to empty our overflowing hampers, you can make laundry day a little less miserable by updating your laundry room to be more practical and functional. You can do this with a few simple tweaks and upgrades that won't require you to hire a professional carpenter to achieve.
For example, if you have front-loading machines, try adding a counter on top. This will give you space to put your hamper and detergent somewhere, and create a place to fold and stack all of your newly laundered items. Rather than making a custom counter, you can just get a desktop or standalone countertop from places like Ikea and put it on top. If clutter is your problem, try getting some new labeled containers and decanting all your products that are in plastic bottles and containers. This will make them look more organized and uniform. And if sorting is what you dread doing on laundry day, the solution to your problem is investing in a sectioned hamper so you can sort as you go.
Finally, finish your basement
It's wet, cold, and snowy outside, so the time has finally come to finish your basement. But before you can get to the fun part of ordering furniture, there are three main things you need to do to turn your cold, dungeon-like basement into the space of your dreams. First, you want to check for moisture and seal any cracks that could let any water in. If your walls exhibit any lingering damp spots or you notice puddles or leaks, get a consultation with a professional waterproofing company. Putting up walls when you have a leaky foundation will only lead to mold and mildew.
After this is done, you're ready to start with the walls. This can be an involved process, so if you don't have experience with framing and installing drywall, consider hiring a contractor for this part. Next, you need to pick out your flooring. When choosing between vinyl, tile, and carpet, decide what your basement's primary use will be. Is it for a home gym, home business, or is it an extra room for relaxing? The answer will help you narrow down the most appropriate choice.
The final part of getting your basement up and running is to finish off the ceiling. To do so, you need to choose between two options: a drop ceiling or a drywall ceiling. A drop ceiling is hung below the main ceiling and is often textured and able to be personalized. It's also an easy and cost-effective way to hide eye-sore pipes and vent work while also leaving easy access to them. A drywall ceiling is a bit more complicated since it requires attaching heavy drywall boards to ceiling beams, but it maintains optimum ceiling height and gives a clean and modern look.
