Pinterest Shows Us How To Turn Old Shutters Into Space-Saving Kitchen Storage
It's no secret that Pinterest is a go-to for all projects DIY. However, this particular space-saving kitchen storage DIY hack has taken the internet by storm, and for good reason! It's a really inventive and innovative way to put old shutters to use. Not only are you repurposing what would otherwise be considered trash, but you are also fixing a space/storage problem in your home. It's a win-win! In this DIY project, you'll learn how to make a hip storage cart out of old window shutters. You'll need a drill, some cut pieces of wood to build the shelves, some wood varnish, and some caster wheels.
While shutters are a pretty specific item that is not always easy to come by, this is an excellent DIY project for those chronic flea market goers who are always looking for exciting and unique finds! This DIY trick is not only super convenient, as it clears up a bunch of space in your kitchen, but it is also stylish and one-of-a-kind. In a world where most furniture looks virtually the same since people are often shopping at Ikea or other big box stores that are regurgitating the same furniture concepts with slight differences, creating your own furniture is one way to ensure that your home's decor is original. However, you can still get crafty with the best Ikea furniture hacks.
The method: how to turn old shutters into space-saving kitchen storage
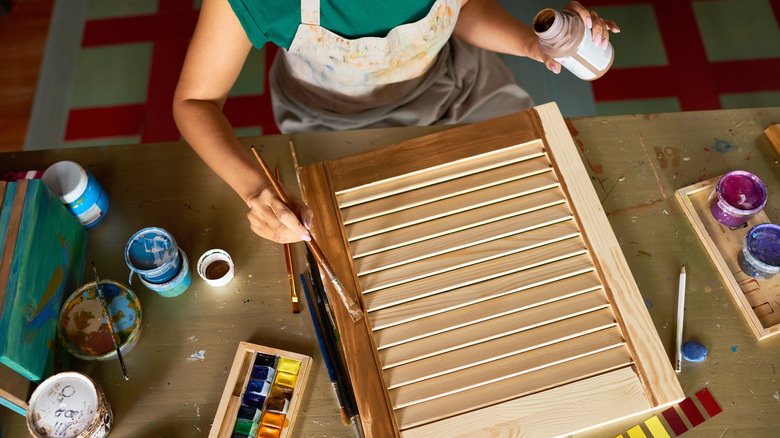
While it seems complex, this intermediate woodworking project is actually pretty straightforward, and even those with little experience can easily do this DIY hack! First things first, find you some window shutters, either from a flea market, garage sale, or the like. The next step is to clean them pretty well, removing any dirt or buildup to ensure you don't bring mold or dust particles into your home. Cleaning the shutters also primes them so that the paint will stick. This leads us to the next step: after you clean the shutters, take some spray paint of your choice and coat each side.
The next step is to cut the wood that will be used for shelving. You can do this yourself or have it cut for you. Then, add a coat of wood stain to seal the wood and add a nice rustic element to the shelving. Next, secure the shell of your structure by drilling in four pieces of wood, two across the middle of the shutters and two on the bottom. The inside of the shutters should be parallel facing each other. Now that you have the shell, it's time to install the shelving! Once the shelves are added, add four caster wheels to the bottom, and you're done! Voila! You have a unique storage cart that will free up so much space in your kitchen.
How to level up your shutter storage cart
There are lots of ways to customize and level up your newly made DIY storage cart. Additionally, kitchen storage carts using shutters are only one possibility among the dozens of shutter-related DIY projects. Some more fun kitchen-related ideas are creating a DIY shutter plate rack, a rustic and creative hanger for your mugs, a DIY hanging fruit basket using an old shutter, and more! There are endless possibilities for how you can use old shutters for new, chic, DIY projects.
However, if you want to level up your kitchen storage cart, there are a few cool ways to customize it in order to make it fit your needs and be uniquely you! For example, if you're a coffee drinker, you can make the top shelf a little coffee-making station with your favorite mugs, french press, sugar container, honey, or syrups. You can also add some organizers, cookbooks, and a hook on one side for kitchen towels for added function and use! Even though storage carts tend to be on the smaller side compared to other storage options, there are lots of ways to customize them and utilize the space effectively. Not a coffee drinker but like to indulge in happy hour festivities? Turn your shutter kitchen storage cart into a mini portable bar! Add a decanter, some wine, martini, or scotch glasses, alcohol of your choice, and a bowl for holding ice, olives, or any other garnishes you enjoy with your libations.

