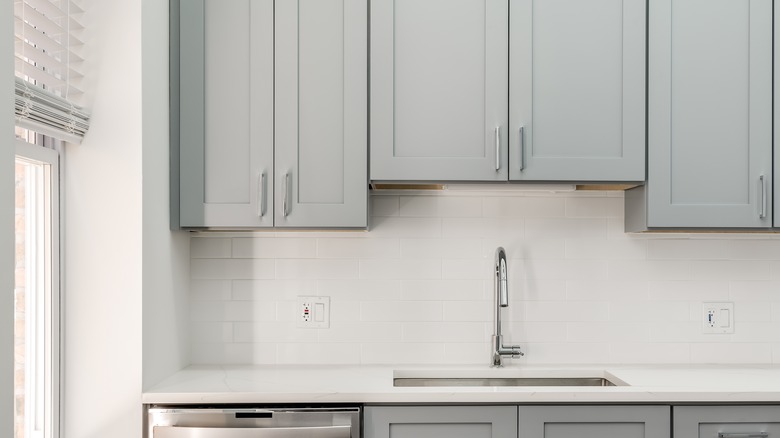
TikTok's DIY Will Completely Change Your Cabinets (Without Buying New Ones)
Cabinetry in many homes can be a mixed bag, ranging from inspiring builder-grade options in newer homes to outdated styles in older ones. While fully new wood cabinets can often be cost-prohibitive, many designers suggest that changing out the doors on existing cabinet casings can be a great alternative to full replacement when renovating cabinets. While you can purchase new cabinets in your desired style or have custom ones created by a contractor, social media DIY-ers like @cedarhillbuilder and @handmakeshome may save you some serious money with easy-to-follow tutorials on how to create your own classic Shaker style cabinets using 1/4-inch plywood and 1 x 3 inch boards.
The key to easy cabinet creation lies in some simple equipment, most notably a pocket hole jig, which is a tool that allows you to create pocket holes for screws, and a router, which makes creating a groove for the plywood in your frame easy-peasy. You also will need 1 x 3 inch wood boards, 1/4 inch plywood, wood glue, nails, screws, and paint to finish off your new Shaker-style cabinets.
While the total cost will depend on the variety of wood you use, 1/4 inch plywood costs around $25 per 4 x 8 foot sheet at most retailers, including Home Depot, while pine boards average around $10 for 8-foot lengths at Home Depot. The combined cost comes in at less than $20 per door. This is a great project, particularly if you need custom-sized cabinets.
Creating DIY Shaker cabinet doors
@handmakeshome begins by measuring the necessary size of the cabinet doors, keeping in mind the variety of hinges that will determine overlaps for the final dimensions. Once you have determined how large the cabinets will be, cut down the 1 x 3 inch boards (she uses poplar, but pine is another popular choice.) The stiles will form the vertical supports for the new cabinet door, while the rails will provide the horizontal frame. Use a pocket hole jig to add holes to the rails, screwing the rails into the stiles at the top and bottom (or for taller doors like @cedarhillbuilder's, at predetermined intervals.
Once you have created the outer framework, use the router to carve a 1/4 inch groove on the inside of the frame, creating a space for the plywood sheets, cut to size, to rest. Adhere them in place with wood glue and secure them with a brad nail gun or staple gun. Since the corners of the router will be rounded when cut, you can use a chisel or jigsaw to make them square or cut your plywood with curvature in mind for a snug fit.
Both DIY-ers use paint for their cabinets, but you can also use stain and a poly coat for durability, particularly if you plan to use the cabinets in a kitchen or bathroom. Add your favorite hardware for a complete transformation of your existing cabinets.
