Mistakes Everyone Makes When Cleaning Hummingbird Feeders
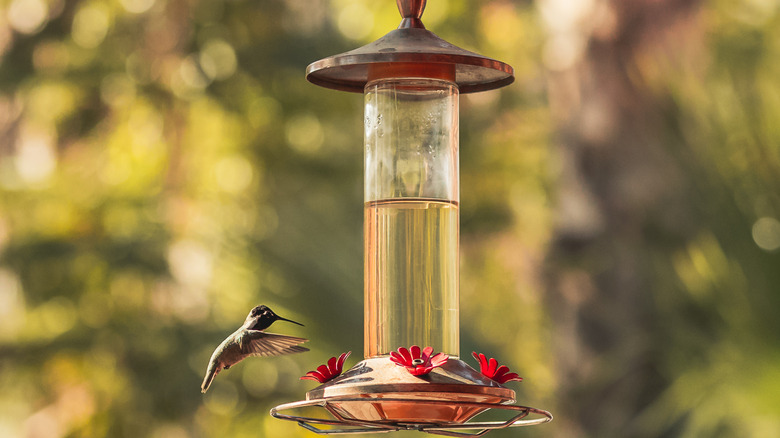
There's something inherently delightful about spotting a hummingbird flitting around outside your window. The colorful, tiny birds — most are only a couple of inches long — flap their wings so rapidly that they actually make a humming sound, hence their name. Whether you're an aspiring birdwatcher or just want to attract more pollinators to your garden, hanging up a hummingbird feeder is a great place to start. If you want to encourage even more to visit the feeder, be sure to plant some flowers that hummingbirds love, too, like bee balm or zinnias. The small but mighty birds are big eaters – consuming twice their body weight every day – so a combination of feeders and natural nectar sources is the expert-recommended way to maximize hummingbird exposure in your garden.
These feeders are specially designed to accommodate both the dietary needs and feeding style of the high-energy birds. They're filled with nectar rather than traditional birdseed or suet, and they provide easy access for the birds' long, thin beaks. However, these feeders are not in the "set it and forget it" camp. They require regular upkeep, and there's a lot of room for error when it comes to cleaning. We'll take you through common mistakes everyone makes when cleaning their hummingbird feeders, and give you expert-backed tips to ensure a sanitary, healthy feeder that will keep the hummers flocking to your yard.
Not cleaning frequently enough
Because hummingbird feeders are filled with sugar water, they're the perfect breeding ground for mold growth and bacteria buildup. The nooks and crannies inside the feeder provide great hiding spots for mold to grow. Even if the feeder looks fine from the outside, the inside can be another story. Additionally, the sugar ferments quickly in warm weather. This means feeders must be cleaned frequently. Otherwise, the dirty feeder can sicken birds and keep them out of your yard.
To avoid this mistake, always plan to clean the feeder at least once per week. However, this timing can fluctuate with the weather. If your area goes through a particularly hot spell, you'll need to increase the cleaning to every couple of days. The frequency with which you change out the sugar water goes hand-in-hand with cleaning. Make sure to replace it every couple of days — you never want it to become cloudy.
Not taking the feeder apart
Have you been doing a quick rinse of your feeder to clean it? Or maybe you just wipe down the exposed pieces, like the saucer or the bottle, and cross the task off your list. With all the demands on our time each day, it's certainly tempting to do a speed clean, but therein lies the mistake. To ensure a thorough clean, the feeder must be completely disassembled.
A glance online shows just how many different types of hummingbird feeders are currently available. Whether you choose a simple design or a more intricate one, they will still have inner pieces that need to be cleaned in order to prevent mold and bacteria growth. The extra pieces can be worth it, as many feeders now include problem-solving features like ant moats, bee guards, perches, and more. Regardless of the style you choose, it's important to be diligent about preventing mold growth in the water, because experts warn that it can cause fungal infections for the hummingbirds.
Using the wrong cleaning solution
Now that you've got the feeder apart and you're ready to start scrubbing all the pieces, don't just grab whatever cleaner you have handy. Many of the solutions that work perfectly well around the house are not safe options for your feeder. Even something that seems perfectly harmless, like dish soap, can leave behind a residue that's dangerous to the birds. Harsher cleaners, such as bleach, should only be used occasionally for stubborn mold issues, but we'll dive more into that later on.
Instead, experts recommend a simple, diluted white vinegar solution. It's no surprise that this all-natural, powerhouse cleaner has their seal of approval. Vinegar can be used to fix issues throughout the house, plus it's affordable and readily available. When you use it to properly clean your feeder, the ratio should be one part vinegar to four parts warm water. Mix the solution in a small bucket, and then submerge all of the feeder's parts. If things are particularly grimy, try adding dry rice to the solution and shaking/stirring thoroughly (the rice adds gentle abrasive qualities).
Not wearing gloves
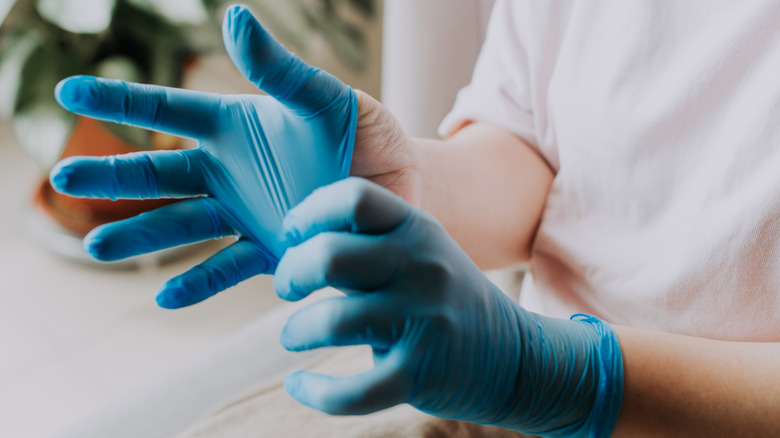
With their cheerful songs and beautiful coloring bringing joy to our gardens, it can be easy to forget that birds, like all wild animals, can transmit a slew of diseases. If you haven't been wearing gloves when handling or cleaning your hummingbird feeder, you'll want to remedy that immediately. Some diseases, like avian influenza (more commonly known as "bird flu"), can spread like wildfire through a bird population via contaminated feeders. According to the CDC, while it's rare, humans can also contract the disease by inhaling it or touching a surface that contains the virus and then touching their eyes/mouth/nose. For humans, the severity can range from mild symptoms to life-threatening. Another one to watch out for is Salmonellosis, a disease caused by salmonella bacteria. It can be transferred to humans via close contact with the feces of an infected bird, the bird itself, or even through a pet cat that has caught an infected bird.
Though this all sounds a bit scary, don't let it deter you from welcoming hummers into your yard – the benefits of a feeder certainly outweigh the cons! To protect yourself from potential bird diseases, make sure you always wear rubber gloves when handling and cleaning your feeder. Once you're finished, throw away the gloves and wash your hands thoroughly.
Using the wrong tools
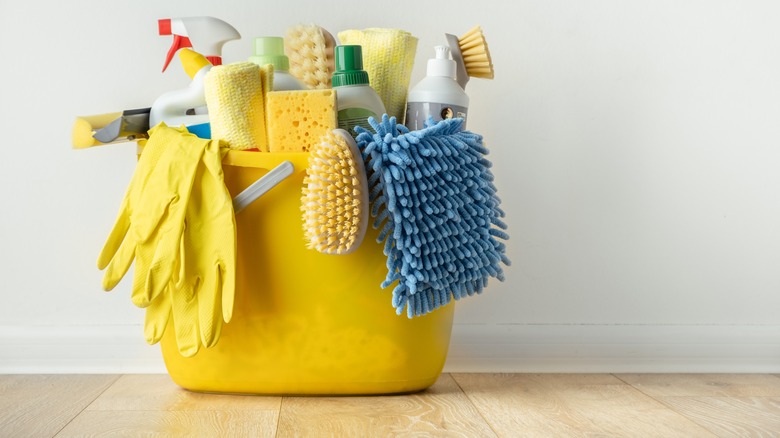
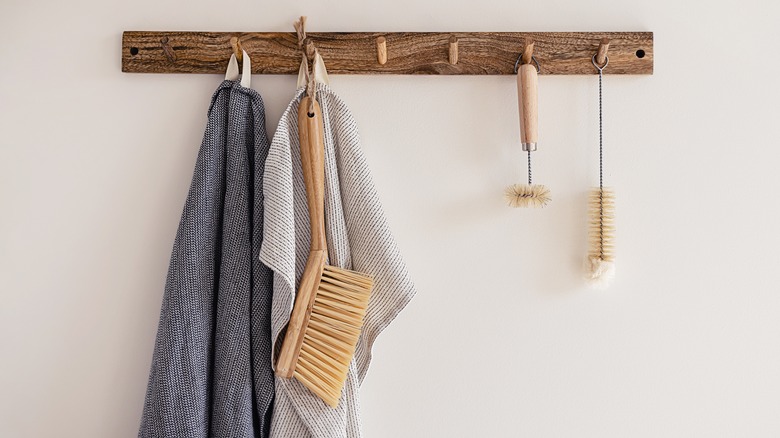
The old adage about using the right tools for the job holds true even for something as seemingly simple as cleaning a hummingbird feeder. There are so many types of sponges, brushes, and wipes available — how do you determine the one best suited for the health of your avian friends? Maybe you've been using a rough sponge or simply giving everything a rinse. Neither of these options is good, as the sponge can damage the components of your feeder. Plus, sponges are known germ machines because they're hard to keep clean. In fact, researchers have found the kitchen sponge is often the dirtiest, germiest item in your kitchen. Since birds can transmit a variety of diseases and bacteria, you never want those living on in your sponge.
Instead, arm yourself with two crucial items: a good, stiff brush and a straw cleaner that can get down into the nooks and crannies of your feeder's inner workings. After you've disassembled the unit, give it a thorough scrub to cut through any sticky residue and ensure no hidden mold remains, especially inside the tightest spaces. A thorough cleaning can help prevent mold growth and also makes each subsequent cleaning a little easier.
Using essential oils to disinfect
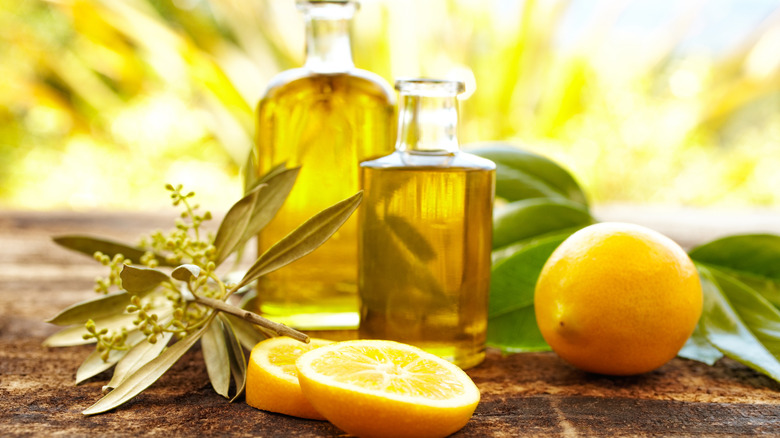
While essential oils are celebrated for their many uses, from cleaning and disinfecting to deterring pests to aromatherapy and more, there are certain instances where they can actually be detrimental. When it comes to your hummingbird feeder, keep any essential oils far away. While you may think it's a great idea to use tea tree oil to disinfect your feeder (thanks to its natural antiviral and antifungal properties), it can make birds seriously ill. Part of the problem is that essential oils are highly concentrated, so what might be safe for humans — particularly if diluted via a diffuser or warmer – is not safe for small animals, especially those as teeny tiny as hummingbirds!
Even if you're tempted to water down your oil and use it as part of the cleaning process, veterinarians warn against it. Not enough is known about the long-term effect on birds, so best practice is to avoid using essential oils entirely. Instead, stick with the hot water and vinegar solution mentioned earlier for disinfecting. It's safe and effective.
Not rinsing enough
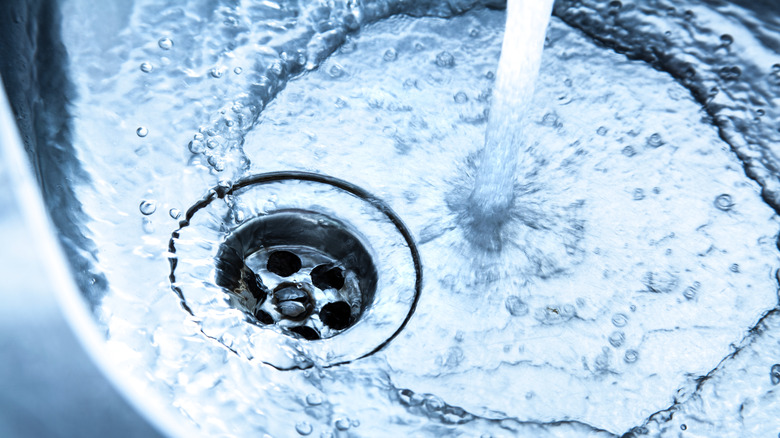
Surprisingly, one of the most important parts of the hummingbird feeder cleaning process is rinsing. Why? Any leftover cleaning residue can impact the flavor of the nectar and keep birds away from your feeder. Or, an even worse possibility is that the residue will be ingested and make your feathered friends sick. This is especially true if you've been working on disinfecting a contaminated feeder. While some experts don't recommend using a harsh cleaner like bleach, it might be necessary if you're fighting a particularly resistant fungus and the vinegar solution isn't strong enough. In this instance, you must always dilute the solution and never use straight bleach. A good ratio is one part bleach to nine parts water.
The National Audubon Society advises rinsing three times with warm water before drying and reassembling your feeder. However, this guideline applies to the vinegar solution. So, if you've been forced to use diluted bleach, you'll want to rinse several additional times to guarantee no traces remain.
Hanging your feeder in the sun
Sunshine brings so much goodness into our gardens! It's a truly special treat to see sunlight glinting off the blue and green iridescence of a Broad-billed Hummingbird or the fuchsia gorget of a Calliope Hummingbird. While the sun's rays certainly showcase their spectacular colors, the light isn't so helpful when it comes to the feeder itself. In fact, hanging your feeder directly in the sun is a mistake you want to avoid. Why? Placing the feeder in a bright, hot location causes the sugar water to ferment faster, so you'll be replacing that more frequently. A sunny location can also attract insects such as ants and bees.
Luckily, this is an easy fix. Move your feeder to a shadier location — opt for someplace that receives dappled sunlight or morning sun with afternoon shade. This way, the hummers can still see your feeders but things won't fester as quickly, thus reducing the amount of time you spend cleaning. For those with multiple feeders, make sure they're spaced about 10 feet apart. Hummingbirds are surprisingly territorial, and ultra dominant ones can claim a single feeder as their own.
