How To Properly Use Heat Tape When It Comes To Frozen Pipes
We may receive a commission on purchases made from links.
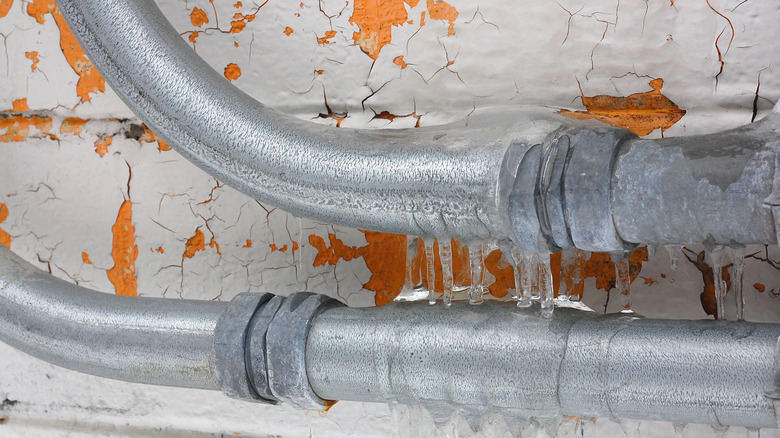
Homeowners often have to jump through hoops to prep their homes for cold weather. Not only do they have to shovel their driveways and de-ice their steps multiple times a month, but they also have to plug drafty windows, look out for the formation of dangerous icicles, and worry about their overworking furnaces. However, probably one of the most troublesome winter maintenance worries is frozen pipes. When pipes freeze, they can burst and lead to messy damage and costly repairs. Luckily, if you notice a frozen pipe on your property, you can thaw it out with the help of a little heat tape. But you can't just sloppily wrap it around like you might duct tape. To properly use heat tape, you need to make sure it doesn't overlap, or else it can melt or overheat.
To help keep your pipes from freezing, heat tape works best when you apply it before temperatures drop, but it can also work in a pinch to de-thaw a pipe that is at risk of bursting. It will help transfer heat to the area, melting the frozen water inside and circumventing a pricey winter problem. But since it delivers so much heat, you want to ensure the tape doesn't overlap. Here is why.
Why you shouldn't overlap heat tape
You shouldn't overlap heat tape because it isn't an actual adhesive. Instead, it's a flat electrical cable that plugs into an outlet and delivers a steady stream of heat to an unprotected pipe fighting off freezing temperatures. Since it has an electrical component, wrapping it around itself is dangerous. You might be tempted to do so if your cable is slightly too long and you want to take up some of the slack, or if you're trying to wrap around a 90-degree pipe angle. Some overlap can also accidentally happen if you're in a rush while winding it around your frozen pipe. (This can be especially true if you're out in the cold doing it — you probably want to get back inside as quickly as possible!) But doing a sloppy job can have some dire consequences.
Having overlap can damage the wire itself, causing it to short-circuit or melt. That's because the generated heat can damage the protective coating, exposing the electrical components inside. When the wires touch or become wet from the elements outside, the real trouble begins. In worst-case scenarios, it can cause a fire. While The Consumer Product Safety Commission (CPSC) no longer collects data on heat tape-related fires, in the 1990s, the product was responsible for over 3,000 fires per year.
How to correctly wrap heat tape
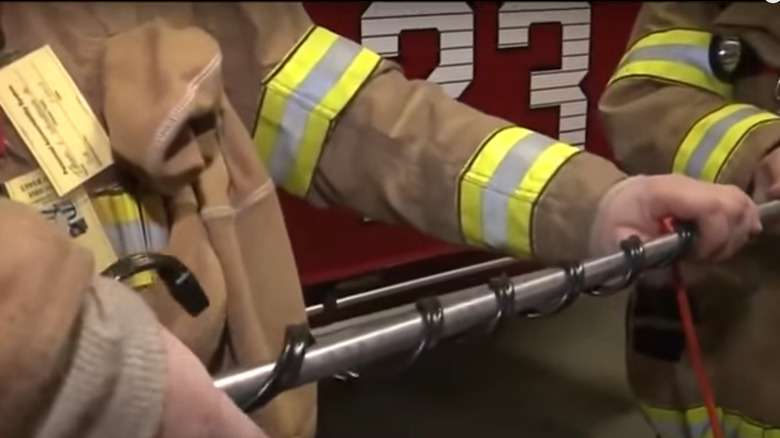
There are two ways to apply heat tape correctly, and it depends on what kind you get. Because of this, make sure to read the manufacturer's directions before applying it to your frozen pipes. The first and most common way is to wrap it around the pipe in a spiral pattern. Doing so not only ensures the tape doesn't overlap but also gives the pipe an even distribution of heat throughout. You want to aim to have several inches of space between each spiral.
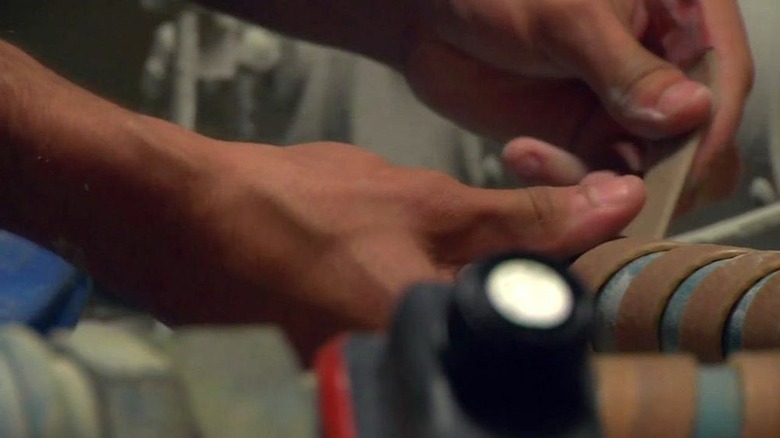
The second method is to apply the tape to the underside of the pipe in a straight line. Make sure that it is snug against the pipe, without any slack. To secure the wire in both methods, you can use a special adhesive. Read the directions to see what the manufacturer suggests, but some experts say not to use electrical tape, even if the directions give the go-ahead. That's because it also has the potential to melt. Instead, it's safer to use aluminum adhesive tape, which you can get for around $6 on Amazon.


