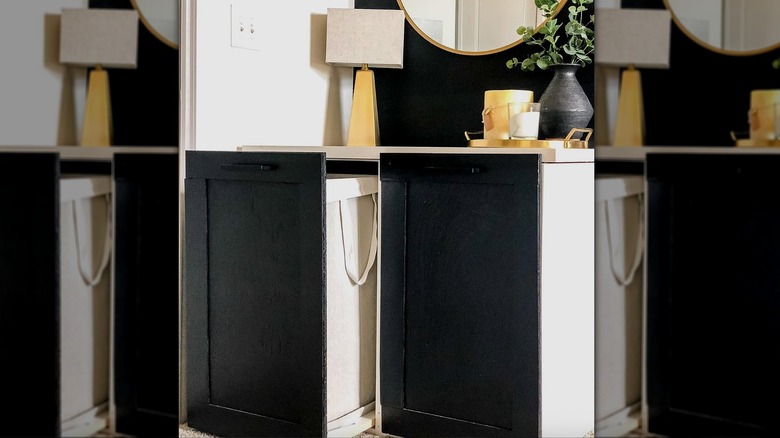
DIY A Chic Laundry Cabinet With This Genius IKEA Hack
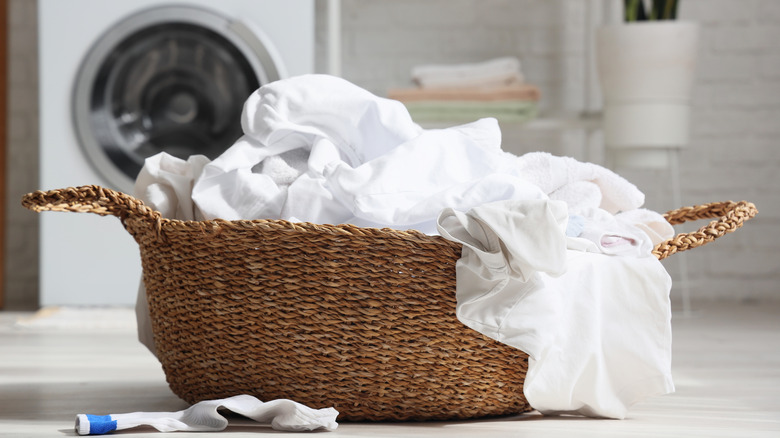
Everyone would agree that the only thing worse than having to do the laundry is watching it slowly pile up on beds, chairs, furniture, and the floor. And sure, you can throw your laundry into your laundry basket, but that piles up too, and honestly, most laundry bins are just as unattractive to look at (doubly so, if you're thinking about investing in multiple laundry baskets). So why not hide yours with a clever IKEA sliding laundry cabinet hack that will not only keep dirty clothes out of sight, but be so cute you'll almost be excited to do the laundry?
The DIY hack uses IKEA SEKTION materials to create a genuinely lovely cabinet with a pull-out drawer that will hold your laundry bin. The beauty of it is that you have full control over how big your cabinet will be. There are dozens of cabinet base sizes (and colors, if you don't want to paint yours) on IKEA's website, with options for up to four laundry baskets.
This project focuses on creating a two-bin holder, and to do so, you'll need the following materials: two base cabinets, two drawer fronts, shelf inserts, and a tabletop — all from IKEA. Obviously, you are free to bring in drawer fronts from elsewhere or even make your own tabletop if you are an experienced DIYer or woodworker. From there, you'll also need some other bits and bobs from your preferred hardware store: four shelf brackets, two sets of mount drawer sliders, drawer handles, two hampers, small screws, and paint, if you so choose.
Assembling your new laundry hideaway
Before you get started, decide where you want to put the cabinets. A central place like your home's laundry room is ideal if you have space to spare, but you could also set it up in the bedroom if that's more convenient. Following IKEA's manual instructions, assemble the base cabinets, then attach the tabletop to the top of your cabinets with screws. For the latter, drill pilot holes through the oval-shaped holes in the cabinet's metal brackets into the tabletop, then add the screws. Be sure to only drill halfway through the tabletop here, though, so you don't go through the top.
Next up, install one shelf in each cabinet. First, attach a set of drawer slides to the cabinet backside, leaving roughly five inches of space from the sides; with the slides in closed position, there should be some space on top of each shelf. Then, drill pilot holes to secure the slides and add screws. Once you get the sliders attached, flip it over, extend the sliders inside the cabinet so they touch the backside, then screw them into place.
Now it is time to attach the drawer fronts. If you opted to get yours from IKEA, line up the drawer with the shelf, then connect them via shelf brackets. At this point, you can pick the perfect shade of paint for them if you would like. Otherwise, simply attach the drawer handles you chose and hang the hampers inside. Voila — no more laundry (well, until you open the drawer). From there, it's up to you to figure out how to choose the perfect design style for the tabletop.