The Main Reason DIYers Are Switching From Water-Based To Gel-Based Wood Stains

Learning to work with wood stain is a pivotal point in any DIYer's journey. Changing the color or undertone of natural wood grain can open up a world of projects, especially if you enjoy thrifting or upcycling. While traditionally "wood stained" referred to either water-based or oil-based stains, there is a newer formula in town: gel. Social media platforms with large DIY communities — like TikTok — have surely contributed to the general public's newfound love for easy-to-apply gel stain.
Compared to water-based or oil-based stains, gel stain is certainly easier to use and more beginner-friendly. However, this doesn't always make it the ideal choice for every staining project. While skill level and ease of use are factors to consider, so is the desired effect of your stain. If you've ever struggled to decide between gel, water-based, and oil-based stain for your DIY next wood project, the following guide is for you.
Gel stain vs. traditional stains
When it comes to what sets gel stain apart from traditional wood stain, water-based stain provides the starkest comparison. This is largely due to the fact that water-based stains produce more wood swelling as the water in the product is absorbed into the wood grain. As a result, the grain can become raised and require sanding between coats. Traditional oil-based stain products produce less swelling but still must be absorbed by unfinished or thoroughly sanded wood to be effective. Gel stain, conversely, sits almost completely on top of the wood, behaving like a semi-transparent paint.
If you're looking for a very subtle effect, a thin water or oil-based stain might be more suitable for your project. However, if a thicker, easier-to-use, and bolder stain is what you're after, gel stain wins. Even if you're staining a piece that's already finished, only a light sanding is required. You can even apply gel stain to painted, fiberglass, and metal surfaces — making it a much more versatile product for a creative DIYer.
Gel stain projects to try
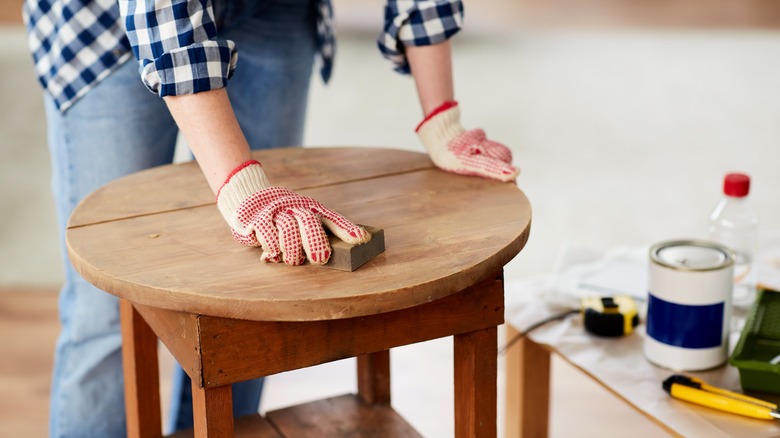
If you're unfamiliar with gel stain, the only way to really learn its full potential is to start working with it. Start with a small DIY like wood coasters, signs, or ornaments. Purchase a couple of different gel stains and experiment with tools and techniques. Start by simply applying your gel stain to unfinished wood with different brushes, foam applicators, and lint-free cloths. Wipe away the excess, add art or embellishments, and seal with polyurethane.
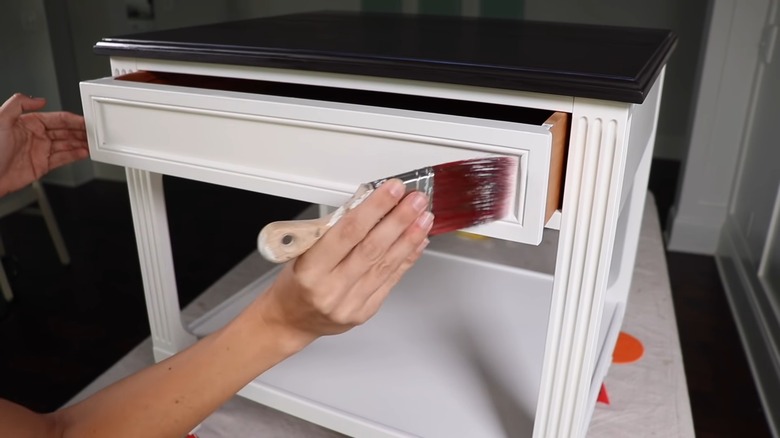
When you feel ready, try your hand at a small piece of furniture such as a stylish side table. Lightly sand the piece or use a de-glosser to remove any glossy finish. Apply a dark gel stain to the tabletop, following the grain of the wood. When finished, go back and wipe away any excess, and allow the coat to dry for 24 hours. Apply a second coat and wipe away any excess stain again. If the result is streaky, repeat the process for a third coat. Paint the rest of the table with a white or cream paint. Allow the table to dry for a few days, apply a water-based sealant, and enjoy your gel-stained creation.