Professional Tips For Painting Wrought Iron
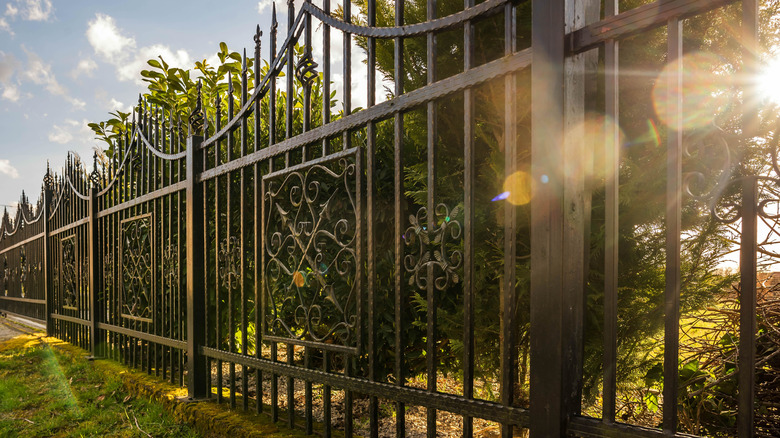
Wrought iron is a classic material that can add a feeling of luxury to your home. It's also durable, low-maintenance, and can last for decades. Decorating with wrought iron is popular both inside and outside the home in the form of light fixtures, doors, railings, and patio furniture. Painting wrought iron's intricate designs may seem tricky, but this task becomes easy with some professional tips. After it's cleaned with a wire brush and soapy water, you can paint this material, ensuring that you use the right materials and technique.
Why would you want to paint wrought iron? Maybe you've decided to update the look of your piece with a new color, or perhaps you're hoping to extend its life by protecting it from the elements. Wrought iron is made of metal, so it's prone to rusting especially when left outdoors, but painting can help you avoid this. Professionals recommend checking your wrought iron every year or so to look for signs of paint flaking and rust. If you see them, act fast to apply a new coat before the rust takes over. The longer you wait and the more paint flaking, rusting, and pitting you see on the iron, the harder it will be to get a new coat of paint to stick.
Preparation is key
When painting wrought iron, the biggest challenge is prepping the surface. Since most wrought iron is found outdoors, it tends to build up a thick layer of dirt, especially in corners and crevices. If the existing paint has started to degrade or the surface is beginning to rust, the rough texture will make it even harder for the paint to adhere. That's why surface preparation is crucial to the success of your paint job.
Start by using a wire brush to remove any flakes of paint or rust — wear gloves and goggles to protect yourself from sharp bits. Then, clean your wrought iron thoroughly with a solution of warm water and dish soap in a bucket. Use a sponge or cloth soaked in the cleaning solution to wipe down every inch of your iron, especially tight spots where dirt tends to build up. Dry it thoroughly before you proceed to the next step, as any entrapped moisture will encourage rust.
Inspect your wrought iron for patches of rust or damaged paint. Wearing a dust mask, sand these areas down with medium-grit sandpaper to remove as much as possible. You don't need to remove all the existing paint, but if it's smooth and glossy, roughen it with sandpaper to encourage the new paint to stick. After sanding, wipe away the dust with alcohol or mineral spirits. Lay down some drop cloths, newspapers, and tape to protect the surrounding surfaces, and you're ready to paint.
How to paint wrought iron
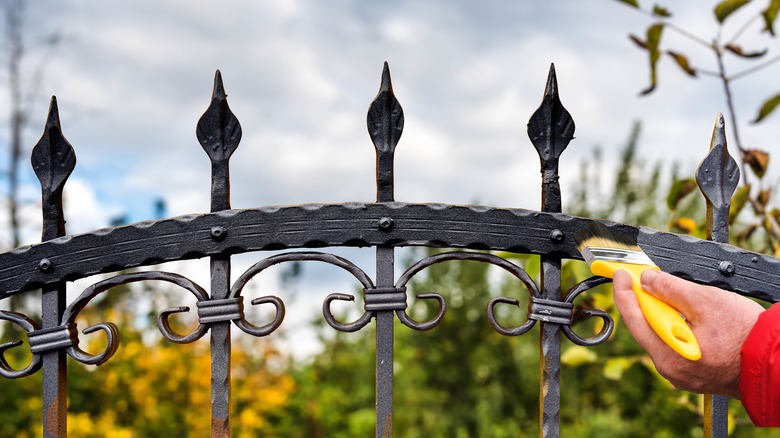
You can use plain old liquid paint and a paintbrush on your wrought iron — but for large or intricate projects, spray paint is your friend. Experts prefer spray paint because it covers large, detailed areas faster and provides a more uniform finish. Either way, choose a high-quality paint designed for metal surfaces. Professionals recommend oil-based types, which will protect your wrought iron from rust better than water-based options. If you're covering a fence, patio table, or anything that's going to stay outdoors, be sure to choose a paint designed for exteriors. And if there's any bare metal showing on your wrought iron, apply an oil-based, rust-inhibiting primer first.
Choose a warm, dry day to paint your wrought iron, as excess humidity and temps below 50 degrees Fahrenheit will make it harder for the paint to dry. For both paint and primer, apply several thin coats, working from top to bottom. Applying extra thick layers can lead to drips and extend the drying time, which is why thin layers are best. When you're finished, leave your wrought iron alone for at least 24 hours before you touch or use it. Now you have a smooth coat of paint that will not only look beautiful but also protect your wrought iron from the elements for years to come.


