The Budget-Friendly DIY Side Table Wine Lovers Can Create For Their Home
We may receive a commission on purchases made from links.
If you have a bunch of used wine corks in your home, why not put your love of vino on display with an easy DIY wine cork side table? Simply arranging corks on the tabletop in a pattern you like, then setting them in epoxy resin is all this one takes. Plus, the materials you'll need are both easy to find and budget-friendly.
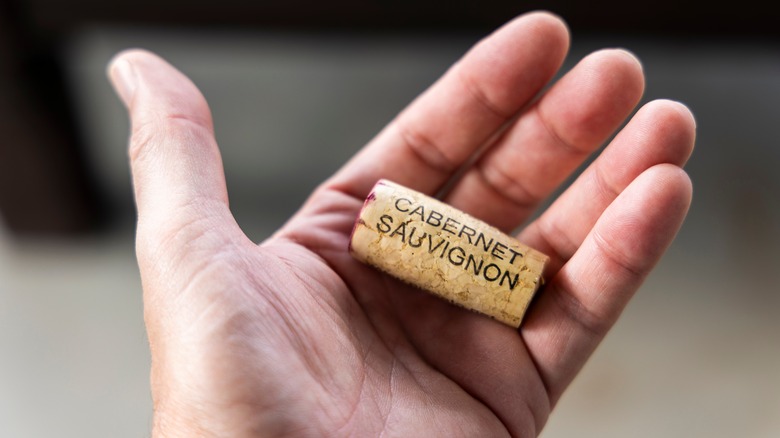
First, you'll need a table. This hack works great with a side table you're happy to upgrade, meaning you might not even have to buy one. If you don't have a spare table, though, you can always scour Facebook marketplace or grab one like this Aojezor table off Amazon for under $30. This particular style is great for working with epoxy, as it already has a rim in place. Next, the real hero of this DIY table: wine corks. This project is especially sentimental when using the corks of the wine you've already opened, which helps offset yet another cost. However, even if you do need to supplement your collection, you can do so cheaply. Amazon stocks packs of 50 corks for $9.99.
For the epoxy resin, Amazon stocks a kit that includes the resin, hardener, and gloves starting at $43.99. You'll also need some resin tape, which you can find for $7.99 on Amazon. Don't let those price points fool you, though. This hack yields very expensive-looking results.
Arrange your corks, then seal with epoxy resin
Start by choosing a pattern. TikTok user @saaraatee arranged the corks in a spiral on her circular tabletop. However, you could also use alternating horizontal and vertical placements to create a basket weave pattern, make straight lines across the length of the tabletop, or place the corks at random. Your table, your rules! To stop them from rolling around and to keep a low profile, slice the corks in half lengthwise first. This will also cut the number of corks you need in half.
Next up, sealing. Using resin tape, create a dam around the edges of the tabletop. Then, get started on the epoxy resin itself. Generally, you'll mix the resin with hardener before pouring it over the area and leaving it to cure for around 72 hours. But, follow the instructions of the specific product you're using. The same goes if you're considering adding some color to the mix. A red wine-colored stain can be achieved using epoxy pigments (available on Amazon for under $17), but pay attention to the product's guidelines for the best results. Color or not, once the time is up, remove the tape, and you'll be left with a gorgeous, glossy, wine lovers accessory.
Craft Resin notes that most non-professional workspaces aren't sufficiently ventilated. For safety, wear gloves and work outside. You could also order a respirator from Amazon for $19.99. Even with the added safety steps, this hack is a super easy one. But, given how expensive it looks, no one would ever know!