The TikTok DIY That Creates Custom Drawer Storage For Your IKEA Furniture
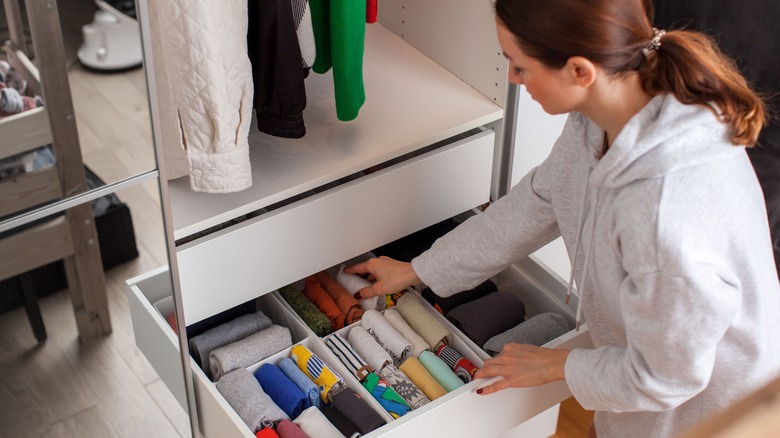
If you have an IKEA wardrobe or dresser with large drawers, it may be difficult to keep your clothing sorted and neatly organized. With this DIY, you can make custom drawer dividers with wood panels. This will not only make your drawers more functional, but you'll also be able to determine the exact size of each compartment. With your boards, some drawer divider brackets or clips, and a little double-sided furniture tape or wood glue, you can easily create a custom wooden drawer organizer for your IKEA furniture.
While using extra shelving from IKEA as your panels will allow you to perfectly match the color and style of your furniture, it may be more budget-friendly to have boards cut for you at a hardware store. With this option, you could paint your wood to match your furniture or use a different color for a unique style. This IKEA TikTok hack is not only great for the Swedish furniture products but is compatible with other drawers as well.
Preparing to make your custom drawer storage
Before you start, take a drawer out of your wardrobe or dresser and measure the dimensions. It's important to evaluate the size of your drawers to determine what you'd like to keep in them, how many compartments you want, and what size your compartments should be. You could have parallel sections of the same width, or you could have some long rectangular compartments and some small square ones. Try using a paper to draw and map out how you want your dividers to sit.
Now, you can choose your wood. If you'd like, go to your local hardware store and pick a plywood board of the thickness you'd like and have it cut to the appropriate lengths for your dividers. To match IKEA furniture, the board should be 1 inch thick, but you could opt for thinner, such as ¼ inch, dividers to save space. Alternatively, IKEA sells extra shelves, like this 30 by 10 inch Billy shelf. The downside to this option is that it may become expensive if you're crafting dividers for every drawer, and you'll likely have to cut the wood yourself.
Making your DIY drawer dividers
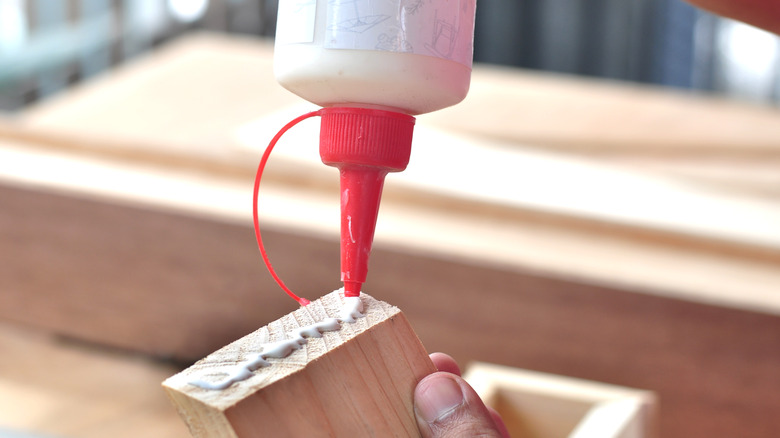
Once you have selected your panels and painted them if desired, you can attach them to the inside of your dresser drawers. To be able to slide the panels in and out yet still have them firmly in place, try using custom brackets, like these Storage Drawer Divider Brackets from Etsy for $5. Double-sided tape or wood glue can then be applied to the back of the bracket and placed on the side of your drawer. You'll need one bracket for each side of every panel. For those with intersecting boards, these Kitchen Drawer Organizer Brackets from Etsy are a great choice.
If you don't like the look of brackets or want to save a few dollars, you could simply use your glue or tape to fasten your panels inside the drawer. While this is a great option, it is a bit more permanent, as the panels cannot be easily removed. If all your wood boards intersect, you could simply glue those together, creating a divider system that can be pulled out and reinstalled easily.

