Think Twice Before Tossing Old Mugs. Turn Them Into Unique Planters Instead
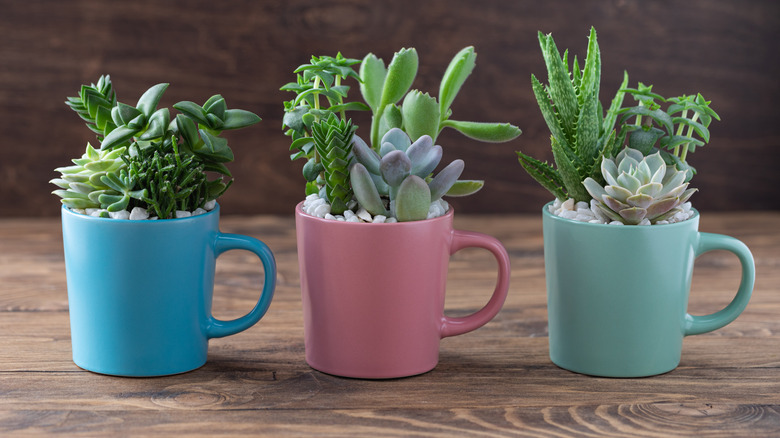
If you're a coffee aficionado or just receive too many coffee mugs as gifts, chances are you have more cups than you need. While decluttering your home and throwing away (or donating) the old ones might seem like a great idea, press pause and think twice before tossing the memorable ones away. Creatively repurpose your old coffee mugs and turn them into unique planters instead. This will give them a new lease on life, save you money, and help reduce the waste in landfills.
The best part, though? You don't need perfect cups for this project. Mugs with chipped rims, faded colors and designs, and broken handles will do just fine. Additionally, you won't have to spend much on craft supplies. You'll find most of the supplies at home. All you need is a coffee mug, saucer, planting mix, drill with a diamond drill bit, masking tape, water, and plants. Once you've hunted down the items and gathered them, you just need to add drainage to your mug to turn it into a planter.
Add drainage to your planter mug
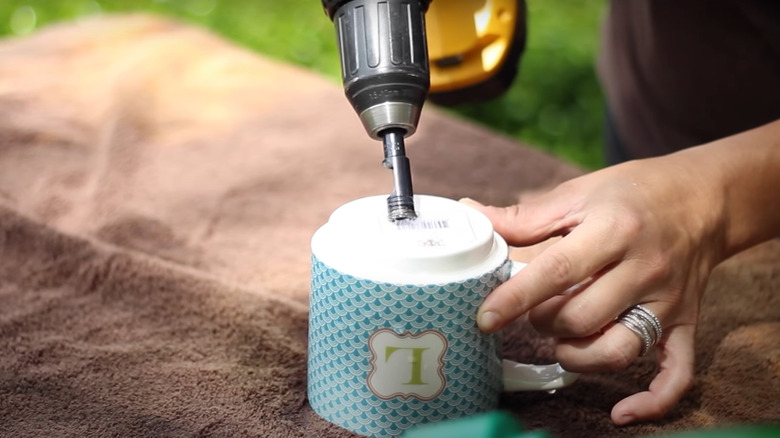
To prepare the cup for a plant, you need to add drainage. Before you get started, clean a sturdy mug and dry it completely. Then, don your protective goggles and a face mask to keep ceramic dust from irritating your eyes or harming your lungs. Once you're ready, turn the cup upside down and place a towel or non-slip mat underneath to catch errant dust. Take a marker and mark the spot you want to drill the hole. We recommend also sticking masking tape on the spot to keep the drill in place and avoid accidental scratches.
Next, wet the bottom of the cup with water, arm yourself with the drill, and attach the diamond drill bit. Begin drilling at a low speed without applying a lot of pressure on the mug, or it might shatter. Remember, it's important to keep the spot wet with water throughout to prevent the machine from overheating and damaging your planter.
After you've successfully created the hole, wipe the cup to remove the dust. If you don't have a drill, you can use a nail, hammer, and screw to create a hole, but you'll have to be extremely careful or you risk breaking the cup. Or, if you're uncomfortable DIYing a hole in the bottom of the mug altogether, simply line the bottom with some small rocks or expanded clay to add drainage to the planter.
Add a plant to your DIY planter
Place the planter on a saucer if you drilled a hole into the bottom of the coffee mug. This will catch the excess water and keep it from pooling on the surface below, like your living room table or window sill. You can even add some stones or activated charcoal in case the plant is highly susceptible to root rot and requires more drainage. If you simply added rocks for drainage, skip this step and move on to the next. Choose the potting mix that works best for the plant and fill the mug halfway.
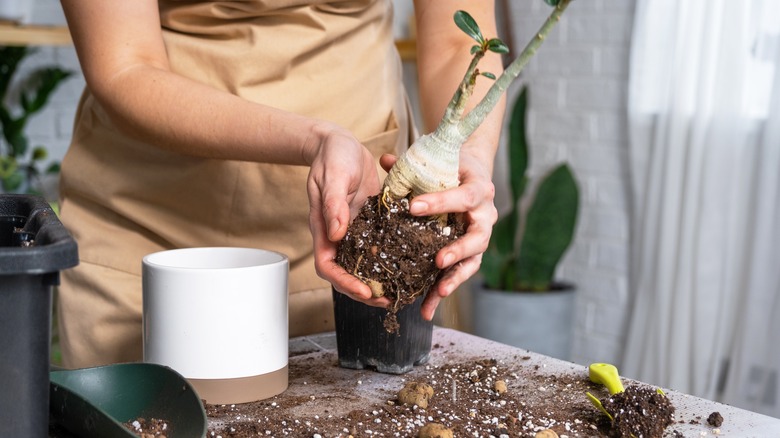
For instance, if you're thinking of planting succulents that will thrive indoors and add a dash of color to your home, go with a cactus and succulent potting mix containing soil, gravel, sand, and perlite. After the planter is ready, create some space in the soil for the roots, carefully extract your plant from its current home, and place it inside. Use a shovel or spoon to top off the planter with soil without covering the foliage, and press it down gently to keep it in place. Finally, give the plant a drink of water, but don't overdo it, before moving your DIY planter to a spot that receives direct or indirect sunlight per the plant's requirements.


