Give Your Home That Fixer Upper Feel With This Stunning IKEA LACK Hack
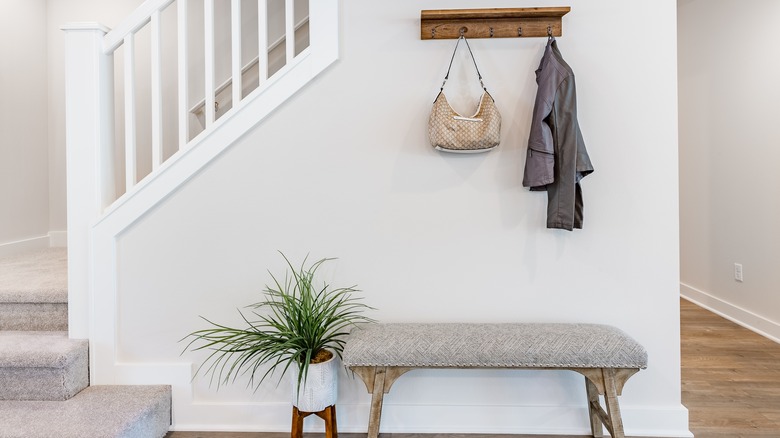
Watching renovation shows always inspires us to give our home minor upgrades. Whether you're taking your kitchen cabinets to the next level or giving your living room a new splash of paint, transforming your space is exciting. While we can't all be on a renovation show, such as HGTV's "Fixer Upper," where interior designer Joanna Gaines works magic to give simple homes a country-style effect, we can apply her tips to our abodes. Minor changes will always positively impact a space. DIY enthusiast Angela East, @angelaeast1895, uploaded a video to YouTube showing how she turned a couple of IKEA LACK tables into a stunning, comfy seating bench that she used in her bedroom to spruce up a lonely corner.
This DIY is an excellent option to add a decorative furniture piece to an empty wall or use it as a multifunctional piece around the house. It will take some time to complete and requires intermediate to advanced DIYing skills. However, if you're a beginner, you can always try to tackle the DIY with the help of a friend. The IKEA hack requires multiple materials, but the project stars are IKEA's LACK tables, plywood sheets, pressed particle board, foam, batting, and fabric. East used a velvet curtain, but you can swap the curtain for a gorgeous printed fabric to complement your interior. A few crucial tools you'll need are a jigsaw, wood glue, and a staple gun. The IKEA LACK tables are sold at an incredible price of $12.99 each; you'll need two for your bench.
DIYing an IKEA LACK bench
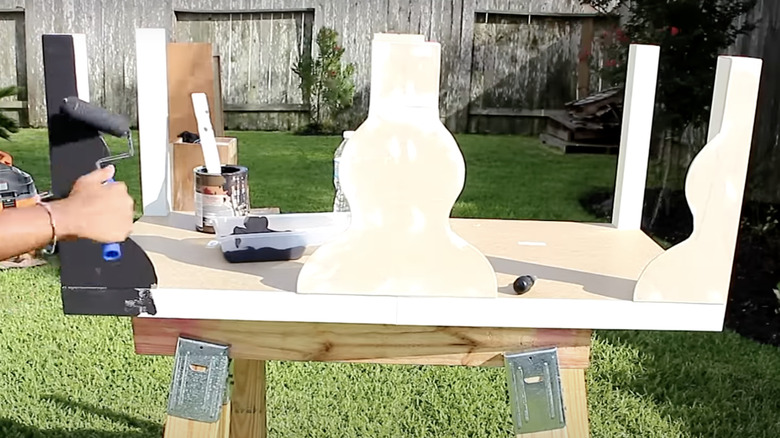
When following the hack, ensure you're making the proper measurements and using the right tools for successful results. Since you need two IKEA LACK tables, you'll need to glue them together with wood glue to create a single long bench. As the bench dries, outline a unique design on the plywood sheets to spruce up the legs. Anglea East created curved legs, but you can design the legs to be a different shape or cover the entire sides with wood planks to close off the bench. Once you draw your design, cut it out of the plywood sheets using a jigsaw, and sand down the edges until smooth. Repeat the step with each leg and glue the cutouts to the table's legs.
After your legs have dried completely, it's time to paint. The trick to painting IKEA furniture is to always sand down the surface and choose the right paint. IKEA furniture has a glossy, shiny finish, so you want to sand down the surface enough to remove the shine. You can also choose to add a primer that gives your furniture a scratch-free surface or go straight into painting. When selecting your paint color, pick a tone that's neutral, blue, or green-toned to fit the "Fixer Upper" farmhouse style. You can choose a neutral base and a statement color for your seat. East painted her base an espresso color to match the furniture in her bedroom and selected a beige tone for her seat. Be sure to allow the paint to dry completely.
Creating your seat and assembling your bench
Once your paint is dry, it's time to make the seat cushion for your bench. Angela East bought a large piece of pressed particle board from Home Depot and cut it at home with a table saw. She suggests taking measurements beforehand and having the home improvement store employees cut it for you since the boards are sold in massive sizes.
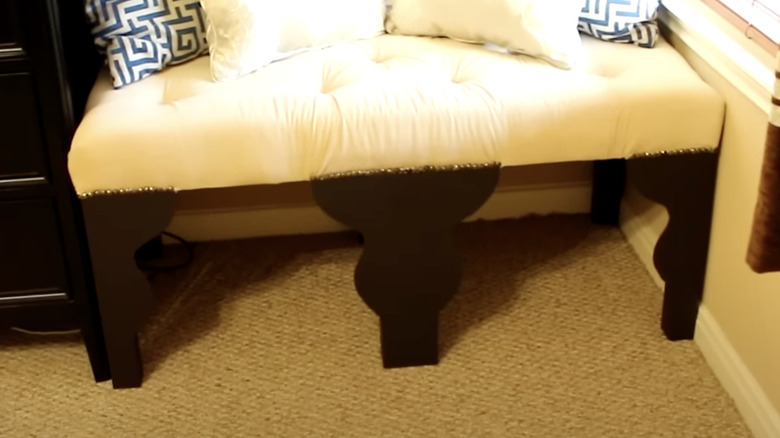
You can personalize your seat by choosing a fabric you like or by repurposing a curtain, blanket, or tablecloth. East created a tufted seat with buttons, but you can swap the tufted look for a flat, smooth surface with fabric of either a solid color or a fun pattern. Use the aforementioned color palette to give your space the "Fixer Upper" look. If you want to mix in patterns, opt for stripes or plaid. Adhere the foam to the particle board, wrap the batting around it, and staple the batting behind the board to keep it in place. Pull the batting tight to create a flat surface.
After securing the batting, lay the board on top of your table and staple it directly to it. Then, drape your fabric over the board and under the table, stapling it tightly, and cut off any excess fabric. Finally, add your finishing touches. East added studs around the leg seams, but you can use other materials that fit your decor like ribbon or fringe trim to cover the seams. Once complete, set up your new bench in your entryway, living room, or bedroom.