These Dollar Tree DIY Wall Sconces Add A Colorful Touch To Any Room
We may receive a commission on purchases made from links.
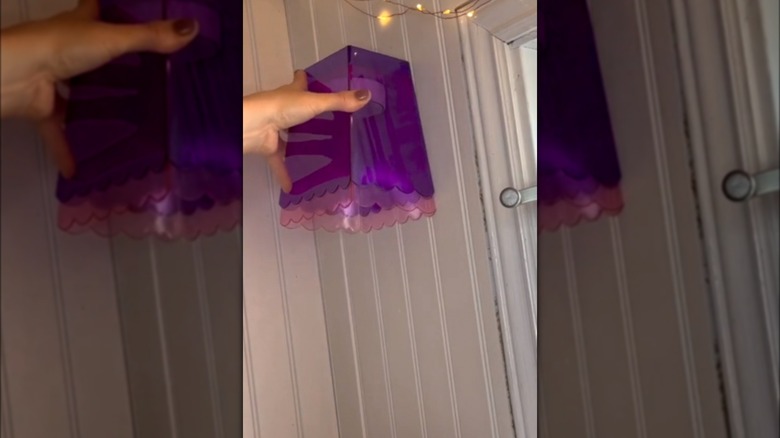
Wall sconces are a great addition to any interior, but perhaps the plain styles aren't quite whetting your appetite regarding your design goals. However, one hack by @hometalk on TikTok shows how you can easily incorporate a couple of Dollar Tree bins to create your very own colorful sconces, perfect for adding a dash of playfulness in any room. For example, you could use them in a child's playroom, an artistic space, or perhaps even your bedroom. In fact, it could even help you to brighten up your living room if you decide to add them in there.
In addition to being an eye-catching attraction, it's also perfect if you want to make your own DIY wall sconces on a budget and are looking to experiment, as you'll be able to get your creative juices flowing and design them how you want. This is perfect if you have a specific vision in mind. By the end, you should be left with a result that makes a statement wherever you decide to put it. So, what items do you need to get the job done?
You'll need some colorful buckets for your DIY
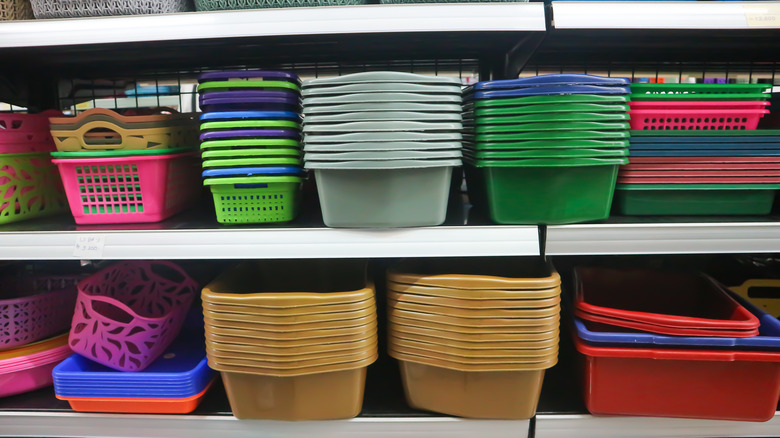
For this DIY hack, all you'll need is two scalloped plastic buckets in the colors of your choice, such as this blue one from Dollar Tree for $1.25 and this purple one for $1.25, or you can grab a pink one. You should also arm yourself with adhesive or tape and a puck light, which is available for $8.98 at your local Home Depot. First, simply cut off some tape and attach it to each side of the bucket you're placing inside, ensuring the sticky side faces outwards. Once that's done, slip it inside your other bucket and secure it in place, making sure that it doesn't fall out or come loose, which you can test by hanging it upside down. Next, attach your puck light to the inside of your bin, double-checking that the batteries work beforehand so you're not left with any unexpected surprises.
If the light is in working order, you can now attach your DIY sconce to your wall. You can do so using some very strong adhesive or tape, such as this Gorilla double-sided mounting tape from Home Depot for $6.98. However, you could also add an adhesive hook and hang it with rope or twine if you wish. As a result, you will be left with a stunning end product that adds a dash of color to any room.
How to customize your DIY buckets
While the buckets alone can look great, there are other ways that you can customize these lights. For example, rather than puck lights, you could use some tape to insert some LED fairy lights inside, such as these battery-operated ones off Amazon for $7.99 or some ivy leaf lights for $11.99. Both of these are great alternatives to help you create your own flair. On the other hand, if you want some extra light, you can always add several puck lights to one bucket. In addition, you could also paint it in the color of your choice to add an extra pop of color; however, the brightness levels may not be as strong if you choose to do this. Likewise, you may want to experiment with different types of bins, such as these colored plastic boxes from TAP plastic.
When it comes to attaching them to your wall, one thing to keep in mind is the weight of the product you use and if your adhesive can hold the weight of it without it falling off. One, it could damage your wall, and two, it could be dangerous if it drops on something or someone. For this reason, it is best to make sure you purchase the correct type of adhesive tape or strip before you start, otherwise, your DIY could be ruined. By taking the correct precautions, you'll have a better outcome.

