Stunning Ways To Update Wood Cabinets Without Any Paint
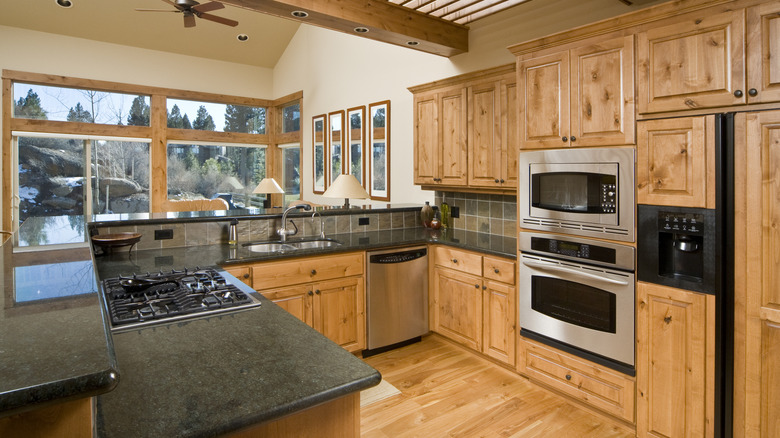
The kitchen is the heart of the home. It's where every meal starts and where gatherings never want to end. In most homes, cabinets are a main element in this busy room. Because of this, upgrading the cupboards, especially if they're old wooden ones, can transform the entire kitchen. However, the typical price for labor and materials to replace cabinets is over $8,000 but could cost upwards of $24,000 depending on what you choose and the size of your space. You can save a lot of coins by updating your old wooden kitchen cabinets yourself, and covering them with paint is a common DIY. However, it's not always the best option. That's why we've provided you with seven alternatives that may be easier to achieve or could provide you with the specific look you're going for.
Paint is hard to touch up and muddles the natural character of the wood. Plus, if you aren't an expert, brush marks can ruin the clean look of your cabinets. While you could hire someone to paint them, that's sure to be costly. Fortunately, you can give your kitchen a new look at a cheap price without a drop of paint. From DIY projects that leave you with statement cabinetry to renter-friendly swaps and additions that elevate the room's design, discover the best way for you to upgrade your wooden cupboards. Further, these tricks could also work on cabinets outside the kitchen, such as those in the laundry room or bathroom.
Change the hardware
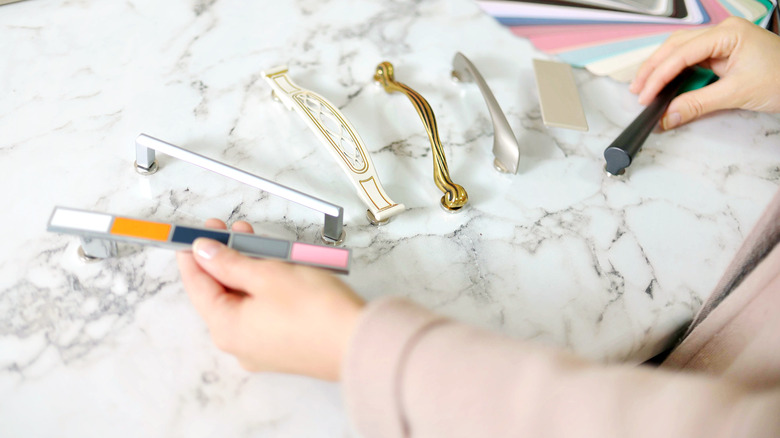
Changing your cabinets' hardware is the easiest way to refresh your cupboards. It lets you play with the design style without the risk of destroying such a crucial piece in the room. You can mix and match metals for a unique look or try colorful handles. Go with gold and brass for a warm touch or silver and black for cool tones. Your wood cabinets will pair well with whatever option, whether you want vintage knobs or modern pulls — the choice is completely yours.
Install glass windows
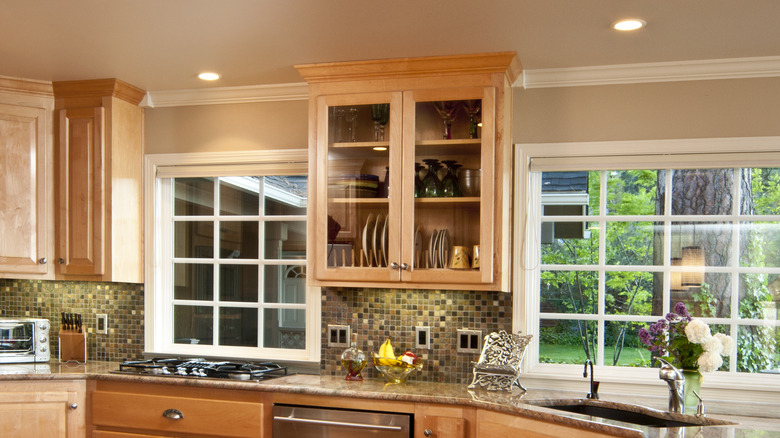
Adding glass windows will definitely give your cabinets a new look — just be prepared for all your dishes to be on display. DIY the project with a drill, jigsaw, sandpaper, caulk, and glass clips. First, mark where the new window will be and drill a hole in each corner. Then, use the jigsaw to cut out the panel. Next, sand the rim and caulk around the inside of the frame. Now, place the glass. The glass sheet should be ½ to ¾-inch wider and longer than the cut opening. Finally, add four to six glass fasteners around the window and enjoy the more modern look.
Swap the cabinet doors
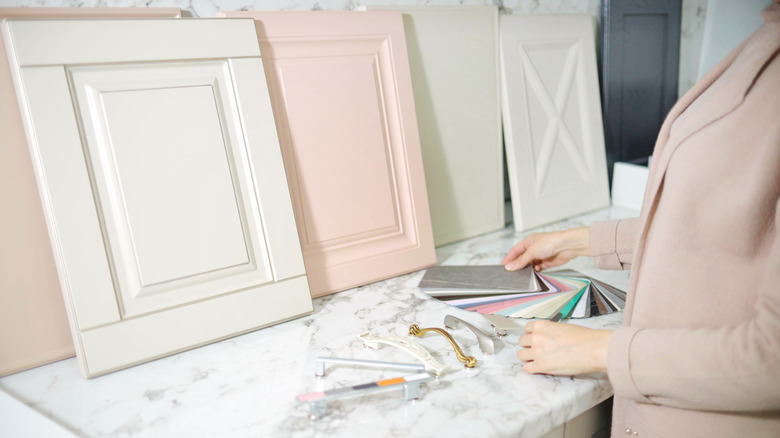
Another easy renovation is to swap out the cabinet doors while keeping the interior and cabinet boxes intact. You can install the new fronts yourself to limit the upgrade costs, too. Try funky designs like IKEA's HASSLARP herringbone pattern, or visit sites like The Cabinet Door Store for a range of classic pieces you can stain. Just be mindful of the measurements and hinge placement for a smooth installation.
Turn them into open shelving
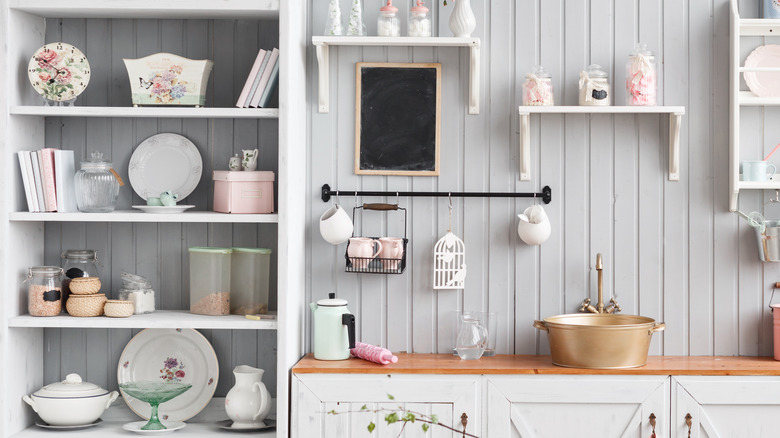
Convert your outdated wood cabinets into modern open shelving by removing the cabinet doors altogether. Simply unscrew the doors and remove the hardware or hinges. Fill any holes with quick-drying putty and sand it smooth, then caulk the seams. The floating shelves are sleek and trendy. Plus, you can reattach the doors whenever you're ready. For an added touch, line the back of the cabinet with wallpaper.
Add under-cabinet lighting
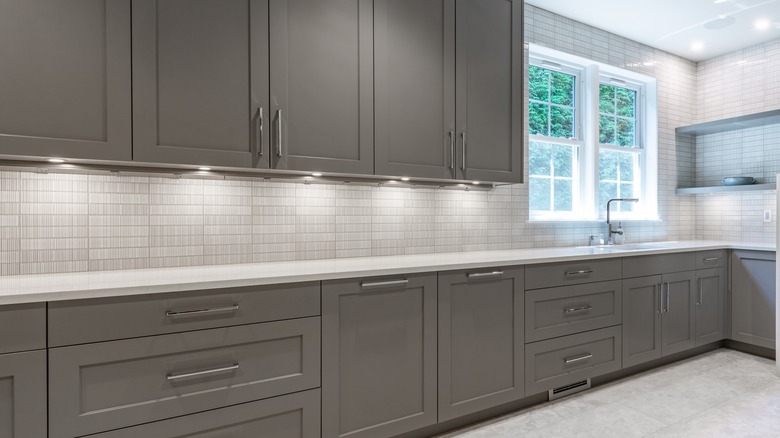
Just like changing the hardware, adding lighting underneath your cabinet is a small change that makes a big impact. In fact, it's Jenn Todryk's must-have kitchen feature to elevate your space. The ambient lights are functional, since they eliminate shadows created by upper wall cabinets, and stylish, as they provide a soft glow for ambiance. It will draw the eyes away from the existing cupboards while giving your kitchen a whole new look.
Decorate with cane

DIY cane cabinets lend a rustic, vintage vibe that pairs well with wooden cupboards. You can cut out the interior panel like you would for the glass window project. Then, attach the cane webbing to the interior with a staple gun or super glue. You can also cover the panel with the webbing instead of cutting the door for a reversible reno. Brush the glue on the back of the webbing, then adhere it to the front of the door. Next, add trim to the cane's border for a seamless look.
Try wallpaper
Peel-and-stick wallpaper can give your kitchen cabinets a pop of color without needing paint. You can pick whichever design suits your fancy, from patterns to solid colors, and change it whenever you're in the mood for something new. Contact paper also works for this hack. Line the interior panel or the entire cabinet front for a bold design. Your wood cabinets won't know what hit them.