Mistakes Everyone Makes When Trimming Cedar Trees
Ah, the satisfaction of a well-trimmed cedar tree — it stands tall and proud with its lush green foliage elegantly trimmed back, allowing sunlight and air to breathe life into its branches. A thoughtful trimming goes beyond enhancing the aesthetic appeal of your lovely cedars. You can count on it to promote vitality. However, those pruning shears can bring disastrous results when wielded carelessly. Yes, even the most seasoned gardeners may fall prey to common cedar tree trimming mistakes, which can range from incorrect timing and over-trimming to cutting back into the infamous dead zone.
Let's take a moment to delve deeper into one of these blunders. In the world of cedar tree care, "dead zone" refers to an area within the tree, typically closer to the trunk, where old branches languish without new buds. Simply seek out a region toward the center conspicuously devoid of verdant foliage. Elucidating a bit further, if you prune back into this hauntingly barren realm of the tree, the amputated branch transforms into an eerie ghost limb that refuses to sprout new growth. This perpetually barren scar mars your cedar's picturesque appearance, instead revealing a jarring void in nature's artistic canvas. Don't subject your tree to such a gruesome handicap. Instead, trim beyond the confines of the dead zone in regions where optimism grows in the form of fresh, budding potential.
Bad timing and improper cuts
Next, we consider the deeply consequential cedar tree pruning or trimming mistake of timing. You see, timing the cutting isn't just about the seasons. You've got to mind your tree's life cycle. The best time to trim your cedar trees is during late winter or early spring when the trees are dormant — think of it as their quiet time, curled up and waiting for your surgical precision. Be careful not to make your move in the fall. The developing growth may not toughen up enough before winter's harsh arrival, leaving your tree vulnerable to damage.
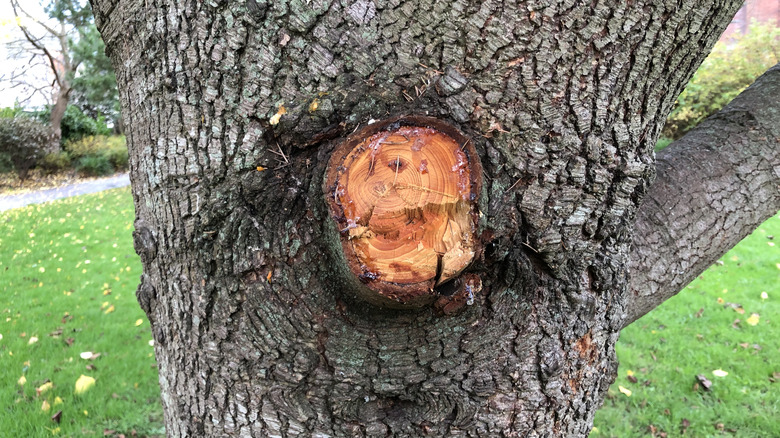
Swinging to the other side of the spectrum, let's address another cedar-trimming faux pas: leaving stubs. Imagine a cut that doesn't heal effectively, an inviting hotspot for pests, and a breeding ground for diseases. That's precisely what happens when pruning incisions are made too far from the tree's trunk, leaving stubborn uncovered wounds. Therefore, make clean, intentional cuts close to a branch collar.
Now comes the tricky part: finding the perfect balance between close and too close. While you want to avoid stubs, don't be overzealous and make flush cuts — those are like love bites that could damage your cedar's protective bark. A clean cut should be just outside the branch collar. Furthermore, don't forget to equip yourself properly. Anything less than sharp, rust-free, and sterilized pruning tools could wreck your tree and catalyze an onslaught of disease.
Topping and improper wound care
Next, let's dive into another cedar pruning mistake that sends shivers down a tree's metaphorical spine: topping. Topping in tree lingo is the draconian measure of slicing off the main trunk's top portion. Not only does this leave your tree unbalanced, but it also invites unwanted guests— we're talking about pests, diseases, and sunburns. As if that weren't bad enough, the tree, in all its natural resilience, retaliates by sprouting new limbs. Unfortunately, these overzealous branches lack the sturdiness to withstand a feathered friend's pitstop, let alone a high-wind storm. If you're concerned by your cedar tree's height, opt for crown reduction. Unlike its brutal cousin, topping, crown reduction is all about subtler and more selective cutbacks. Instead of indiscriminately hacking away your tree's dignity from the top, you strategically shorten individual branches, preserving your tree's natural form without compromising its resistance.
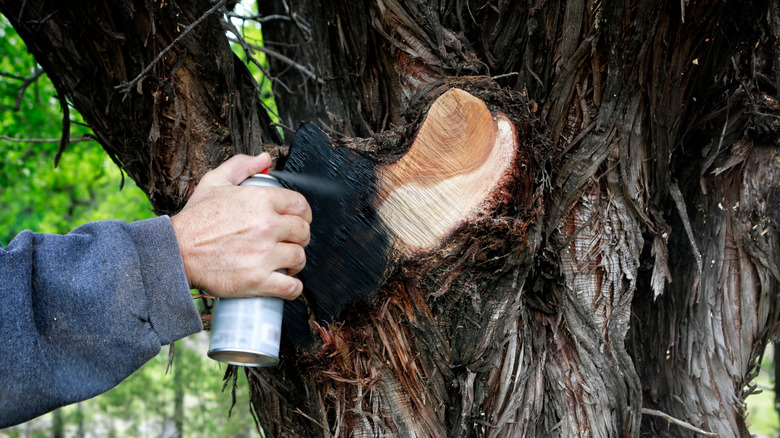
Moving on to our second pruning crime scene: improper wound care. According to the University of New Hampshire, there's no evidence that commercial wound dressings like pruning paint accelerate healing. In fact, these facades of false aid could unwittingly spread harm by trapping moisture in the wound, thus instigating decay. Trust in your cedar tree's natural ability to mend itself. But if you're eager to lend a helping hand, use a sterilized knife to trim the bark around the wound. Here, aim for an elliptical shape that wards off water accumulation and enhances the flow of sap that's crucial for healing.


