How To DIY A Breathtaking Built-In Library Wall With IKEA's Popular BESTA Units
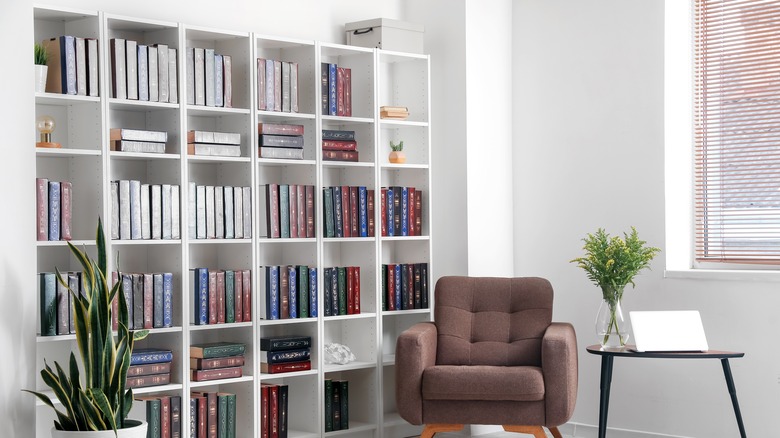
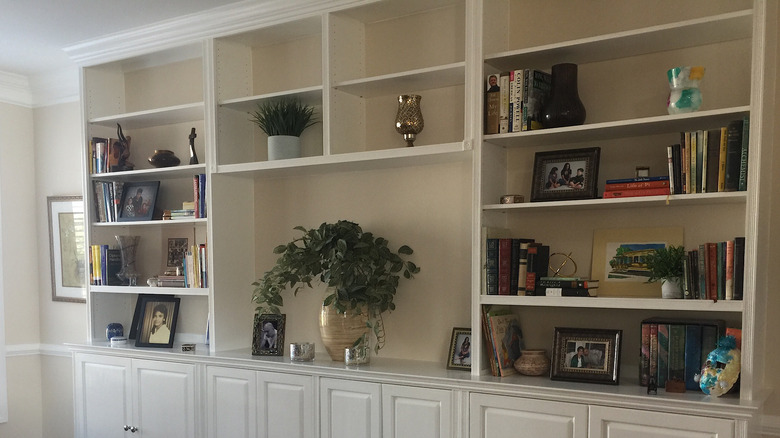
The only things bibliophiles love more than books are shelves to display them all. A stunning floor-to-ceiling library is such an ingrained and innate desire that it's a significant selling point for a life of imprisonment in "Beauty and the Beast." Book lovers get it. However, even if a multilevel library with spiral staircases, ornate railings, and rolling ladders doesn't fit within your budget or space constraints, you too can have an impressive wall of bookshelves and IKEA is going to help you achieve it. Their BESTÅ cabinets can easily be repurposed into a gorgeous DIY home library wall that may not inspire a Disney princess to twirl around in wonder but will make an awesome visual impact in your home, impressing all your friends and family — or at least your fellow bookfiends.
BESTÅ is such a great option to use as a base for your DIY project because it's infinitely customizable. IKEA's list of parts and accessories that will fit the BESTÅ system includes hinged doors, glass fronts, drawers, LED strips, and more. So whether you're turning that BESTÅ storage system into a wall-to-wall bookcase, a media center, a sideboard and buffet, or just a mounted wall cabinet with a lit display, IKEA has the tools for you to execute your vision.
A DIY TikTok Tutorial
TikTok user @petanikelphotography posted a short video montage of their transformation of some IKEA BESTÅ cabinets into a full media center, with bookshelves flanking a mounted TV space. The first thing you notice in the video is how they marked their wall with painter's tape to indicate where the cabinets would be lined up along the wall. This is an important visual indicator, as it lets them see any obvious gaps or fit issues ahead of time. The next thing to make note of is that the carpet is pulled back from the wall, leaving a flat, solid subfloor for the cabinets to sit level on.
From there, start with one of the outer tall cabinets. If one of these is going to stand in a corner and the other is not, start with the one not in the corner. This may seem counterintuitive, but with settling, most homes don't have exactly square corners or plumb walls. By installing the outer cabinet as a guide, however, you can counteract any small imperfections with trim or filler panels.
At this point, the TikTok video cuts to the bottom cabinet and opposite outer cabinet being installed, with trim tracing along the inner perimeter of the space created by these three units — an early indicator of where their TV is going to go — but if you're doing all bookshelves, obviously just repeat the first cabinet process as you work toward the corner.
Creating a fully built-in look
To make their media center look like a piece of built-in cabinetry, TikTok user @petanikelphotography notes in the comments of their video that they used an edge piece from a local hardware store and that they intended to further fill in any gaps with molding and trim. This is easy to do but makes a noticeable difference in your finished project because no matter how securely you fasten the cabinets to one another, there will be slight gapping between them. To cover this, measure the unit where the two meet (for two tall BESTÅ cabinets, this should be about 1¾ inch) and select a piece of decorative trim about that width, and if necessary paint it to match your cabinets. Use finishing nails to secure the trim in place, cover the nail holes with a wood filler, and instead of a noticeable seam you've got what looks like stylized woodworking.
Trim, coming in all sorts of sizes, shapes, and styles, can cover a lot of sins in your DIY home improvements. This is another reason why you want to work from the outer point on your wall towards the corner or, if you're planning to span the entire wall with shelves, start in the center and alternate on either side of that center unit towards the corner walls, using whatever necessary trim, edging, or even smaller shelving to fill in the final empty spaces. You'll wind up with the bookcases of your dreams.

