How To DIY Arches In Your Doorways For A Classier Design
We may receive a commission on purchases made from links.
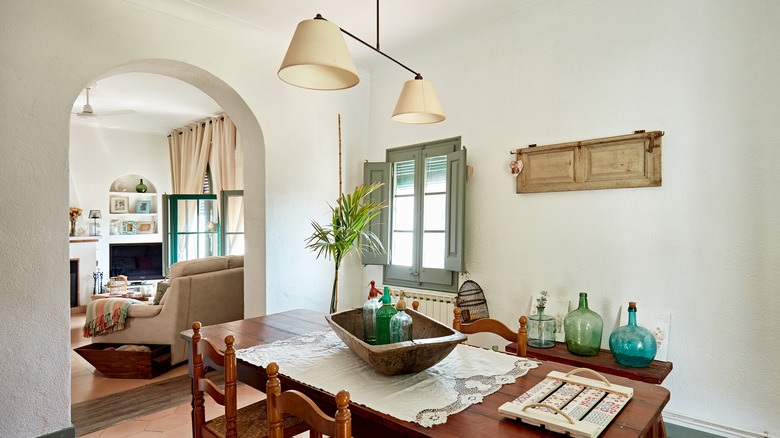
There's something about curved edges in architecture that exudes luxe, high quality, and expensive vibes. This is no doubt because right angles and neatly squared boxes are so much easier (and cheaper) to produce. Even moldings and trim that sport any embellishments are much more expensive to manufacture and purchase than simple unadorned lengths. That's why arched doorways and the like seem to indicate a certain level of craftsmanship and Old-World style, and homes with these uncommon features are highly sought after. Thankfully, there's a handy DIY way to create interior arches in your own home, out of nothing more than Styrofoam and joint compound, essentially. It requires a steady hand and a little skill, but once finished, no one will ever be the wiser.
DIY projects come in all shapes and sizes, from the remedial to the expert. Before embarking on any sort of home renovation ideas, be sure to research the materials needed and how to use each tool if you're not already familiar with it. Follow the familiar adage of measure twice and cut once, but also allow yourself room (in your budget, timeline, and materials) for inevitable mistakes. A good rule of thumb is to figure an additional 5-10% into your estimates for unforeseen circumstances.
Making DIY interior archways
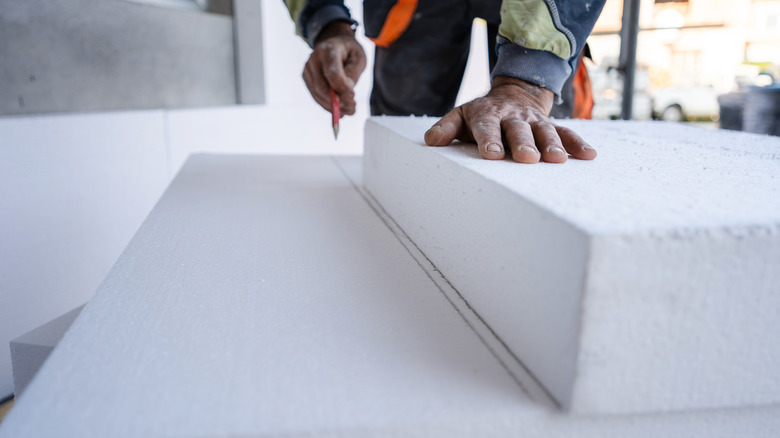
You'll be making the archways out of Styrofoam with a medium hard density of 30kg/m3 (kilograms per cubic meter). Polystyrene foam is used in lots of building materials — Styrofoam is actually the brand name that came to replace the common term, like Kleenex — from trim to insulation, and will provide a solid, sturdy structure for your archway. You can find all sorts of craft foam products at hobby stores or even on Amazon. Measure the doorway you want to round out with an arch and cut your foam to fit flush against the walls and ceiling of the frame. Use a construction adhesive such as Liquid Nails, which you can find at Home Depot for under $3, to affix the foam in place, then allow it to dry.
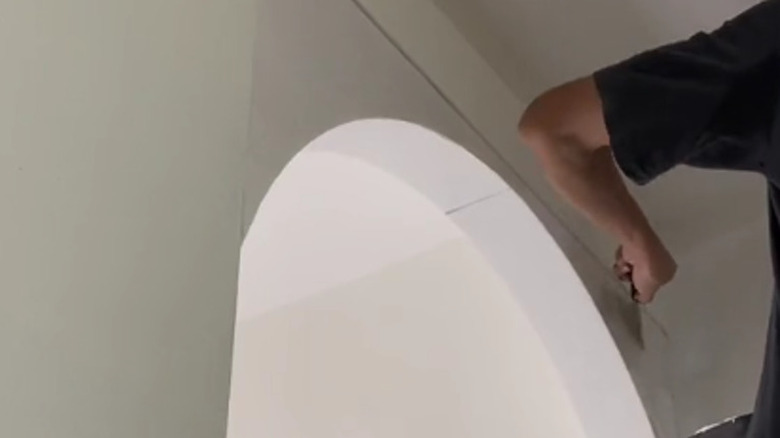
Fill in any gaps with joint compound using a trowel, and pair it with joint tape to create a flush, seamless transition between the original construction and your new foam addition. Once everything has dried and is exactly as you want it, paint the area to match the rest of your wall. You could also try decorating the arch with tile, trim, or other accents.
The trick to the cutting the perfect arch
Cutting your own doorway arch might sound really intimidating, and for good reason. If you don't have complete confidence in your artistic skills, the pressure to get this right might be overwhelming. Luckily, there are some tricks to turn cutting an arch into a simple DIY project.
Use a piece of polystyrene foam that is as wide as your doorway and cut the height to reflect how tall you want your arch to be. (For a standard doorway, anything over 8-10 inches could possibly interfere with clearance, so keep that in mind.) Determine how low you want your arch to hang, and in the exact center of your foam's width, mark this distance with a pin or a small nail. After this, figure out how low on the ends you want the arch to dip and mark this spot in the same location on each side. Next, bend a flexible piece of hardboard over the top pin and under the two side pins and hold it in place while you trace the line of the arch. Cut out the shape with a heavy-duty utility knife and sand the form as needed with fine-grain paper. If you'd like, you can cut the foam in half at the center, highest point of the arch to make installation easier, fitting each individual corner separately instead of both at once.