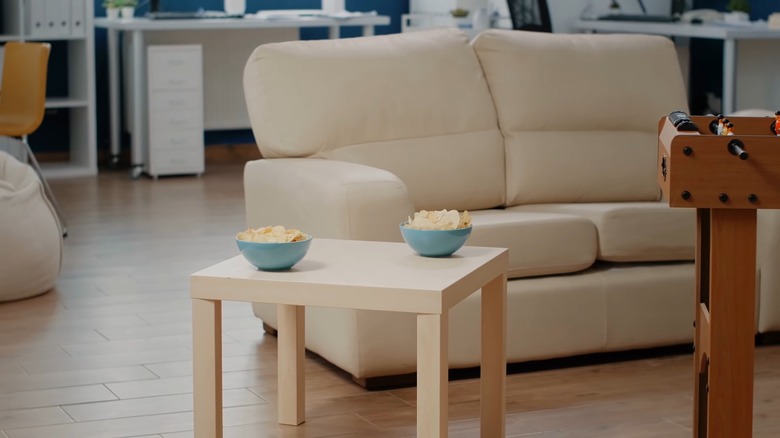
Give Your IKEA LACK Side Table A Custom Look With This Easy Wood DIY
We may receive a commission on purchases made from links.
IKEA is certainly king when it comes to easy, inexpensive build-it-yourself furniture, and the brand's simple LACK side table is a popular example of what the company offers. The LACK side table is a basic, small table that retails for $12.99 and consists of four straight legs and a square top. It is available in white, white-stained oak, and black-brown. White seems to be an especially fashionable choice, as it's modern and has a clean look.
Since the LACK side table is so primitive, it is rather easy to dress it up or customize it using DIY hacks. One such hack — shared by TikTok user @mamamalone2 — entails using a few wood boards to turn a LACK side table into the warm and cozy farmhouse chic end table or side table of your dreams. All you'll need is your LACK side table, two to five wood boards (depending on your chosen width) cut to size, stain, and some heavy-duty construction adhesive, such as Liquid Nails (available on Amazon for just $3.24).
How to transform your IKEA LACK side table
Making over your IKEA LACK side table is quite an easy process. First, stain your wood boards. If your table is white or white-stained oak, choose a dark colored stain for contrast. If you have a brown-black LACK side table, go for a light wood tone or gray stain to get the same sleek effect. Once your boards have been completely stained and dried, it's time to add them to your table.
Apply your heavy-duty construction adhesive to the back of a wood board and place it the tabletop, matching up the edges carefully. Repeat for each wood board. If you have clamps, use them to hold the boards securely to the tabletop while the adhesive cures. If you don't have clamps, simply flip the table upside down and use its own weight to secure the boards while the adhesive cures. Once the cure time specified on your adhesive's packing has passed, you'll be ready to use and style your table in any way that makes you happy.
