Can You Remove A Cabinet's Center Piece To Save Storage Space?
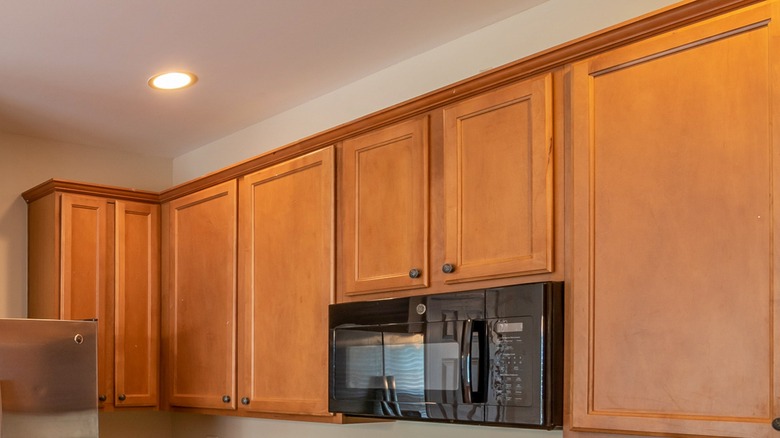
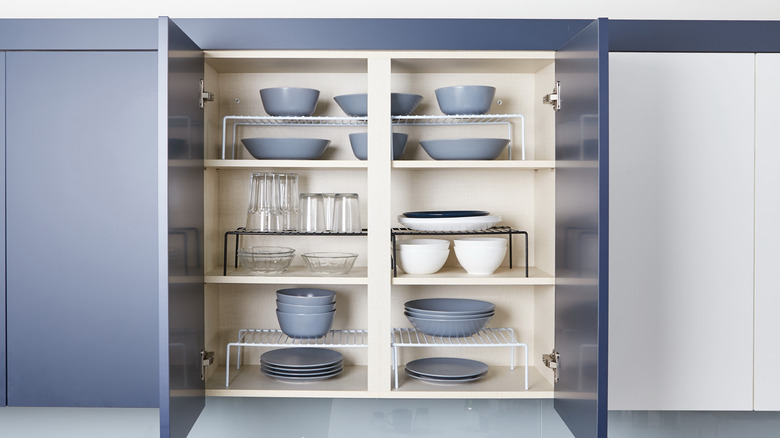
The one thing we all seem to need is more storage. Americans spend $12 billion annually on home organization solutions and $38 billion annually on those self-storage facilities that are popping up everywhere. Sometimes, however, the key isn't so much buying more storage containers but making better use of the storage we already have. Finding ways to DIY storage solutions and be more efficient with the existing options is not only a fun weekend project, but it can also be of critical importance to a family's household budget. One of the ways this happens is with our kitchen cabinets — particularly those double-width cabinets. While they offer twice as much space as a standard cabinet, the doorway to this space is split in half with a seemingly pointless center piece, called a center stile, for the doors to close against.
This strip of wood can make it incredibly difficult to put large items into these cabinets or take them out, even if the cabinet itself is plenty large enough. Fortunately, if this center stile truly doesn't have any structural purpose, it can be removed to open up your cabinet access and potentially save you a ton of headaches. Even if it does, we have you covered with how to remove this piece without compromising the cabinet's structural support.
Removing a cabinet stile
The process of getting rid of the center stile from cabinets is fairly easy as long as it's only attached to the cabinet facing, since stiles attached to shelves provide at least nominal support. If it's only attached to the cabinet facing, though, remove any screws holding it in place, and use a flush-cut saw, like this one from Ace Hardware for $14, to remove it in a clean line that is level with the interior edges of your cabinet space.
If there's some gouging evident on the surface left behind, don't worry. You can use a wood filler from Home Depot that can then be sanded down with the rest of the area to make it completely smooth. Once that's done, the only problem left to address is the gap between the two cabinet doors where they used to close against the spile. Luckily, the fix for this is easy, too: the center spile itself.
Take the spile that you just removed from the cabinet facing and attach it to the inside of one of the cabinet doors, so when that door is closed first, the other one will shut on top of the spile and close the gap. Make sure the spile is still facing outward, then simply reuse the screws that were holding it in. If you prefer to use new screws, make sure to get ones that are long enough to go through the spile but not so long that they'll come out the front of the door.
Preserving the structural integrity of your cabinets
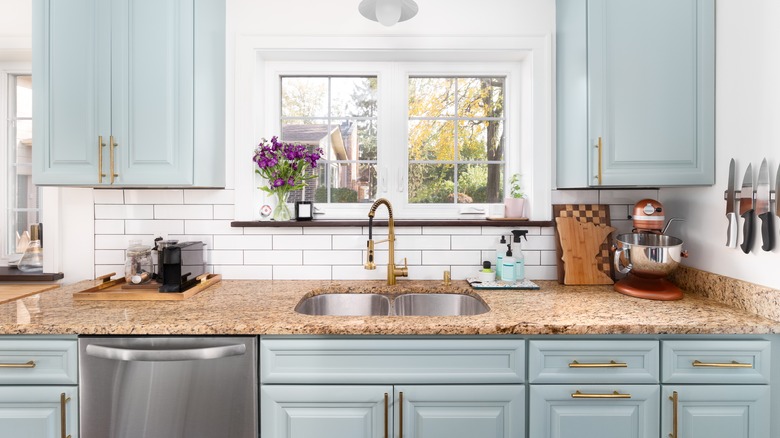
Center stiles used to be part of standard cabinet design as a way to prevent sagging, but now sturdier cabinet boxes and other modern innovations have rendered them largely superficial, providing little more than an old-fashioned, traditional aesthetic. However, if your base cabinets support granite or other stone countertops, the center stile of your double-width cabinets may be structurally necessary. Not to worry, though, because there's a workaround. You can install a stiffener behind the facing, just below the cabinet drawer tracks, to bolster the cabinet's holding capacity.
Start with a 1-inch-by-2-inch board and cut it to fit the inside width of your cabinet. Pre-drill screw holes in the board where it will attach to the cabinet facing below the drawers. A good rule of thumb is to attach near the ends, at the center, and at the midpoints of those locations — five holes in this case. A 1-by-2 is actually ¾-inch thick, and face frames are generally made with 1-by-2s, so you'll be screwing two 1-by-2s together, meaning 1 ¼ inch screws should get through most of the two boards without breaking through. Screw these partway into your pre-drilled holes, then slather the opposite side of the stiffener with wood glue, press it in place, and secure it with clamps before inserting your screws the rest of the way. Wipe away any excess glue with a damp cloth, but keep the clamps on for several hours. You'll end up adding more storage to your kitchen while maintaining the cabinet's structural integrity.


