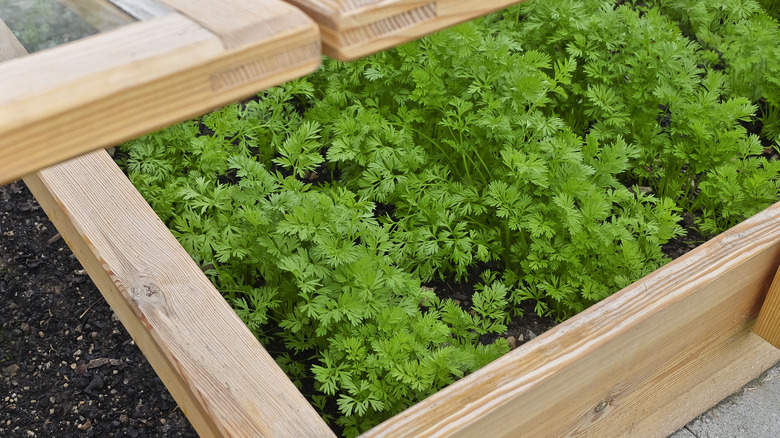
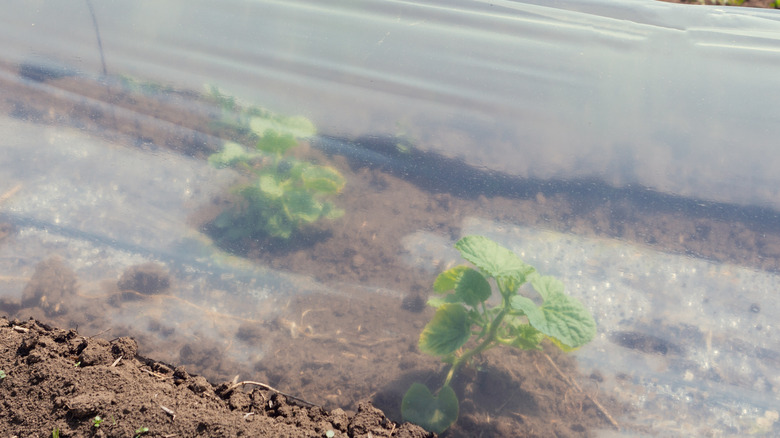
Protect Your Garden From Winter With A Wooden DIY Cold Frame
If you've ever built a cold frame, you've quickly run up against the problem of corners. The obvious way to connect a cold frame's sides together is to butt them against each other and screw them together. The trouble is that butt joints are notoriously weak, and any amount of stress (like moving the frame from your garage to your garden) is likely to make the thing fall apart. YouTube gardener Old Gardener Guy has a solution from the world of carpentry and woodworking: a simple rabbet joint, but one that doesn't require special tools like a router or table saw. It's easy and has the added benefit of looking great!
Gardeners have a way of transforming the most utilitarian wares and duties into aesthetically pleasing experiences. Plants do a lot of that work for us, beautifying trellises, walls, and planters that might otherwise be considered eyesores. Because a cold frame is just a simple box with a clear top for (in this case) hardening off your plants early in the growing season, it usually hides the plants within. As a result, you don't get the automatic prettification-by-plants effect. This build's separate corner pieces give it an unusually finished and polished look for a very basic cold frame that would otherwise look like a scrap wood box sitting on your lawn.
Building the cold frame box
Rabbeting (or rebating, in British English) the two sides of the cold frame is one way to improve the weak butt joint approach, but a simple rabbet cut into the ends or sides wouldn't be much stronger. The usual fix is attaching the sides to a square brace inside each corner. But Old Gardener Guy makes rabbet joints (eight of them) by building each corner from two pieces of wood, rather than reshaping one. This trick is amazing in its simplicity: He screws together two identical scraps of wood, offset ¾" or so to make the corner pieces. Positioned properly, the offset creates a rabbet at each edge of the corner piece into which the sides, front, and back panels can be screwed.
To avoid gaps that will let cold air in, these corner pieces should be the height of the finished box (about 6 inches is the minimum height, but look into the basics of cold frame gardening for more specific guidance). He uses furring, but you could just as easily use 2x4 cutoffs or even scraps of plywood. Your corner boards should be as thick as the wood you're using for the sides and at least 4-6 times as wide as your sides are thick. For example, if your sides are ½" plywood, your corner boards should be ½" thick and at least 2-3" wide ... 3 ½" (the width of both a 2x4 and 1x4 furring) is perfect.
Topping off the cold frame right
The clear top part of a cold frame that makes it a little greenhouse is really the key to making one work well. Since Old Gardener Guy doesn't address it beyond saying "put a bit of glass on the roof," you should consider what kind of glass or plastic you'll use to get that greenhouse effect going. There are lots of potential solutions: a piece of greenhouse plastic, corrugated polycarbonate, a sheet of acrylic, a shower curtain, or even empty plastic bottles. Many cold frames incorporate reclaimed materials like old windows, skylight domes, or discarded glass shower doors. If you're planning to use sheet plastic, you can fit it to your frame. But if you are repurposing something pre-fab like a shower door, you'll obviously need to size your cold frame box for it. And be careful reusing old windows; low-emissivity (low-e) glass shouldn't be used on cold frames or greenhouses without their own heat sources.
So far, all of this has assumed that your box is the same height all around. That is, the front is the same height as the back. But cold frame tops are often angled 15-35° so that they can be positioned to catch the right amount of sunlight. Keep this in mind when planning your cold frame. If you incorporate an angle, it will change the basic dimensions of your box, which is easy to forget, and can cause gaps where square bits come into contact with angled bits.

