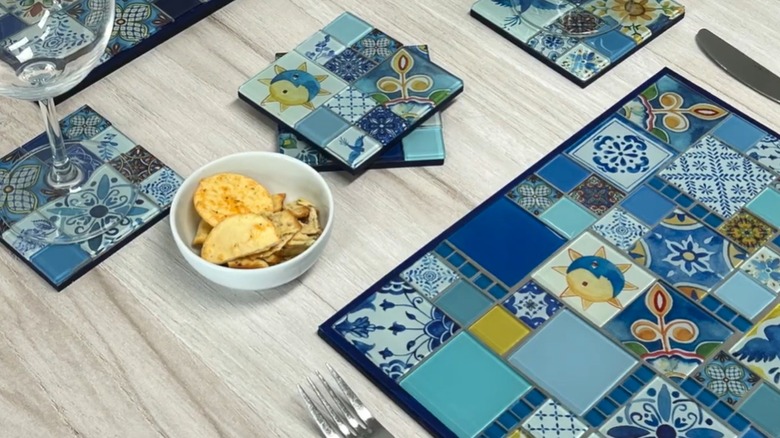
The DIY Placemats That Will Protect Your Table And Brighten Up Your Space
Dreaming of a new set of placemats? Whether you're ordering them online or heading to a store, don't be too hasty. You can make your own, unique placemats that'll be perfect for protecting your table. All it takes is a few MDF boards, glue, grout, and a tile of your choice.
Whether you have a massive supply of leftover tiles cluttering up your garage or you've simply always loved the look of mosaic artworks, there are plenty of reasons why you'd want to DIY your own tiled placemats. And enthusiasm for the aesthetic aside, the really great part is it's fairly easy to do. Sure, it may get a little messy, but the results are well worth it.
Not only is this a great way to use those leftover tiles and samples, but you can work according to any design you can imagine, or simply break up the tiles and place them back on the board à la TikToker Nesti Home for a no fuss (or less fuss, anyway) new table addition. Bottom line: These are the placemats truly anyone can DIY.
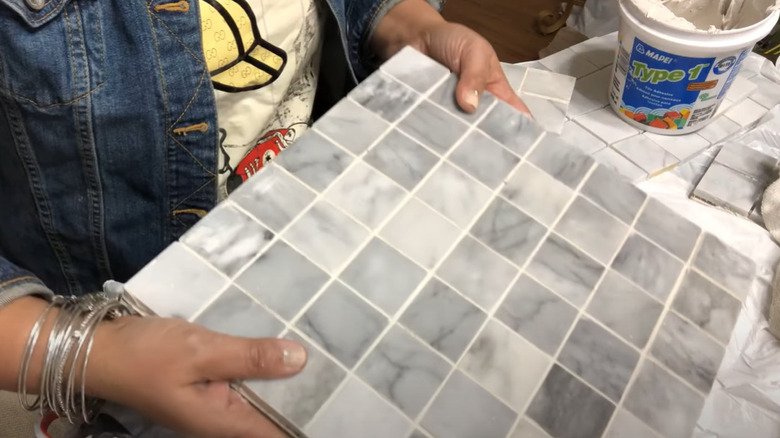
Stick tiles to a board, grout, and you're good to go
Start by getting boards for your placemats. MDF wood is generally a good option, as it doesn't need to be sealed, but we'll touch on this later. Amazon has a number of options, including a pack of six for $18.99, but you may get a better deal — not to mention the exact number, shape, and sizes you want — if you head straight to your nearest craft or hardware store. As for the right glue, good old PVA is fine. Next up, tiles. Use whatever you have lying around or scour craft shops and Amazon for something that fits your aesthetic. Finally, grab some grout. Amazon stocks it for around $12, depending on the color.
If you want to stick smaller tiles as they are, you can start sticking immediately. Alternatively, now could be the time to smash some tiles. Wrap them in a cloth to avoid a mess, tap with a hammer, and keep going until you've got your desired shapes. Then, stick the pieces down in a design you love.
After you've stuck down your tiles, apply the grout. That'll take around 72 hours to dry. Once it's set, simply scrub it off using a wet sponge and polish it up with nail polish remover.
There are a few maintenance tips to remember
Making your own mosaic placemats is messier and more time consuming than it is difficult; for the most part, they're pretty low maintenance. However, there is one thing you definitely should keep in mind: MDF, while a great option as a base that won't scuff your table, is not water resistant. In fact, when exposed to water, it can swell pretty badly, turning your beautiful, customized placemats into a mess very quickly.
In terms of keeping things clean, that shouldn't have much of an impact. After all, wiping down the tiled surface is as easy as can be, and a dry cloth for dusting the underside is really all you'll need. However, if you're thinking of pulling these out for dinner with the kids and there's a risk of drinks being knocked over, think again. Ditto when it comes to storage. Keep these in a dry area away from moisture.
Of course, there are ways to get around this problem. Outside of limiting their use to dry environments, you can treat them using sealant or opt for a water-resistant MDF from the get-go. Too much water will still be able to do some damage, but the odd spill won't be the end of the world.