Don't Skip This WD-40 Hack When Installing An Air Conditioner

We may receive a commission on purchases made from links.
For anyone living in a warm climate, air conditioners are a necessary part of any household, keeping you comfortable on even the most sweltering days. The trick, however, is to keep the appliance functioning at an optimal level, and one great way to do so is to clean it with WD-40 before installing it and then once a year thereafter.
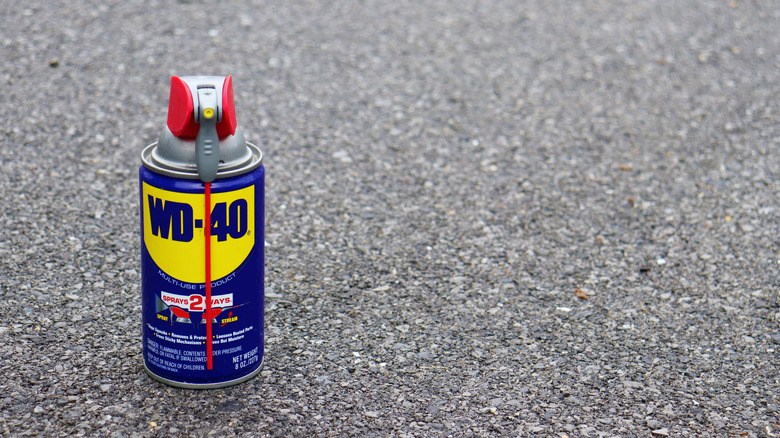
It might sound odd, especially since most people associate WD-40 with a lubricant that tackles squeaky door hinges and don't think of it as a cleaning product. However, according to the WD-40 brand, it can help you keep your cooling fins in tip-top shape. These fins are crucial in helping to cool the air, moving it away from the condenser coil; when the fins are damaged or dirty, the warm air stays trapped in the appliance and makes it work harder to cool your room. This means it uses more energy and doesn't cool your space as well. To avoid that, start off your AC installation with a clean and perform regular maintenance on it with WD-40.
Why not just use a cleaning spray? While other cleaning solutions will clear the dirt, WD-40 will penetrate the metal, not only removing any dust and grime but also protecting it from rust or corrosion. That's because WD-40 is actually a water displacer that repels water away from the surface, ensuring it can't rust — so a regular WD-40 clean can help protect your new AC unit for years to come.
How to clean your AC with WD-40
To clean your AC, you first want to turn off the power so you don't run the chance of accidentally electrocuting yourself. Once the appliance is unplugged (or the breaker flipped) and cooled off, use your manual to figure out how to remove your cover — a wall unit is much different than an outdoor HVAC system, so there will be different directions to remove the cover. For example, for a wall unit, you'll likely need to remove the face of the unit, which is the front cover. There might be a second panel inside that will require a screwdriver to remove, but then you should expose the cooling fins. For an outdoor HVAC unit, you'll need to remove the screws securing one of the side panels of the unit — both on top and bottom of the panel. Once you remove it, you'll expose a wall of cooling fins, which will likely have a thick layer of dust and dirt on them if your AC unit isn't new. Use a shop vac to remove the dirt, and then go in with your WD-40 for a proper wash.
Spray a liberal amount onto the fins, moving side to side, being careful to coat each row. Allow the product to sit for about 20 minutes, allowing it to penetrate the metal. Wipe the dirt and residual product away with a dry rag, and you're done!
Caveats to keep in mind
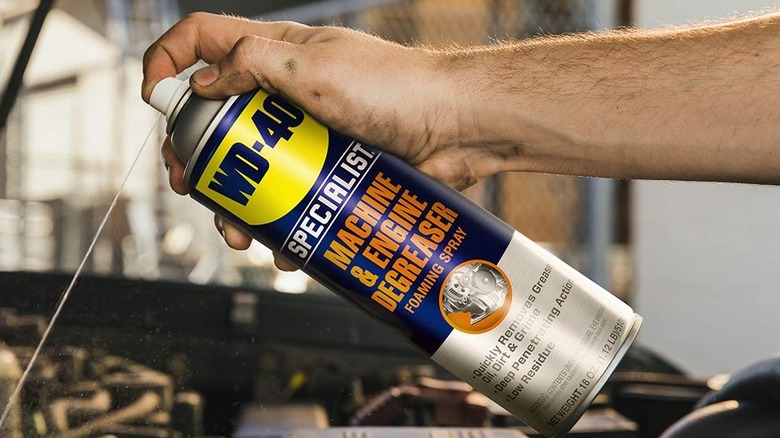
Depending on when the last time you cleaned your cooling fins was, you might have to use different versions of WD-40. For example, if you cleaned your AC unit upon installation and you generally stay on top of your annual maintenance routines, then your cooling fins will likely only be covered with a thin layer of dirt. You'll be able to easily remove this debris with a shop vac and WD-40 Multiuse Product (the regular can that most people own) or the WD-40 Specialist Industrial-Strength Degreaser. However, if it's been years since you've opened up your AC cover, things might be a little tougher to scrub — you'll likely encounter caked-on grime. If that's your situation, try upgrading to a product such as the WD-40 Specialist Machine & Engine Degreaser Foaming Spray.
This product is recommended by trusted mechanical brands such as NAPA Auto Care as a safe product to use on any and all machinery that needs a deep clean. It leaves behind low residue, but it's recommended to wash off the spray and dirt with a high-pressure hose afterward. Considering this, it's best to use it on HVAC outdoor systems instead of wall units, unless you're easily able to remove the fin sections from your wall unit.