Bring Life Back To Your Cabinets With This Waxing DIY
We may receive a commission on purchases made from links.
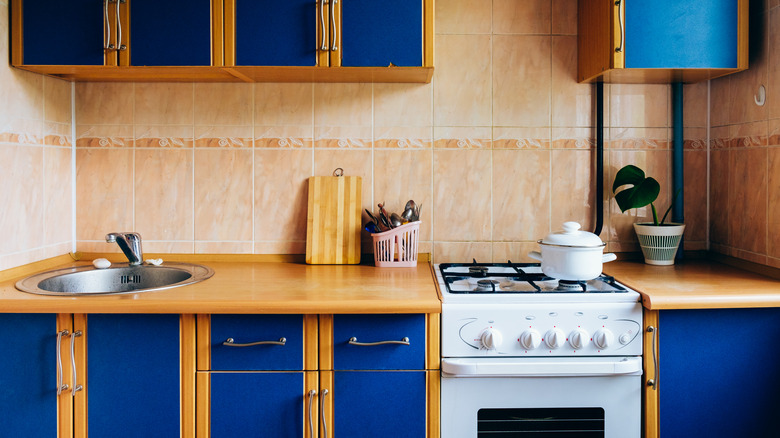
If the atmosphere in your kitchen feels a little flat or dull, perhaps it could benefit from some type of design resuscitation. However, a full-scale kitchen reno just isn't in the cards, the good news is that by focusing some love on your cabinets for a relatively low cost and a little effort, you can make an impactful difference. You can renew them and achieve two distinct looks by using different wax sealers. Waxing could be the perfect finishing touch after painting your kitchen cabinets an updated, glamorous new color.
You can apply wax to laminate wood, old plywood, wooden cabinets, or to painted cabinets. Think of waxing as a low-key sealer, a protective layer with natural ingredients that guard against moisture and wear and tear. Over the life of the cabinet, it will require more applications than if you were to use a polyurethane topcoat alone. That means that applying wax will involve more maintenance, but it's less toxic and easier to touch up than chemical sealers.
The different effects you can get
Wax can provide a subtle, colorless sheen, or, depending on the brand, its light buttery color will make paint colors a touch richer. These clear or warm waxes can be used on just about any cabinet, painted or not, and are more or less interchangeable. For a completely different look, there is another wood-finishing process called liming. Liming wax is another term for white wax, a sealing wax that's been infused with a white pigment. Although you can easily use this on painted cabinets to add some texture, liming wax is primarily used to highlight a dramatic wood grain pattern against a lighter background.
As you look around your kitchen or even take the rest of your home into consideration, ask yourself what the predominant aesthetic is. If it's more contemporary, sleek, or modern, then the colorless wax might be a good choice for you because it adds a subtle glow, which will toss more reflected light around your kitchen. If on the other hand, rustic or farmhouse decor feels more homey to you, then liming might be a great choice. It creates a more coastal-bleached driftwood look.
How to apply wax
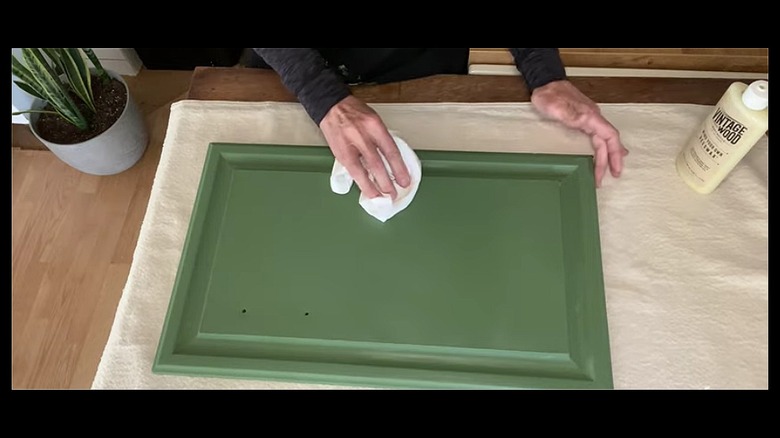
You can get this project done in a few hours. If you're going the clear wax route to get that dewy finish, wash all your cabinets with mild dishwashing soap and warm water to remove any grease buildup, and let them dry. Organizational tip: you might want to wax and buff the frames first, then the doors, which you'll have already removed. If your wax is more liquid, like Mind Your Own Beeswax ($17 at Amy Howard), which imparts a warm, vintage look, pour a small amount onto a lint-free cloth and give the entire area a light coat. Let it dry for an hour. Using a separate cloth or microfiber, buff it — you'll see the sheen emerge right away. With other brands, like BB Frӧsch's Natural Finishing Wax ($20 at Amazon) you can use a butter knife to smear a brush applicator with wax, coat the entire cabinet or frame, allow it to dry according to the manufacturer's instructions, and buff it.
The process with liming wax is very similar except for the prep. An optional step is to strip the finish from your cabinets to reveal the raw wood underneath, then sand. Tarp everything off first, get the dishes out of the kitchen, and have the vacuum standing by. Then apply the white wax, let it dry, and buff off the excess. It's in the buffing phase that you can decide how chalky and bleached you want your wood to look.