Give Outdated Flat Doors A Fresh New Look With This Easy DIY
We may receive a commission on purchases made from links.
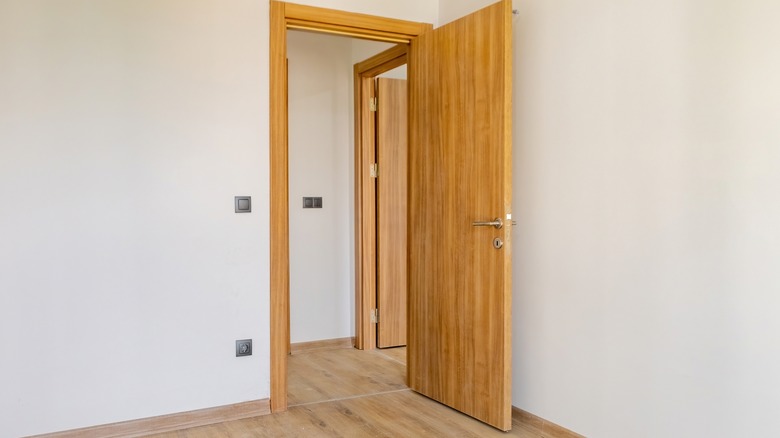
Doors can often be an overlooked detail when it comes to choosing a home or planning a renovation, usually falling into the realm of objects considered more for their function than for their beauty. Older homes built in the 1970s or 1980s particularly often feature builder-grade doors, hollow core doors, or just uninspiring doors that can feel out of fashion and out of line with the design details in the rest of the house. Replacing these doors is not always cost-effective, especially if there are a lot of them. TikTok user @christelmontenegrohome however, has a great DIY project that can take an unsightly door to a new level with just some new hardware, paint, and simple box trim or molding available at any home store. The result is a custom and architecturally interesting door that looks luxe and expensive despite its humble beginnings.
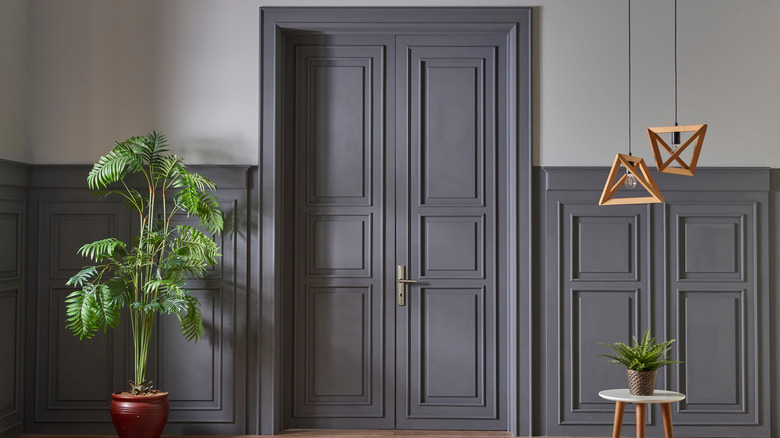
While the previous design of the door was basic and outdated, this new door design looks fresh and contemporary. This hack and its variations are a great approach if you are looking for a way to modernize and beautify without having to replace every single door in your home.
How to upgrade drab doors
Begin by removing the existing hardware from the door. You can do this project while the door is still on its hinges, but you can also fully remove it to replace the hinges if they are looking old or cheap. This approach allows you to work on the floor on a flat surface, though most of these upgrades are possible even with a door still on its hinges. After removing the doorknob, sand and paint the door surface with the color of your choice that covers the existing wood finish. Then, add box trim, creating four different rectangles on the door. This immediately gives the door texture and dimension, as well as the timeless classic vintage feel of a much older door.
To attach the trim or molding to the door, use small brad nails or a strong adhesive like wood glue or gorilla glue to secure the box trim in place. You can also buy peel-and-stick box trim from Amazon that comes with an adhesive backing that is already cut and assembled in pre-sized frames. After the trim is applied, paint it to match the rest of the door, making it look like all one piece. You can then add new hardware.
Customizing a door with trim
This transformation hack is great for any door in your home that needs a little design love, including blank-faced kitchen cabinets or built-in cupboards. While you can use rectangles, you can also vary the size, shape, and type of trim you use to be more or less ornate or to create other kinds of designs on the door. You can also build out your door with inexpensive MDF and trim to create a more layered finish, like in this great hack for customizing builder-grade doors. You can also add other ornamental decorative wood trim like these scrolls from Home Depot to add even more character to the doors that fit your design aesthetic.
Since the cost of paint, trim, and new knobs is minimal, this is a great option for upgrading all the doors in your home to look new and stylish. It's a project that usually will cost less than $20 in material per door, and involves a minimum amount of labor and carpentry skills, especially if you have the lengths of trim precut for you at the store.