Add A Weathered Look To Your Next Wood Project With These Simple Steps
DIY feels good when you complete a task, but it might just serve another purpose that can be even more rewarding. If you've got a wood-centered project, creating a weathered look will not only add texture and dimension, but it can also be a great way to relieve some stress, tension, or even fury. You can turn your wood pieces into vintage works of art in two simple steps. First, give them a weathered appearance by using anything from hammers and nails to saws and screwdrivers to distress the material. Then, create an antique look by staining the wood.
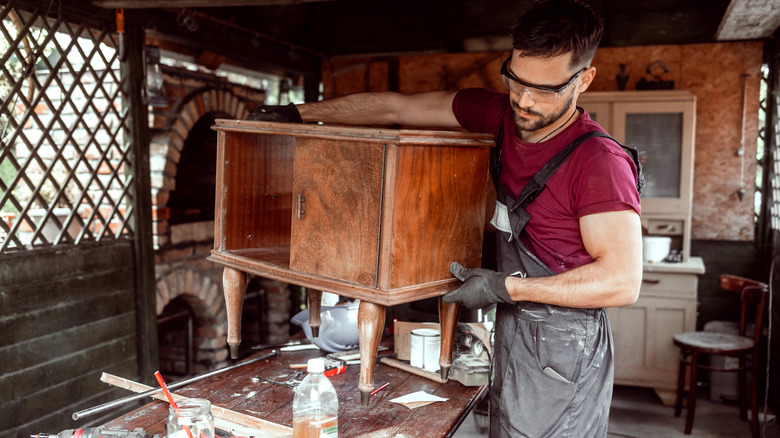
Whether you're building a rustic coffee table, entryway bench, or showpiece stool, you don't need to search high and low for weathered wood that can get expensive. You can easily distress any piece of wood-based decor that you plan to place in your home. All you need is your measured pieces of brand-new wood, wood stain, some time, and a little motivation to take it from raw to rugged.
Get creative with your weathering technique
One of the easiest ways to weather your wood is by grabbing some standard tools from around the house and using them to beat up your pieces. Some people also use axes or saws to add even more texture. Just be sure you have the proper amount of space to use your chosen tools and wear protective gear like goggles and thick gloves to avoid splinters and flying pieces of stray wood.
The second step to weathering your wood is staining it to help produce a rustic look. You can either use an antique-style stain by itself or add a white or off-white base color for a farmhouse chic result. When you stain or paint any kind of wood with this technique, distress your piece before adding the color. Apply the wood stain liberally. While it's still wet, add a very thin layer of paint. Scrape a spackle knife over the top of the wood, blending the products and getting rid of any excess paint. The result should be the stain showing through as though it were painted years ago.
Distressing new wood for an old look
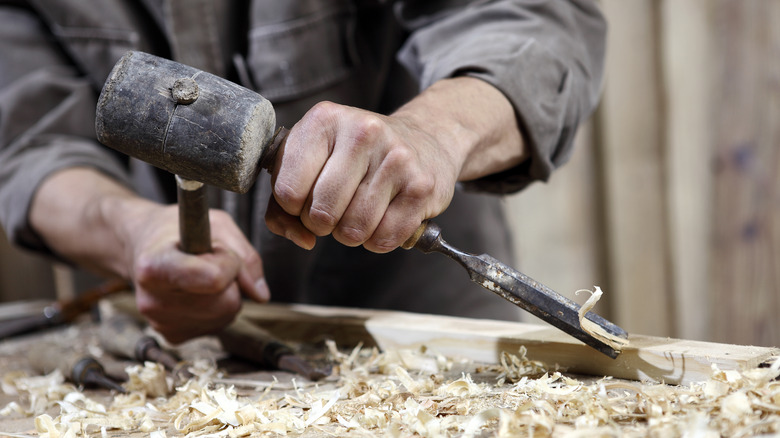
Beating up the wood is where the fun comes in. In fact, forget about paying a venue to smash items to relieve stress. Just release some of your pent-up energy by battering fresh wood pieces to use for home decor. You can slam both ends of a hammer against the surface and ends to create dents. Screwdrivers and chisels will help you make more intentional pits and divots. And, by plunging any of these tools deep into the wood, you can make cracks that add to the rustic finish. Aim to get a good mix of hairline and deep cracks.
You can also get extra innovative by throwing some screws inside a plastic bag, then whack the boards as hard as possible. These will make many small indentations, and people who have tried this method swear by the cathartic results. Be creative with each tool and piece, since different parts can have different effects. Hammering the head of a nail makes different marks from the tip of a nail. Or, try rubbing a screw's edges against the wood to scuff it. No matter what tools you use, change up your technique across the wood to add holes, dents, divots, and scuffing for a truly weathered finish that will make your project look like a high-end vintage find.