Maximize Space In Your Yard With This Stunning Garden Hose DIY
We may receive a commission on purchases made from links.
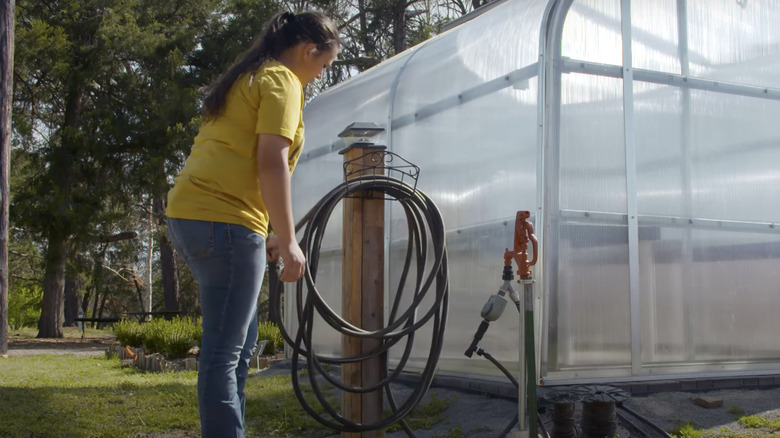
A small yard has its perks, and you don't have to worry about filling it with too many things to look good. You might add a trellis to maximize the space and hang string lights for a cozy feel. However, the trouble with a small yard is that it only needs a few items to make it look cluttered. One item that is often tossed around is the garden hose. Some homeowners will leave the garden hose in a messy pile on the floor, which causes it to take up space. Others wrap the hose around the nozzle to keep it in one place, but it still easily slips off and unravels. To keep your hose and outdoor area tidy, why not DIY a storage reel? Instagram user @curatedmorrorless showed how to make a compact garden hose holder.
The storage reel allows you to easily pull the hose around the yard freely without removing the entire roll you wrapped around the nozzle. Plus, when you're done using the hose, you can effortlessly reel it back with the handle without bending, which could cause lower back pain. Hose reels also occupy little to no space in your yard since they're positioned next to the waterline. Here's how to DIY your garden hose reel.
Materials and steps for DIY garden hose reel
Instagram user @curatedmorrorless spent about $200 on their entire DIY. The most expensive part was the garden hose reel, which they purchased at Lowe's for $120. They also used a 4-inch by 4-inch treated pine post, a pine post cap, a bag of Quikrete, wood glue, a hose, and a wood stain. You can purchase the pine post from Lowe's. The pine post cap costs $6.71 and the Quikrete bag costs $3.67 also at Lowe's. You can choose to stain the wood or leave it as is.
To begin, cut your pine post to your preferred height — @curatedmorrorless cut theirs to 4.5 feet tall. Then, dig a hole where you want to set up your garden hose reel. The hole should be about 1 to 1.5 feet wide and a ⅓ of the height of the post. After digging your hole, fill ⅔ of it with Quikrete and ⅓ with water, place the post inside, and let it set for five hours. Once the Quikrete has set, stain the wood (or leave it as is) and add your pine post cap. Finally, attach your garden hose following the instructions and reel in your garden hose. Give your garden hose a spin by unreeling it around the yard and reeling it back in.
Alternative materials for your DIY project
While garden hose reels aren't the most fashionable feature to add to your yard, they're convenient for maximizing your space. One way in which you can customize your hose reel is by painting your pine post instead of staining it. If you're a crafter or artist, give the post a makeover with fun, bright colors, and a garden theme, like flowers and insects. Or, keep your post simple by painting a vivid solid color like yellow or blue. Another excellent alternative to staining and painting is using a fence sleeve to cover the post. Lowe's has various options, such as a White Vinyl Fence Post for $28.97.
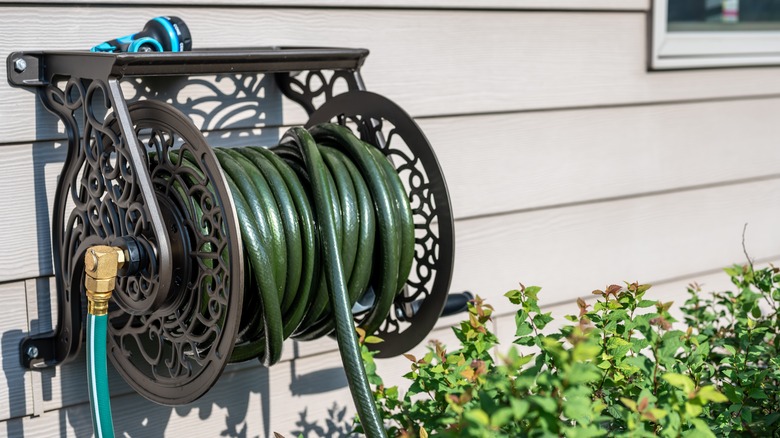
On the other hand, if you don't have the budget for a garden hose reel, you can always purchase a wall or floor-mount hose reel from Amazon for $117.66. It's one of the most accessible hose reels you can install in your backyard. You won't have to insert a pine post or use Quikrete. Instead, Amazon's hose reel can be mounted on the wall or kept in the corner on the floor. Alternatively, Amazon has a bronze decorative hose reel with a small shelf for $82.70 if you want something more decorative.

