Encourage More Birds To Visit Your Yard With This Terracotta Pot Hack
If you love bird watching, the easiest way to attract more birds to your yard is by setting out feeders. Bird feeders are available for sale at countless stores, but they can sometimes look cheap or cost quite a bit of money. If you've got a crafty side or love easy projects, you can DIY your own bird feeder out of a terracotta pot, two saucers, and some standard hardware. The hardware includes three washers, one threaded steel rod that's at least double the length of the pot, a lock nut, a decorative finial, a wing nut, a coupling nut, and an eye bolt. The basic process involves drilling holes in the saucers, then attaching one saucer underneath the pot and using hardware to make a lid that can be opened on top out of the other saucer. This piece will look gorgeous and may even withstand more of nature's whims than your basic plastic discount store find.
It's important to note that when the birds fly south for the winter, your terracotta pots should migrate as well — from the outdoors to the indoors. Extreme temperature changes can cause the clay to crack, so bring your bird feeder into storage before the first frost. If you do so, this piece should last a long time. Also keep in mind that terracotta is a porous material, so it will soak up rainwater. To protect your bird feeder, you could hang it under a covered porch or pergola.
Prepping your terracotta items
An orchid pot is best for this DIY since they have holes in the sides (to create necessary airflow around the orchid's roots) as well as a drainage hole in the bottom. However, since you are going to be drilling anyway, it's possible to pick whichever style you like best and simply drill the holes you need. Once you've selected your pot, find a terracotta saucer that will fit upside down over the top like a lid, then choose another saucer that is a few inches wider in diameter than the first.
Soak both saucers (and the pot, if drilling is necessary) overnight in some water. Mark a spot at the center of each saucer to drill and cover it with masking tape to prevent cracking, then use a diamond drill bit to make the holes. If you need to drill your pot as well to create side holes for bird feeding, do this too, making sure the side holes are at least an inch wide and long. The center holes need to only be as wide as the rod you use to hold the feeder together.
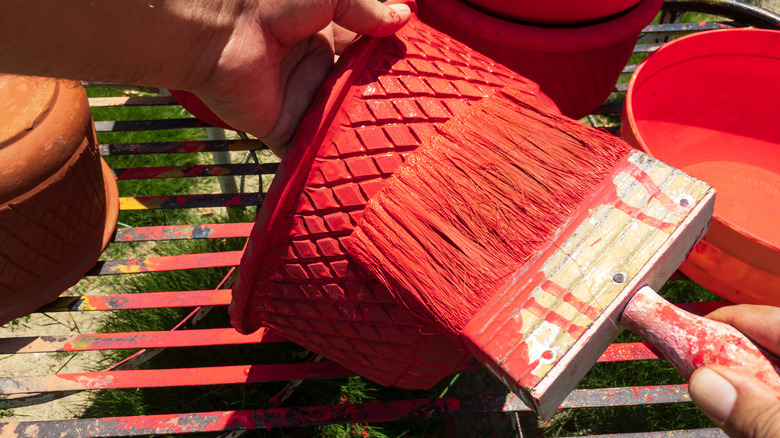
At this point, you can either leave the terracotta as is or you can choose to decorate it. Terracotta takes paint exceptionally well, both with a brush or a spray, but ensure you use a non-toxic paint. Up your game with stencils, or even decoupage dried flowers onto the exterior to make a statement piece.
Assembling your terracotta bird feeder
Begin by gluing the pot to the middle of the bottom saucer using a strong epoxy, ensuring that the center holes align. If your feeder will be exposed to weather, use the smaller saucer on the bottom and the larger one on top to act as a rain barrier. Then, place a lock nut and washer onto the threaded steel rod and stick the rod through both the center holes. Slide another washer onto the underside of the saucer and fit a decorative finial on the end, then tighten the internal lock nut with a wrench to hold everything in place. Next, slide the other saucer upside down onto the rod on top of the pot, securing it with a washer and wing nut. Place a coupling nut at the end of the rod and attach an eye bolt for hanging the feeder on a hook or bracket. You could also tie twine to the eye bolt and hang it from a branch.
To fill your feeder, loosen the wing nut up the length of the rod and lift the top saucer off the pot, creating a space that's big enough to pour your seed in. Once filled, make sure you tightly close the lid back onto the feeder to keep squirrels out. Some seed should naturally fall out of the side holes, but you can also encourage the birds to visit the feeder by sprinkling more around the inner rim of the bottom saucer.

