The DIY Wooden Bath Tray That Makes Your Tub Feel Luxurious
We may receive a commission on purchases made from links.
Depending on the style and brand, bath trays can be expensive. However, if you can't quite find the type you're looking for within your budget, then you can always try creating your own DIY wooden bath tray from @rustyroostdesigns on TikTok. Not only is crafting this stunning tray a great way to make your bathtub feel more luxurious, but it's also perfect if you're looking to add your own flair that you wouldn't find elsewhere. For example, you can create your own custom look that nobody else has, which makes it a very unique item. Even better, it may even work out cheaper versus opting for a store-bought product, especially if you decide to use upcycled materials.
Not only is upcycling materials good news for your purse strings, but it also has a beneficial impact on the environment, as you're producing less waste. Of course, this makes crafting your own wooden bath tray seem like a no-brainer. Even if you're no DIY expert, you shouldn't find the process too complex. As a result, you should be able to make your bathroom feel like a spa. So, how do you make it?
Prepare your plank of wood
First, you'll need to gather all the items that you need, including a wooden board, some polyacrylic, vinyl, blue stain (or another color), chalk paint, sealer, felt pads, handles, two smaller pieces of wood that will act as braces, a drill, and some screws. In regard to wooden boards, you can grab one for as little as $8 per linear foot from Home Depot or a more rustic option on Amazon for $29.99. However, you may already have one on hand, which, in any case, is perfect. You could also try using bamboo, but you may find it more difficult to achieve that "rustic" effect. It may also be more costly than if you opt for a wooden plank, with some stretching well over $100.
Preferably, whatever material you choose should be bigger than the width of your bathtub so that you can trim it down to the appropriate size, which is usually around 32 inches. However, it is probably best to measure rather than make assumptions. All you need to do is trim it to the correct length so it can sit across your bath nicely before sanding it, and plan out where you're going to add your wooden braces (the things that will prop it up). You'll also have to use your vinyl to create a stencil of your choice. Now, you should be ready to assemble everything.
Make your finishing touches
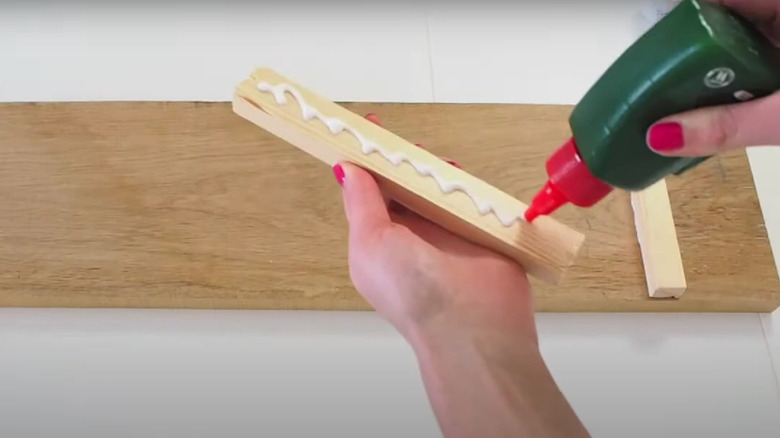
In order to assemble everything, you should first make an imprint on your wooden plank using your stencil. To do this, simply decide where you want to place it and paint over it with some polyacrylic, which you can buy from Walmart for as little as $12. Next, take your stain and apply it to the whole plank, but only once the polyacrylic is no longer wet. This hack uses a blue color, but you can choose whichever color best suits your interior. Now, you can pass over your plank with a cloth to remove any excess and get to work on your handles, which will just need a layer of chalk paint and sanding. You can also add a layer of sealer to your wooden plank. Once everything is dry, you can attach your braces, felt pads, and handles, which you can do using your drill and screws. Just make sure everything is nice and secure before you actually use it.
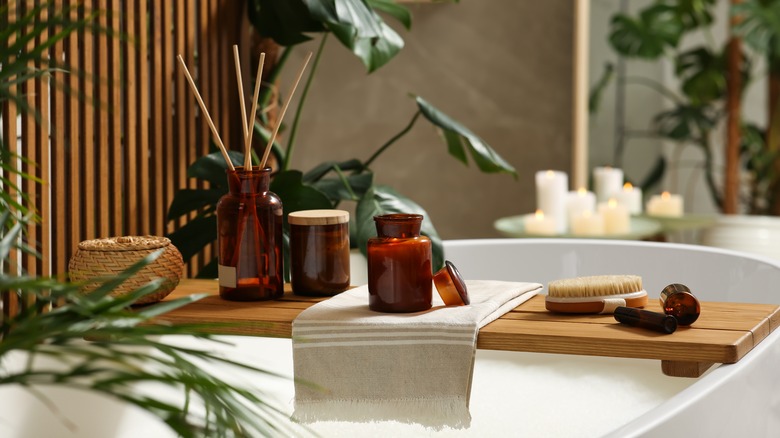
When it comes to this hack, both the wood and the finish help to create a high-end look where you can place your bathroom items. You can even use it to decorate your bathroom. However, you should remember that even with a sealer, you should be careful not to get it too wet as it could degrade the quality with time. By looking after it properly, you should be able to maintain it for much longer.