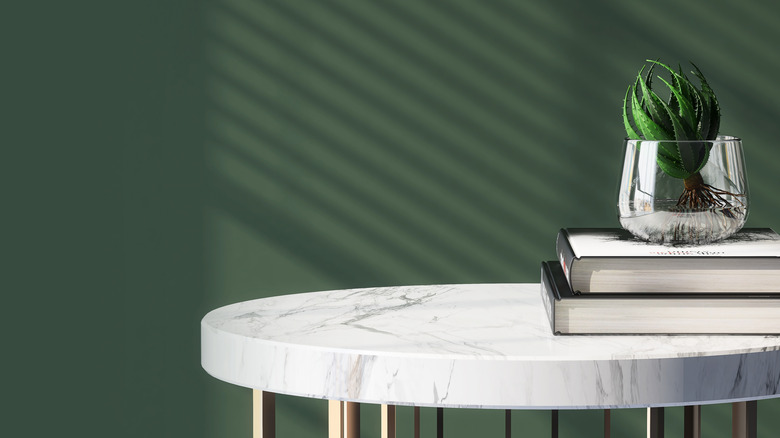
Give Your IKEA LACK Table A Faux Marble Upgrade With This Easy Hack
Marble is a timeless material and versatile enough to fit into any interior style. Sleek and elegant, marble can add a pop of color, texture, and pattern when a space needs a bit of visual interest. Unfortunately, many marbled furniture pieces can be on the expensive side, which means those stunning statement pieces can cost a pretty penny. A marble block table, for instance, is a popular option to add that unique look to the living room. The Flor end table from All Modern costs $380, another from Interior Icons costs $999, and a third from Eternity Modern costs $1,109. However, a TikTok DIYer has found a way to get this elegant look at a fraction of the price using the IKEA LACK table, marble contact paper, and a few other easily sourced materials.
Shayna, who goes by @theflippedpiece on TikTok, uses the IKEA LACK table ($14.99) as the base of the hack. She uses some wood sheets to create the sides of the table. The RevolutionPly from Lowe's is $26.68, and you'll need two. Or, you can have wood cut at your local hardware store. To create the marble effect, she uses contact paper, which can range from about $5 to $30, give or take, depending on where you buy it. To assemble the pieces, she uses a nail gun and wood glue. The final cost of the project, minus tools, is less than $100.
Elegance on a budget
The materials for this project can be sourced relatively easily, and completing the actual project itself is quite simple. The video posted to TikTok shows how easy the DIY is for anyone to tackle. Off camera, Shayna assembles the IKEA LACK table and then wraps the table and the wood side pieces in the contact paper. If you buy a long board of wood, you'll have to cut them to size. However, if you have the wood pre-cut at the store, be sure to get your measurements correct. You may want to opt for a mitered edge so the wood comes together at a point.
To get the contact paper to lay correctly, measure all the pieces before removing the paper backing. Place each piece of wood in the center of the contact paper, leaving about a ½ inch margin around the wood to fold over the sides. Remove a ¼-inch section of the contact paper and apply it to the wood surface. Pull the contact paper taunt and slowly remove the backing to apply it to the wood. You can use a squeegee or a scraper to push out air bubbles and wrinkles for a smooth finish.
Once each piece has the marble finish, use the wood glue and the nail gun to secure the wood squares to each side of the table. You can also use a bit of caulking to fill in the gaps between the top surface of the table and the sides.
