The Proper Way To Use Wood Filler
There are some very firm rules about using wood filler, and guess what? Almost none of them are true, at least not all the time. Traditionally, wood filler was a fairly well-defined set of products with a wide range of uses, from sealing cracks to fixing scratches in wood flooring. They dried hard, were meant for use on bare wood, were always paintable, and usually stainable. And though they came in both water-based and petroleum-based varieties, wood fillers were generally not suitable for outdoor use. Wood filler is often contrasted with wood putty, traditionally a synthetic product used for smaller jobs, and usually weatherproof.
But over time, marketing tactics and product improvements have blurred the lines between these two workshop staples, leaving lots of confusion in their wakes. Epoxy-based formulations have put some fillers squarely on wood putty's turf, and exterior-grade fillers are pretty common. Your hardware store won't clarify much either; in their efforts to be helpful and give you as many options as possible, fillers, putty, plastic wood, and even spackle are often all lumped together. Let's have a look at how to use modern wood fillers, and perhaps along the way, we can make sense of what the product is today. Or, more precisely, what these products are today.
How to use wood filler
Depending on how old-school the expert you're talking to is, directions for using wood filler will vary a little, but it's simple enough to glean some basic principles from the overlap. And sometimes, the classic advice just doesn't apply to most modern products. For example, you'll often hear that you shouldn't apply filler to finished wood, but applying it over paint is fine for most fillers. One thing that hasn't changed much is the fact that wood filler is not structural and should not be used to fix weakened wood. Filler improves the appearance of your wood, not its strength.
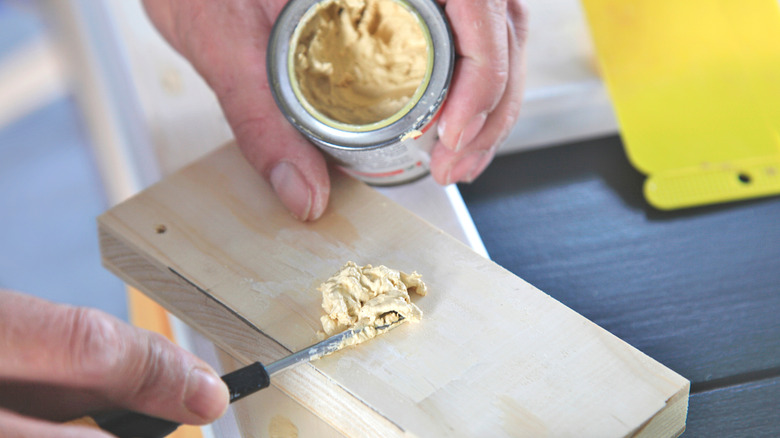
The basic steps look something like this: Thoroughly blend the filler to get an even color and eliminate separation. Clean the work surface, mix with pigment to match the piece you're patching, and sand and prime to help filler adhesion. Fill the gap in layers, allowing each layer to dry before applying the next. Let the filler harden for an hour, then sand it with an oscillating sander using increasingly fine grits of sandpaper, finishing with 220. Clean again, then prime if you're planning to paint the workpiece. Finally, apply your finish.
These steps reveal some differences between filler and wood putty. The preliminary cleaning, sanding, and priming help the filler adhere to the workpiece's surface. Layering the filler corrects for shrinkage (putty is usually a one-layer affair). Priming helps paint hide the filler; putty is not usually paintable.
Some tips for using wood filler well
Priming is an important step before painting woodwork, and priming twice is a better idea. Some types of wood filler are very hard to hide with paint, and sometimes, you can't completely hide it at all. There are a few other tips that are useful in dealing with the peculiarities of wood filler. Read package directions and use a filler compatible with the paint you plan to use on the finished piece. If you're pre-tinting your filler by combining it with pigment, practice on a scrap of wood and let it dry completely to check the final color before you use it on your workpiece.
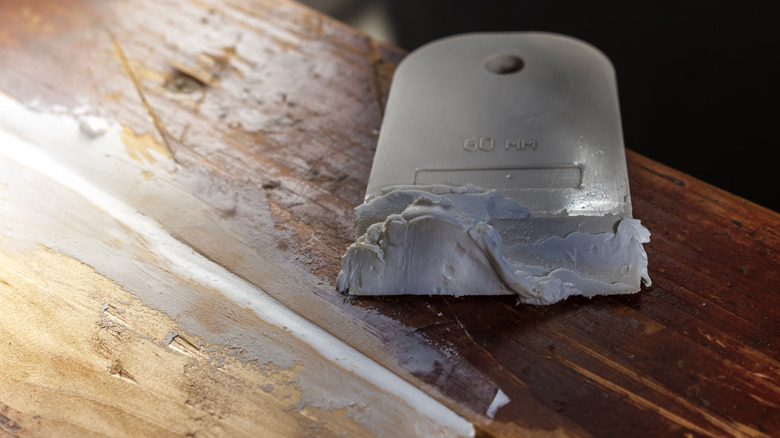
Fill the space in your wood by hand for smaller gaps and with a putty knife for larger ones. Push the filler into the crack or hole thoroughly with each layer to eliminate voids and fill around areas where the previous layer shrank after drying. Smooth the filler's surface with a paintbrush to save sanding time later, and always keep the end result in mind. If you're using exterior-grade wood filler to weatherproof the repair, remember that some fillers can dry very hard and be susceptible to cracking or crumbling if the wood moves, expands, or contracts much. Wood putty and some formulations of filler are more flexible. Finally, remember that package instructions are your friend. Because of the variability in modern wood fillers, you should always follow the directions for the product in your hand.


